


5
2
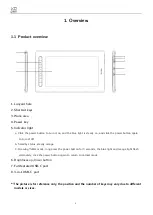
Get started with your Drawing Display
2.1
Download
Please download the corresponding driver according to your product model from the XPPen
official website (https://www.xp-pen.com).
2.2
Installation
After downloading is completed, please unzip the folder and operate the “.exe” file (Windows) or
“.dmg” (Mac) file, and then follow the prompts until installation is completed.
Notes:
1.
Before installation, please temporarily close the antivirus software and firewall, and all opened
software.
2.
If other drivers have been installed on the computer, please uninstall them first.
3.
It is recommended to restart the computer after installation is completed.
4.
For the best performance of your device, we highly recommend you check and update the
driver regularly from XPPen website.
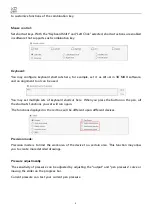
2.3
Introduction to driver
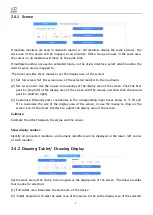
After the driver is installed, connect your device to your computer, and then open the driver to
start customizing your device.
Notes:
This document describes all the functions of the driver, but the functions in the actual use process
will vary due to different connected devices. Please refer to the device you actually used for specific
functions.
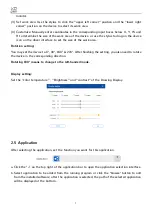
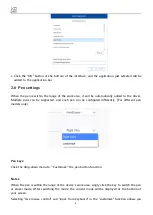
Save settings:
Please click the “OK” button on the left side of the driver interface to save the settings after
changing the configuration; otherwise, the changed settings will be valid only for the current use.
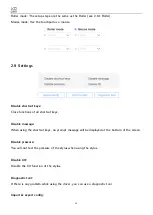
2.4
Work area


