30
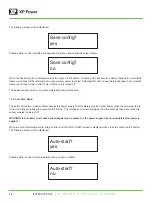
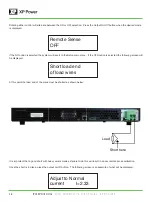
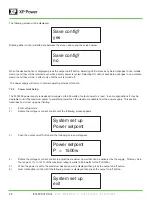
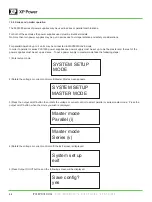
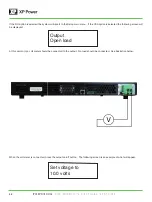
When the power supply is configured as in the figure on previous page, press the output on/off button. The following screen will
now appear:
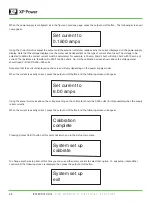
Using the Current control, adjust the output until the external volt meter reads exactly the current displayed on the power supply
display. Note that the voltage displayed on the meter will be dependent on the type of current shunt used. The voltage to be
adjusted to obtain the correct current must be calculated. For example, a 10 amp, 50mV shunt will drop 50mV with 10 amps of
current. The resistance is, therefore, R=.050/10=0.005 ohms. So, for the calibration screen shown above the voltage meter
should read V=0.1500*0.005=.003 volts.
Note also that the current displayed on the screen will vary depending on the power supply model.
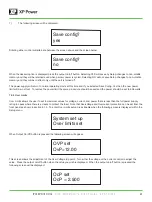
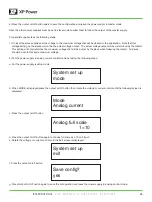
When the current is exactly correct, press the output on/off button and the following screen will appear:
Set current to
0.1500 amps
Set current to
6.00 amps
Using the same formula as above, the voltage reading on the volt meter should be 0.030 volts (for this example) when the supply
is set correctly.
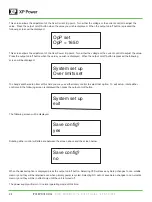
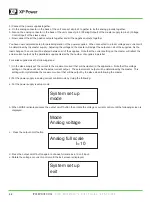
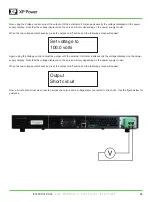
When the current is exactly correct, press the output on/off button and the following screen will appear:
Calibration
complete
Pressing Output On/Off button at this point will return you to the Setup main menu.
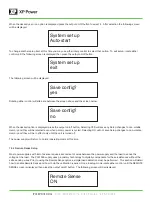
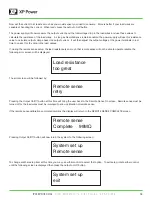
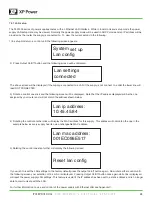
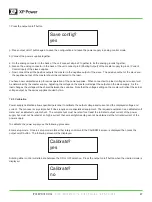
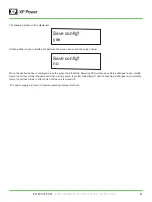
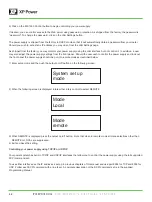
To change another setup item at this time you may use either rotary control to select that option. To exit setup, rotate either
control until the following screen is displayed then press the output on/off button.
System set up
calibrate
System set up
exit

