5 6
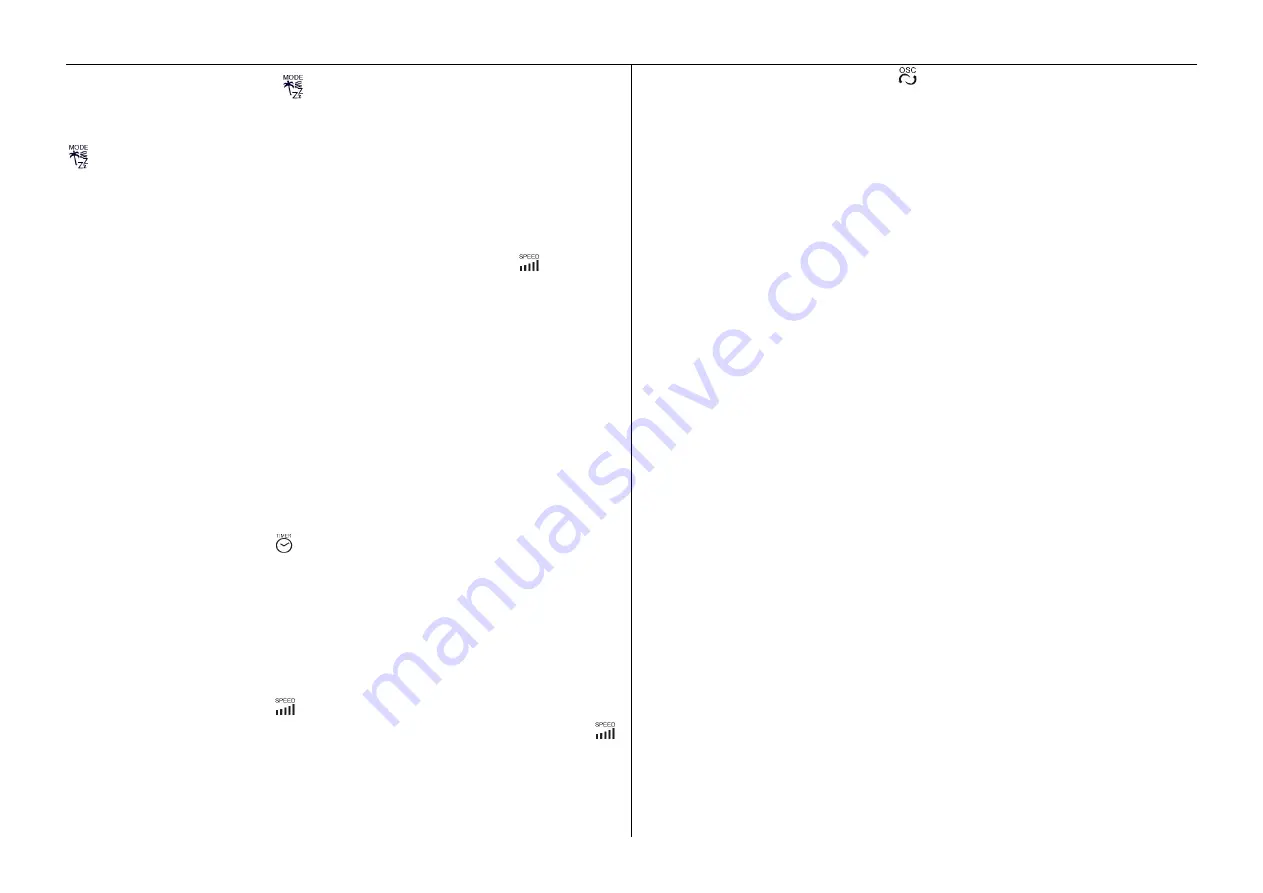
2) Blower Mode Selection Button -
: The default operating mode when you power on is
Normal air blower mode, there is no separate Normal blower mode operating LED. Pressing
when operating will change the blower operation modes from Normal to Natural mode,
Natural to Sleep mode and Sleep back to Normal mode, the relevant LED light will indicate
when Natural and Sleep mode is selected, only the selected fan speed LED will light in
Normal Blower mode.
Normal Blower mode:
You can simply use the fan speed selection button
to manually
select Low, Medium or High speed fan operation, the relevant speed indication LED will light
as you change between speeds in sequence.
Natural Blower mode
:
:
:
:
In this mode
t
he fan will automatically change speed to simulate
natural variances in the speed of the wind that you experience outside in natural windy
conditions.
Sleep mode
:
:
:
:
In this mode the fan speed
will continuously vary speed to prevent users from
getting sick when asleep. You can select 3 different running patterns in this mode by using
the Speed Selection button.
3).Runback Timer Mode Button -
: By pressing this button, the fan can be set to operate
continuously in your selected mode of operation for different time intervals, you can select 1
hour, up to 15 hours, the selected period will be indicated by the addition of the numbered
LED lights which will remain on for the selected period, when the selected operating time has
run out the product will switch off automatically and go into standby mode until the user needs
it again.
4) Fan Speed Selection Button -
:
When you start the product it will always default to
operate in Normal mode at Low speed with the low speed LED illuminated. Pressing the
button allows you to change from Low to Medium, Medium to High and High back to Low
fan speed , the relevant LED light will illuminate to indicate which fan speed is
selected/operating.
5) Oscillating Mode Selection Button -
:
By pressing this button while the product is
operating you can start the product oscillating, oscillation will be indicated by the illumination
of the relevant LED. Pressing the button again will return to oscillation off mode (when no
oscillation LED will be lit).
Note that the oscillation is controlled by what’s called a stepping motor, this means it will
swing first to its right from the point where it previously stopped to complete the swing and
then to its left to complete the full angle of swing before swinging right again etc..
6) Please Note
In any mode of operation you can use the power button to switch the product off/into standby
mode at any time, when you next press the power button to switch the product back on it will
not remember the last wind speed, blower mode, oscillation or timer settings, it will always
switch on at Low speed in Normal Blower Mode.
7) Remote Control Use
:
- To activate the remote control release and slide out the battery holder from the bottom
back of the remote control handset, install your 3V CR2025 button battery cell into its
location ensuring the positive and negative pole are in the correct orientation and reinstall
the battery holder completely. Align to infrared receiver module when using remote
controller.
- Remote Control will only operate the product if it is in direct line of site and within a
distance of 6 meters from the product. If it fails to do so under these conditions after the
product has been in use for some time please check the battery is not depleted before
taking any other action.

