16
1
1..
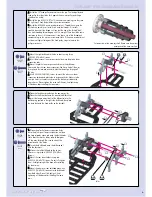
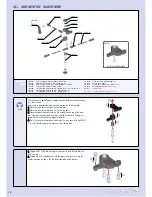
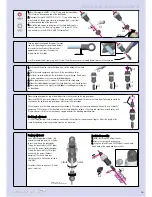
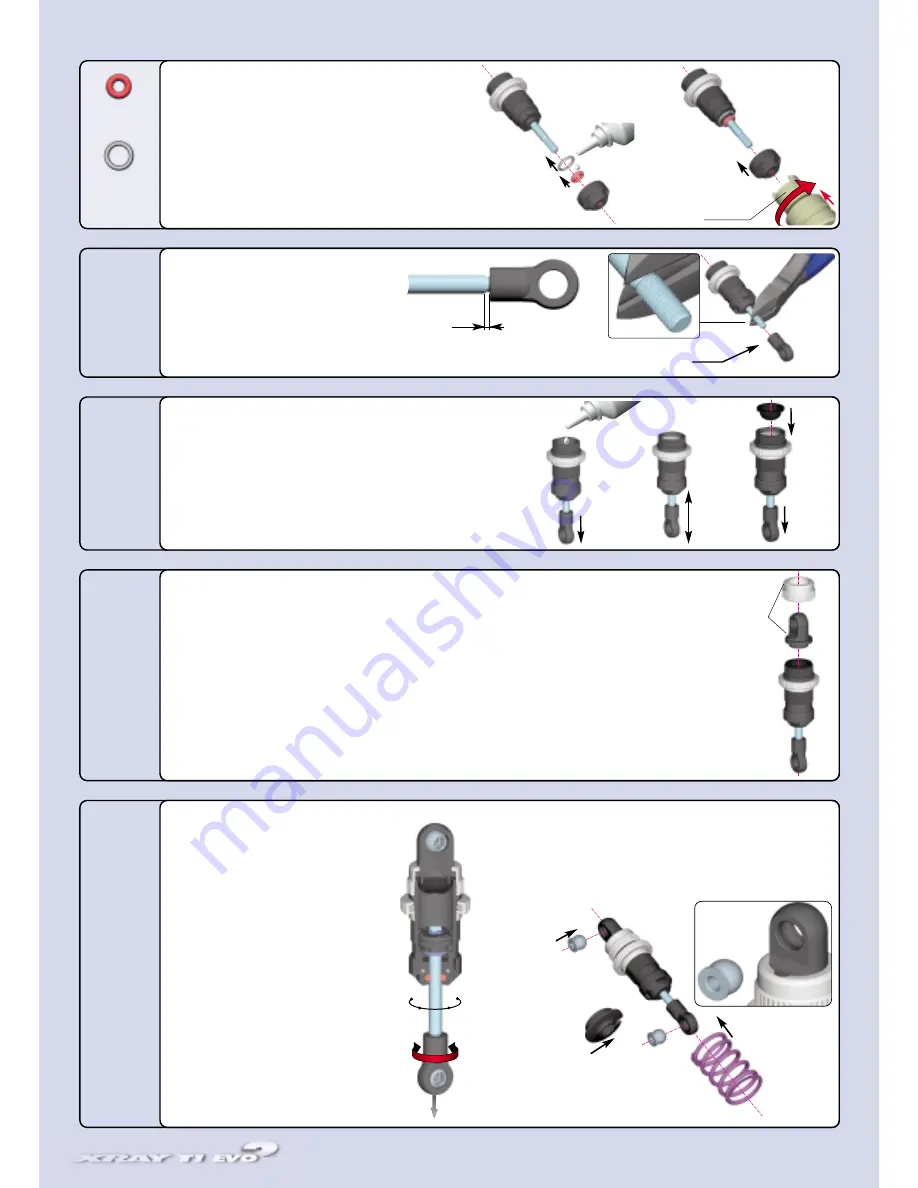
Insert the larger #308071 (O 5x1) O-ring onto the shock body,
until it seats on the extended end of the shock body.
2
2..
Lubricate the small #308070 (O 3.1x1.6) O-ring with a drop or
two of shock oil. Taking care not to rip or damage the O-ring, slide it
over the extended end of the shock rod.
3
3..
Install the end-cap on to the bottom of the shock body. Lock it in
place by pressing it on, then turning it about 1/8 of a turn CW. For
easy assembly, use the #183010 HUDY Assembly Tool.
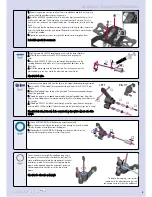
Place the top pivot-point on top of the bladder. Note the key notch on the top-pivot point.
Place the #308350 aluminum collar over the top pivot-point, and thread it fully onto the shock body. Take care to match the
key notch on the collar and top-pivot point. More excess oil may escape.
Check to make sure the shock absorber functions properly. The shock must move up and down freely with only "hydraulic"
dampening. When you push the shock rod into the shock body then release it, the shock rod should not extend out by itself.
If there is any air still left in the shock, open it again and start the bleeding procedure over.
SShhoocckk lleennggtthh aaddjjuussttm
meenntt::
It is VERY important that the two shocks on each end of the car (front or rear) are equal lengths. Adjust the length of the
shock by tightening or loosening the ball-joint on the shock rod.
D
Daam
mppiinngg aaddjjuussttm
meenntt::
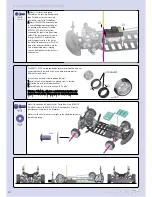
If you built the adjustable shocks, fully
extend the shock rod and turn it slightly
to lock the piston in the shock body.
Turning the shock rod fully CCW aligns
4 holes in the pistons (softest damping).
Turning the shock rod fully CW aligns
one hole in the pistons (hardest
damping). The shocks have four
settings, each of which can be felt by a
little "click".
Set all four shocks to position 3 (3 holes
open -- medium)
FFiin
na
all ssh
ho
occkk a
asssseem
mb
bllyy::
1
1..
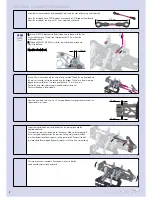
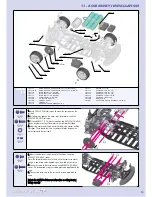
Install the springs on all four shocks.
2
2..
Secure the spring with a spring cup.
3
3..
Use pliers to install two #303240 balls in each shock;
one in each of the upper and lower eyelets.
1
2
3
4
1
1..
Fully extend the piston rod so that the piston is at the bottom of the shock
body.
2
2..
Hold the shock upright and slightly overfill the shock body with oil.
3
3..
Let the oil to settle and allow the air bubbles to rise to the top. Slowly move
the piston up and down until no more air bubbles appear.
4
4..
Move the piston out until it is about 1/2 way out of the shock body.
5
5..
Place the rubber bladder on top of the shock body. Some oil should spill out.
6
6..
Move the piston out very slightly so the bladder is sealed against the top of
the shock body.
SHOCK ABSORBERS
➊
➋
➌
➍
➊
➋
notch
➌
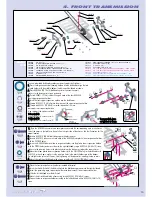
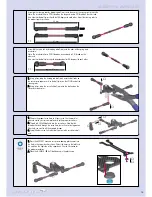
Grip the top of the exposed thread of the shock
rod with side-cutting pliers and thread the ball-
joint onto the shock rod until the joint ends
approximately 1mm from the end of the
thread. See the illustration.
Hint: Pre-thread the ball-joint using an M3 screw. This will make it easier to thread the ball-joint onto the shock rod.
1mm
Cutaway view of
the assembled shock absorber
OPENED
CLOSED
➌
➋
➊
OPTION
➎
308071
O 5x1
308070
O 3.1x1.6
1/2
Summary of Contents for T1 EVO2
Page 1: ......

