1
The XRAY T1 EVO2 is arguably the most advanced 1/10-scale on-road electric
touring car ever made for racing and is based on the extremely successful XRAY
T1 concept. We have used the results of thousands of hours of racing and testing
on both of asphalt and carpet tracks to offer you this next step in the evolution of
XRAY T1.
You chose the T1 EVO2 because you recognize the outstanding quality of design,
craftsmanship, and performance of this touring car chassis. The XRAY T1 EVO2 is
the epitome of high-performance engineering that was built for the purpose of
top competition races. The design is focused on blending of extraordinary
materials with racecar lineage to offer a responsive ride, luxurious elegant
design, finest quality, and best track performance.
This car was built purely for top competition races, and for that purpose, we gave
the T1 EVO2 the highest number of adjustments possible to get the most
performance out of any track condition. Even with the standard setup, the T1
EVO2's handling is stable and predictable enough on most surfaces for even
novice drivers who choose the T1 EVO2 as their entrance into the R/C hobby.
Every aspect of the T1 was examined not only to make it the best touring car on
the market, but to also make it very easy to build, to work on, and to drive. This
instruction manual strengthens our philosophy of providing our customers with
only the best.
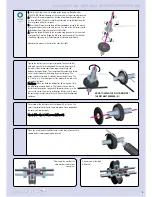
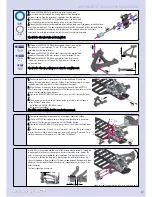
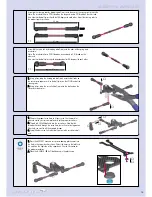
The assembly steps are illustrated with state-of-the-art rendered 3D models taken
from our engineers' graphics workstations, and supported with clear and easy-to-
understand descriptions of the assembly steps. Because suspension tuning can be
a difficult step, we have produced a special Set Up Book to help you get your car
to its maximum performance. In some of the assembly steps, references are
made to a particular section of the Set-Up Book. Measurements should be
applied immediately, although it will still be necessary to perform the set-up
procedures again for fine tuning once the chassis is finished.
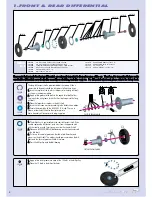
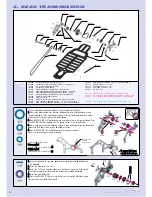
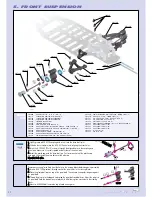
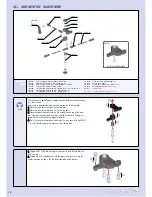
At the beginning of each section, there is an exploded view of the relevant
assembly, including the parts for that section. All non-relevant and previously
assembled parts have been faded. Each section indicates the bag containing all
the appropriate parts. All hardware (screws, nuts, bearings, pins, clips, etc.) can
be compared to the 1:1 scale diagrams on the left side of each assembly step.
There should no parts left over after you finish the given assembly section. If there
are any left, please go through the assembly steps again to ensure all parts have
been used properly.
We have made every effort to make the instructions and Set-Up Book as easy to
understand as possible. However, if you have any difficulties, problems, or
questions, please do not hesitate to contact the XRAY support team at
support@teamxray.com. Also, please visit our web site at www.teamxray.com.
Our official web site contains all the latest updates, hot setup information, lists of
hop-up parts, and many other goodies.
As the proud owner of an XRAY T1 EVO2, you are cordially invited to join TEAM
XRAY. Use the MEMBERSHIP CARD with Certificate of Authenticity to register your
T1 EVO2 at world's largest RC portal www.myTSN.com to get access to the
special XRAY VIP ROOM --- we pride ourselves on really taking care of our
customers.
Thank you very much for choosing the XRAY T1 EVO2 as your ultimate 1/10
electric touring car. We are sure it will bring you lots of enjoyment and rear
racing excitement.
CONTENTS
0.
KIT
1
1.
FRONT & REAR DIFFERENTIAL
2-3
2.
REAR TRANSMISSION
4-5
3.
REAR SUSPENSION
6-8
4.
FRONT TRANSMISSION
9
5.
FRONT SUSPENSION
10-11
6.
SERVO SAVER
12-13
7.
SHOCK ABSORBERS
14-15
8.
REAR FINAL ASSEMBLY
16
9.
FRONT FINAL ASSEMBLY
17
10.
SERVO SAVER, BATTERY HOLDER
& UPPER DECK ASSEMBLY
18
11.
ACCESSORY INSTALLATION
19-20
CONGRATULATIONS
IIn
n lliin
ne
e w
wiitth
h o
ou
urr p
po
olliiccyy o
off cco
on
nttiin
nu
uo
ou
uss p
prro
od
du
ucctt d
de
evve
ello
op
pm
me
en
ntt,, tth
he
e e
exxa
acctt ssp
pe
ecciiffiicca
attiio
on
nss o
off tth
he
e k
kiitt m
ma
ayy vva
arryy.. IIn
n tth
he
e u
un
nlliik
ke
ellyy e
evve
en
ntt
o
off a
an
nyy p
prro
ob
blle
em
mss w
wiitth
h yyo
ou
urr n
ne
ew
w k
kiitt,, yyo
ou
u ssh
ho
ou
ulld
d cco
on
ntta
acctt tth
he
e m
mo
od
de
ell ssh
ho
op
p w
we
erre
e yyo
ou
u p
pu
urrcch
ha
asse
ed
d iitt,, q
qu
uo
ottiin
ng
g tth
he
e p
pa
arrtt n
nu
um
mb
be
err..
W
We
e d
do
o rre
esse
errvve
e a
allll rriig
gh
httss tto
o cch
ha
an
ng
ge
e a
an
nyy ssp
pe
ecciiffiicca
attiio
on
n w
wiitth
ho
ou
utt p
prriio
orr n
no
ottiicce
e.. A
Allll rriig
gh
httss rre
esse
errvve
ed
d..
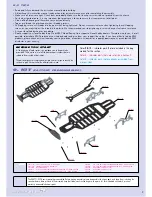
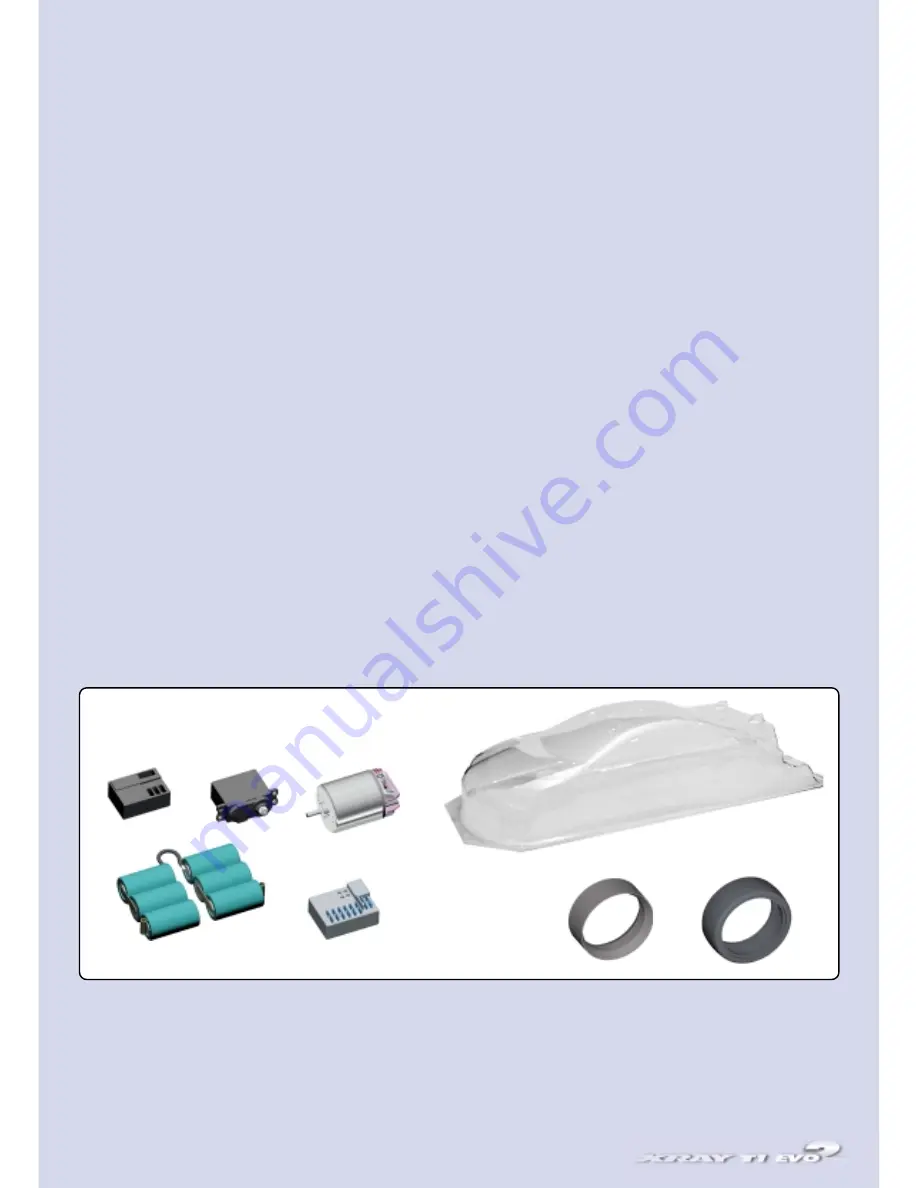
ADDITIONAL ITEMS REQUIRED:
TOOLS REQUIRED:
Cutting Pliers, Needlenose Pliers, Snap Ring Pliers, Allen Wrench for Set Screws 1.5 mm, 2.0 mm, 2.5 mm, 3.0 mm and 5.0mm, Hobby Knife, Caster Clip Remover Tool,
Soldering Iron.
For the most comfortable assembly we advise to purchase these HUDY high-quality tools: #111540, #112040, #112540, #113040, #115040, #107610.
Radio system (transmitter and receiver), steering servo, motor, battery pack (6-cell), speed
controller, charger, 1/10-scale bodyshell (190 mm), tires, inserts, double-sided tape, CA
glue, bearing oil.
Summary of Contents for T1 EVO2
Page 1: ......


