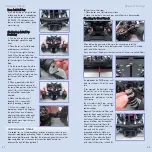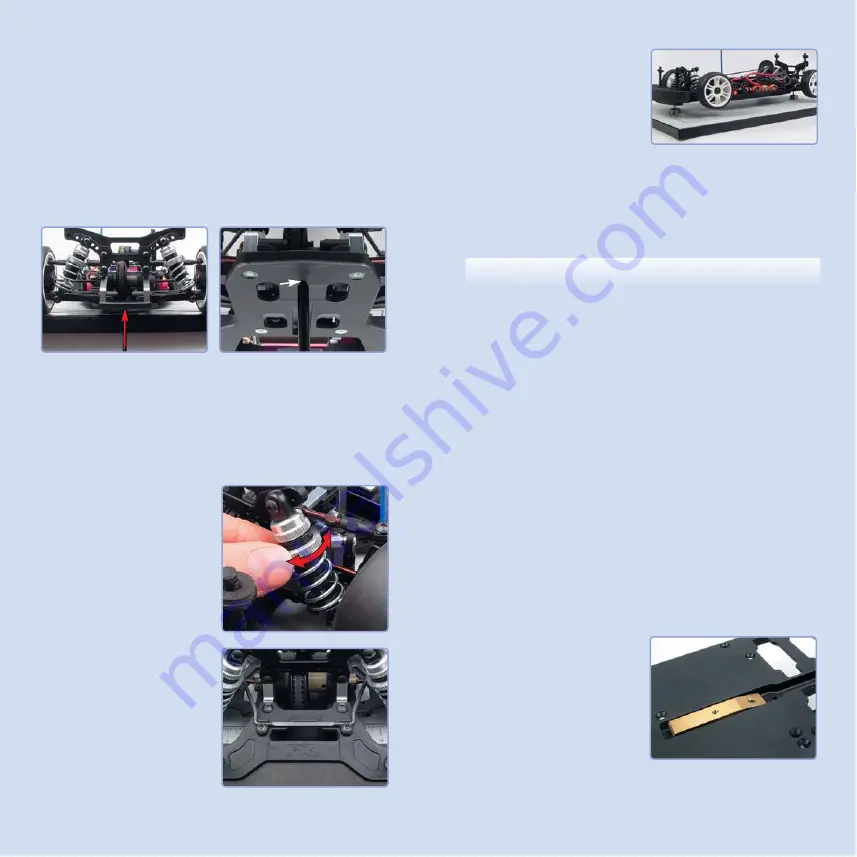
at the same time. There might happen that the wire is tweaked and
therefore the suspension with connected anti-roll bars is tweaked as well.
Carefully straighten the wire, and then check for tweak again. Both wheels
must start lifting up at the same time.
C
Ch
he
ecck
kiin
ng
g ffo
orr R
Re
ea
arr T
Tw
we
ea
ak
k
Lift and drop the rear end of the car a few centimeters to let the suspension
settle. Place a sharp tool underneath the chassis at its middle point, and lift
the rear end. If one rear wheel lifts before the other, the front of the car is
tweaked.
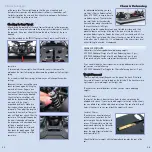
Adjust the preload on the FRONT springs until both rear wheels lift at the
same time.
If, for example, the rear right wheel lifts earlier, you must increase the
preload on the front left spring, and decrease the preload on the front right
spring.
You must adjust both front springs, otherwise you will change the camber
settings.
Reconnect the front anti-roll bar, and
check for tweak again by lifting the
rear end of the car. If again one
front wheel lifts before the other, the
front anti-roll bar may be tweaked.
Check the front anti-roll bar with
both shocks disconnected from the
arms and with the chassis
suspended on blocks. Make sure
that the downstop adjustments are
set equally. Then adjust the length of
one or both front anti-roll bar push
rods until both rear wheels lift at the
same time. There might happen that
the wire is tweaked and therefore
the suspension with connected anti-
roll bars is tweaked as well.
Carefully straighten the wire, and
then check for tweak again. Both
wheels must start lifting up at the
same time.
34
33
Chassis Setup
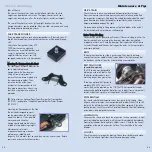
For advanced balancing, you can
use Hudy’s Chassis Balancing Tool
(Hudy #10 7880), a simple, easy to
use balancing tool. The chassis has
two small holes on the underside
front and rear, along the centerline.
To check the chassis left/right
balance, place the two balance tools on a flat stable surface, and then
place the chassis on the tips of the tools; the points fit into the chassis’s
centerline balancing holes. Steady the chassis with your hand, and tilt it so
it is level. When you let go of the chassis, the chassis may fall to one side
or the other side. If it does this, it is not balanced. If the chassis stays level
without falling to one side, it is balanced.
CHASSIS WEIGHTS
Hudy offers the following additional balancing weights:
#30 9820 Additional Weights for Chassis Balancing (front - 2 pcs)
#30 9830 Additional Weights for Chassis Balancing (rear - 6 pcs)
These round weights can be used almost anywhere on the chassis.
If you need to load the front suspension, or simply add central mass to the
car, you can use the following:
#30 9850 Additional Flat Weights for Chassis Balancing (center - 3 pcs)
W
We
eiig
gh
htt P
Plla
acce
em
me
en
ntt
Chassis weight adjustment depends on the type of the track. If the track
has more left corners, put more load on the left side. If the track has more
right corners, put more weight on the right side.
The chassis has several locations at which you can secure balancing
weights.
Front of Chassis
The front of the chassis does not have holes to which weights can be
attached with screws. If you want to add weights to the front of the chassis,
you can attach them with double-sided servo tape. You can also drill small
holes in the chassis so you can attach the weights with screws.
Center of Chassis
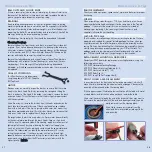
The chassis has a central channel
into which you can attach the flat
center weights from the bottom with
screws. When possible, we strongly
recommend mounting the flat center
weights using this method, as it
keeps the weight central and at the
lowest possible CG.
Attach the flat center weight with the tapered end towards the rear of the
car.
Chassis Balancing
Summary of Contents for T1R Raycer
Page 1: ......


