30
www.XSscuba.com
XS Scuba Valves Service Manual
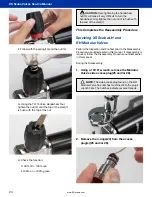
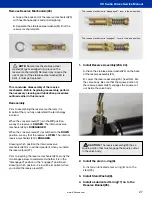
6. Follow with the spring(13) and the nut(14).
7. Using the TL113 Valve Handwheel Tool, tighten the
nut(14) until the top of the stem(7) is flush with the top of
the nut.
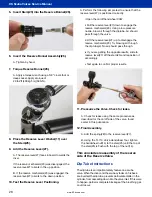
8. Check the function.
i. 100% off = 100% red
ii. 100% on = 100% green
Important Information Regarding
Safety Assemblies (Burst Plugs)
All safety assemblies, aka burst plugs, sold by XS Scuba
/ Sea Pearls are engineered products designed for use in
cylinder valves branded Thermo or XS Scuba only. Use
of XS Scuba safety assemblies in products other than
cylinder valves branded Thermo or XS Scuba, is done at
the user’s own risk.
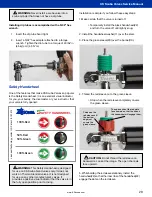
WARNING: These safety assemblies must
be installed according to XS Scuba specifications
as shown below. Incorrect installation may result in
potentially life-threatening situation due to the safety
assembly not activating at the intended pressure.
These safety assemblies should only be installed
by individuals knowledgeable in correct installation
procedures.
When replacing a safety assembly, always insure that the
safety assembly you are installing is the correct safety
assembly for the cylinder according to the test pressure
of the cylinder. Reference the exploded diagram for the
different models available. If you are unsure if the safety
assembly is the correct one for the cylinder in question,
DO NOT replace the safety assembly.
Since the safety assembly uses copper as a sealing gasket,
it is designed to be tightened one time only, and may not
be reused if the safety assembly is removed, loosened or
unscrewed for any reason.
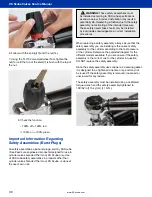
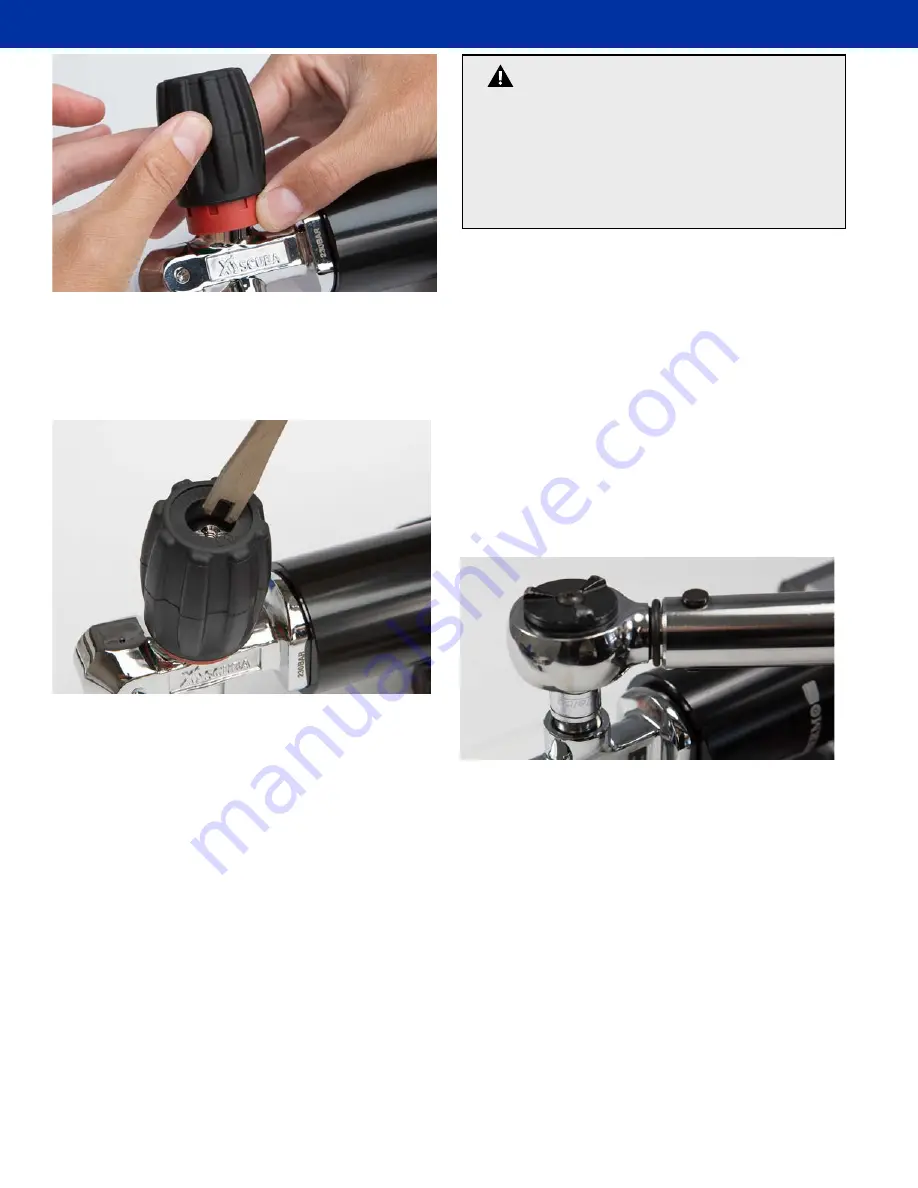
The safety assembly must be installed using a calibrated
torque wrench and the safety assembly tightened to
100 lbs*in (115 kg*cm) (11 N*m).


