

Radiator placements
XSpc
Page 15
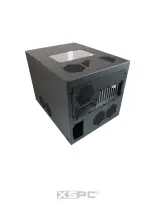
The H1 supports up to three triple and two dual 120mm radiators. XSPC
radiators can be mounted on the front, back, top or side panels using the
provided 6-32 screws.
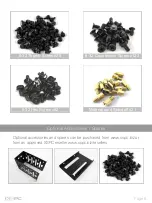
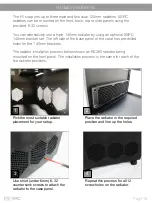
You can alternatively use a triple 140mm radiator by using an optional XSPC
140mm bracket set. The left side of the base panel of the case has pre-drilled
holes for the 140mm brackets.
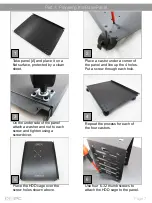
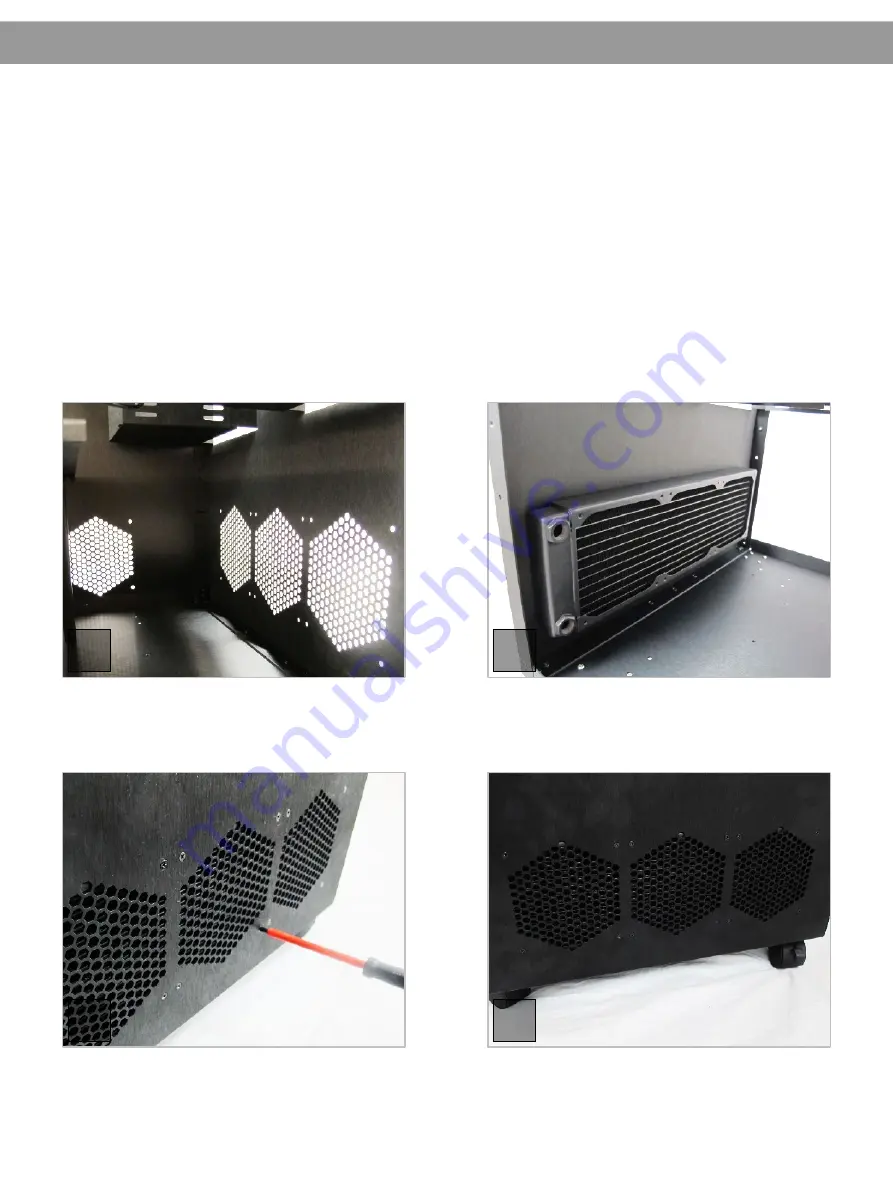
The radiator installation process below shows an RS360 radiator being
mounted on the front panel. The installation process is the same for each of the
five radiator positions.
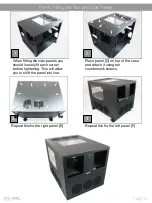
Place the radiator in the required
position and line up the holes.
Use short (under 6mm) 6-32
countersunk screws to attach the
radiator to the case panel.
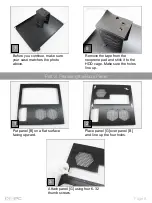
Repeat this process for all 12
screw holes on the radiator.
1
Pick the most suitable radiator
placement for your setup..
2
3
4
Summary of Contents for H1 Cube+
Page 1: ...H1 Cube XSpc...
Page 19: ...XSpc...