background image

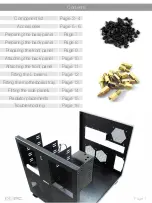
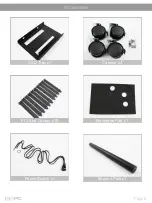
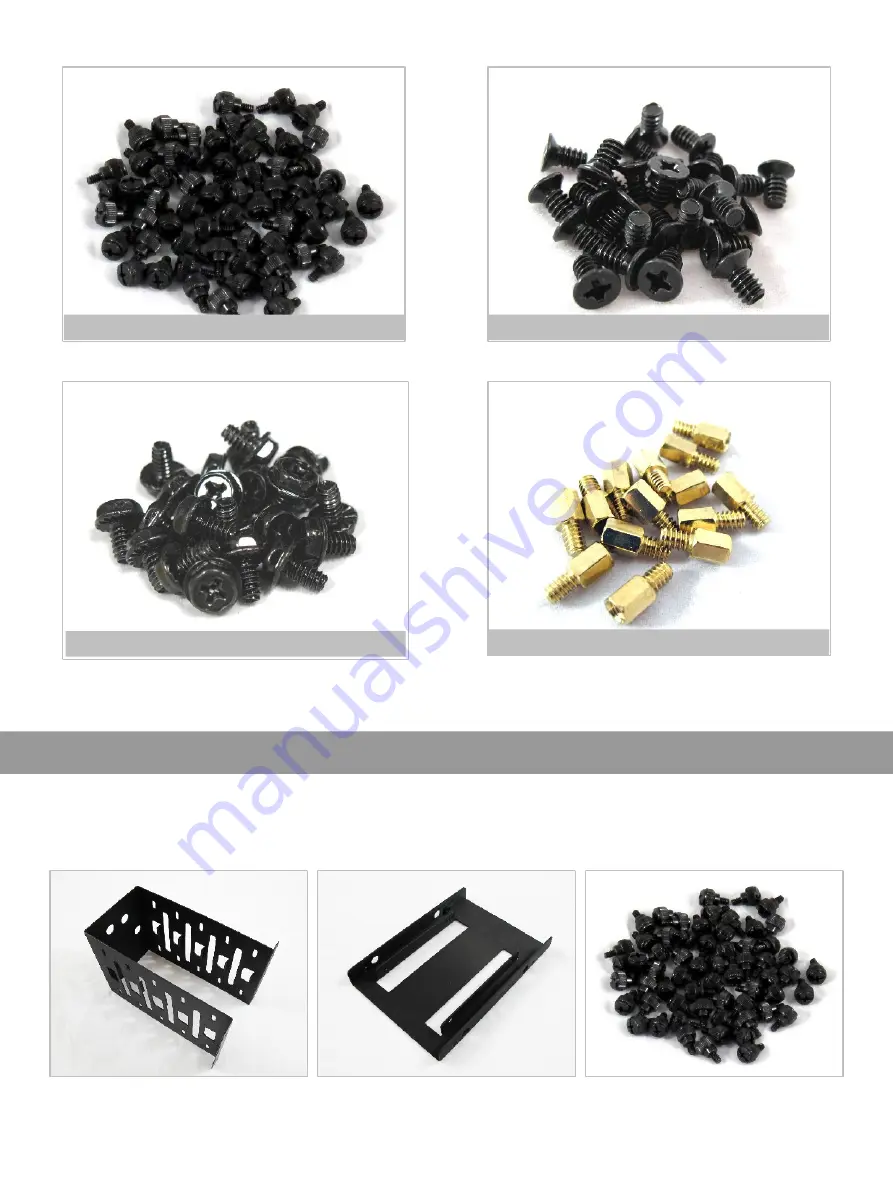
6-32 Thumb Screw x28

6-32 Countersink Screw x123

6-32 Hex Screw x52

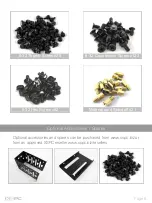
Optional Accessories / Spares

Optional accessories and spares can be purchased from www.xspc.biz or 

from an approved XSPC reseller www.xspc.biz/resellers

XSpc


Page 6

Motherboard Standoff x21

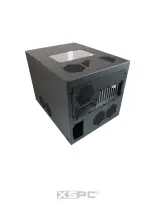
Summary of Contents for H1 Cube+

Page 1: ...H1 Cube XSpc...

Page 2: ...paring the back panel Page 8 Preparing the front panel Page 9 Attaching the back panel Page 10 Attaching the front panel Page 11 Fitting the L beams Page 12 Fitting the motherboard tray Page 13 Fittin...

Page 3: ...to read all the way through the instructions at least once before you start assembly It will save time in the long run When you are ready to begin installation you should first unpack the box and chec...

Page 4: ...A Base Panel x1 D Top Panel x1 C Front Panel x1 E Right Panel x1 F Left Panel x1 B Back Panel x1 Component List XSpc Page 3...

Page 5: ...G MB Cover Panel x1 H PCI Panel x1 I Motherboard Tray x1 J HDD Rack x1 L L Beam x2 K 5 25 Bay Cage x2 XSpc Page 4...

Page 6: ...SSD Tray x1 Castors x4 PCI Slot Covers x10 Neoprene Pad x1 Power Switch x1 Support Post x1 Accessories XSpc Page 5...

Page 7: ...untersink Screw x123 6 32 Hex Screw x52 Optional Accessories Spares Optional accessories and spares can be purchased from www xspc biz or from an approved XSPC reseller www xspc biz resellers XSpc Pag...

Page 8: ...r of the panel and line up the 4 holes Put a screw through each hole On the underside of the panel attach a washer and nut to each screw and tighten using a screwdriver Repeat the process for each of...

Page 9: ...r case matches the photo above Remove the tape from the neoprene pad and stick it to the HDD cage Make sure the holes line up Put panel B on a flat surface facing upward Place panel G over panel B and...

Page 10: ...s and attach it using 6 countersunk screws You will need to use a small screwdriver due to limited space Repeat steps 2 and 3 for the other side Flip the panel over and thread the power cables through...

Page 11: ...and attach it using 6 countersunk screws You will need to use a small screwdriver due to limited space Repeat steps 2 and 3 for the other side Flip the panel over and thread the power cables through...

Page 12: ...and slot the corners together Make sure the HDD cage is near the back Use two countersunk screws in the two holes highlighted above Repeat this for the two screw holes on the other side On the undersi...

Page 13: ...panel A and front panel C and slot the corners together Use two countersunk screws in the two holes highlighted above Repeat this for the two screw holes on the other side On the underside of the case...

Page 14: ...am and slot it into the corners of the front and back panels Line up the screw holes on each side of the L beam Use two countersunk screws to attach the L beam to the front and back panels Repeat this...

Page 15: ...ne up the 3 screwholes Use three 6 32 hex screws to attach I and H From the inside of the case place the motherboard tray over the HDD cage Line up the eleven holes on the back and use 6 32 thumb scre...

Page 16: ...he side panels you should loosely fit each screw before tightening This will allow you to shift the panel into line Place panel D on top of the case and attach it using ten countersunk screws Repeat t...

Page 17: ...e panel of the case has pre drilled holes for the 140mm brackets The radiator installation process below shows an RS360 radiator being mounted on the front panel The installation process is the same f...

Page 18: ...not connected panel H to panel G before fitting the motherboard tray Q Power switch doesn t light up A It s likely that the power led is connected the wrong way on the motherboard header Q Power switc...

Page 19: ...XSpc...

Reviews: