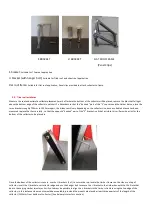
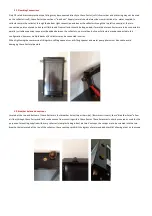
background image


S BRACKET


U BRACKET


FLAT ROOF FRAME 


(Panel Clips) 


S bracket: 

Suitable for Tiled roof application. 


U bracket (with hanger bolt): 

Suitable for Tiled roof and sheet roof application. 


Flat roof frame: 

Suitable for flat roof application, Panel clips provided to attach collector to frame. 
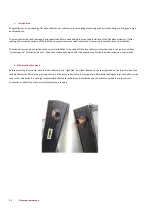


2.2.


Tiled roof installation 


Measure the roof and estimate collector placement, mark off where the bottom of the collector will be placed, remove the tiles that fall right 
above the bottom edge of the collector and Insert 2 x S brackets so that the “hooked “ part of the “S” cups around the timber baton, place the 
two s brackets roughly 700mm to 1000mm apart, this distance will vary depending on the collector size, once a suitable distance has been 
measured replace the tiles carefully , so that the opposite “hooked” part of the “S” bracket is all that is visible, this will provide a slot for the 
bottom of the collector to be placed in. 


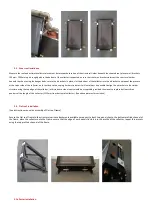
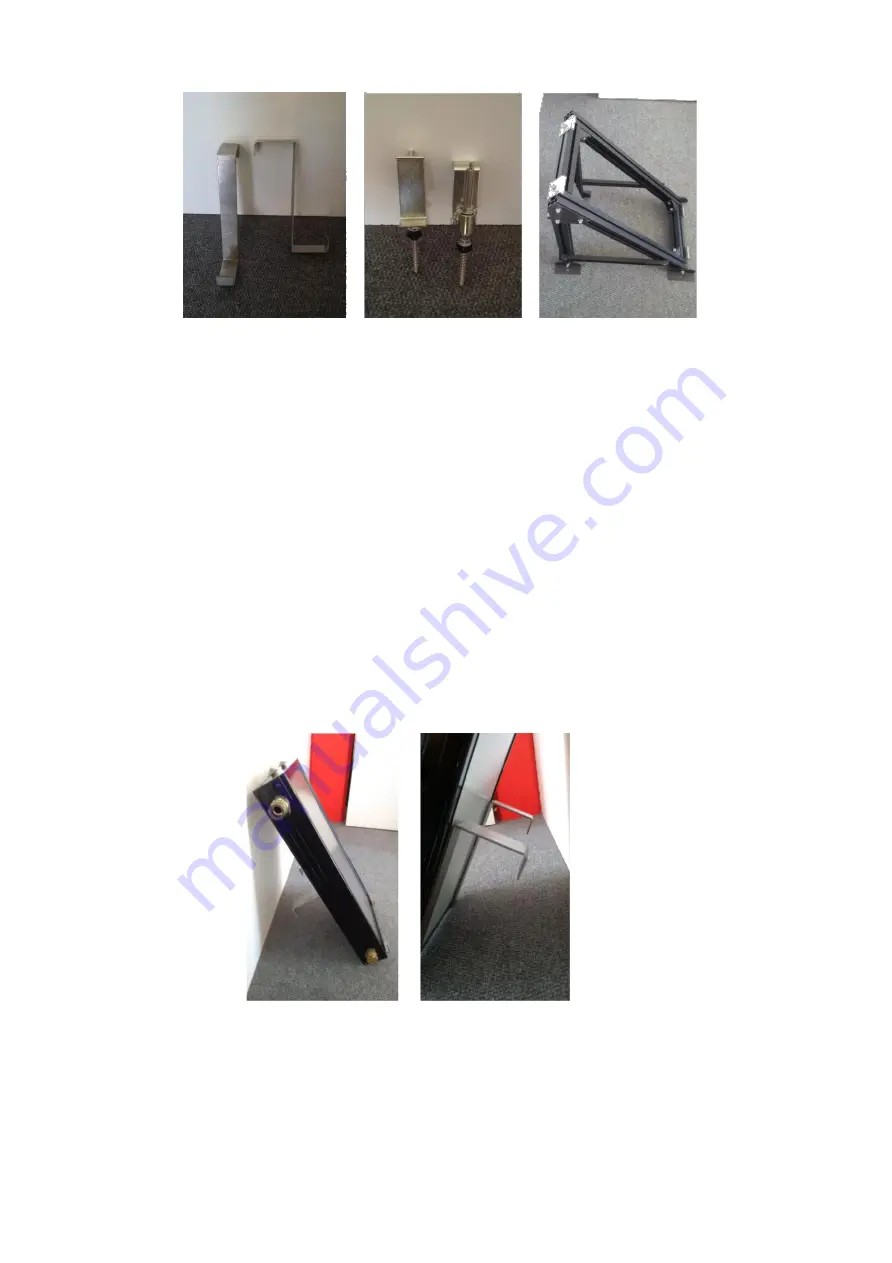
Once the bottom of the collector is secure, use the U brackets (2 of) to secure the top, locate the timber trusses on the side or on top of 
collector, insert the U bracket over collector edge and use the hanger bolt to secure the U bracket to the timber beneath the tile. Note that 
due to the varying timber structures it will not always be possible to align the u brackets to the timber structure using the top edge of the 
collector; in this instance side mounts would be acceptable, provided the mounts are placed at least three quarters of the length of the 
collector (1333mm from bottom of collector). (See below pictures for variation) 

Summary of Contents for Flat Plate Collector

Page 1: ...In association with Solar Lifestyle CC Mounting Installation Instructions Flat Plate Collector ...

Page 2: ...oduction 2 Mounts and attachments 2 1Mounting components 2 2Tiled roof installation 2 3Sheet roof installation 2 4Flat roof installation 3 Collector Installation 3 1Plumbing connections 3 2Breather holes and vent caps ...

Page 3: ...plate collectors it must be read in conjunction with the system specific installation manual it does not seek to defy logic and or the experience of suitably trained installers use discretion 2 Mounts and attachments Before mounting the collector note that the collector has a right Side up sticker located on the top right side on the top left side of the collector below the 22mm pipe protrusion th...

Page 4: ...the collector size once a suitable distance has been measured replace the tiles carefully so that the opposite hooked part of the S bracket is all that is visible this will provide a slot for the bottom of the collector to be placed in Once the bottom of the collector is secure use the U brackets 2 of to secure the top locate the timber trusses on the side or on top of collector insert the U brack...

Page 5: ...ll not always be possible to align the u brackets to the timber structure using the top edge of the collector in this instance side mounts would be acceptable provided the mounts are placed at least three quarters of the length of the collector 1333mm from bottom of collector See above pictures for variation 2 4 Flat roof installation See instruction manual on assembly of Flat roof frame Secure th...

Page 6: ... Collectors may be connected in this configuration however multiple banks of 6 collectors may be connected in series When tightening the compression fittings two shifting spanners or a shifting spanner and water pump pliers must be used to avoid damaging the collector pipe work 3 2 Breather holes and vent caps Located at the top and bottom of the collector are four breather holes two either side 8...

Reviews: