
2.3.
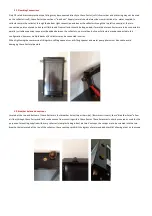
Sheet roof installation
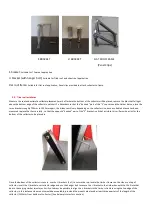
Measure the roof and estimate collector placement, determine the location of the structural timber beneath the sheeted roof, place two U brackets
700mm – 1000mm apart roughly where the bottom of the collector is expected, ensure that the two u brackets intersect the structural timber
beneath the sheet, using the hanger bolts, secure the u brackets in place, slot the bottom of the collector into the u brackets and repeat the process
at the top or side of the collector, note that due to the varying timber structures it will not always be possible to align the u brackets to the timber
structure using the top edge of the collector, in this instance side mounts would be acceptable, provided the mounts are placed at least three
quarters of the length of the collector (1333mm from bottom of collector). (See above pictures for variation)
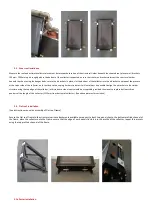
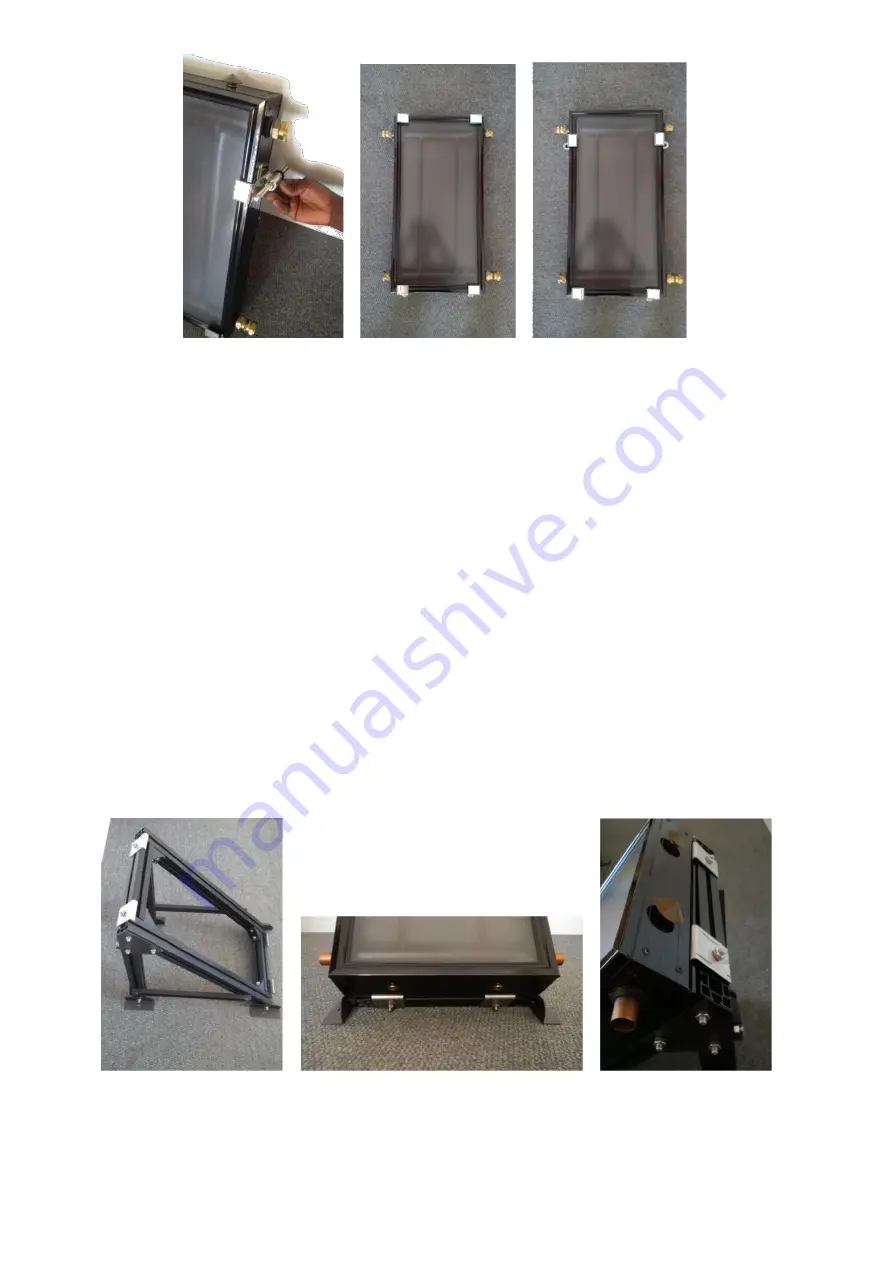
2.4. Flat roof installation
(See instruction manual on assembly of Flat roof frame)
Secure the Flat roof frame to the structure (various attachments available on request), attach two panel clips to the bottom profiled channel of
the frame, place the collector onto the frame, ensure that the edge of each panel clip slots into the profile of the collector, repeat this process
using the top profiled channel of the frame.
3. Collector Installation


