
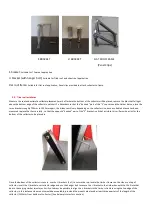
3.1. Plumbing Connections
Only DZ rated brass compression type fittings may be connected directly to the collector (soft /silver solder and or brazing may not be used
on the collector itself), the collector connections (“in and out” Supply/ return) should always be cross directional (i.e. water supplied to
collector enters the collector through the bottom right connection and leaves the collector through the top left connection), the two
connection points not used to transport fluid to and from collector should be stop ended, if more than two collectors are to be connected in
parallel, suitable expansion loops must be added between the collectors, no more than 6 x 2sqm Collectors may be connected in this
configuration, however multiple banks of 6 collectors may be connected in series.
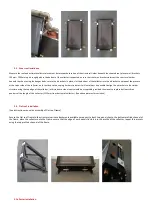
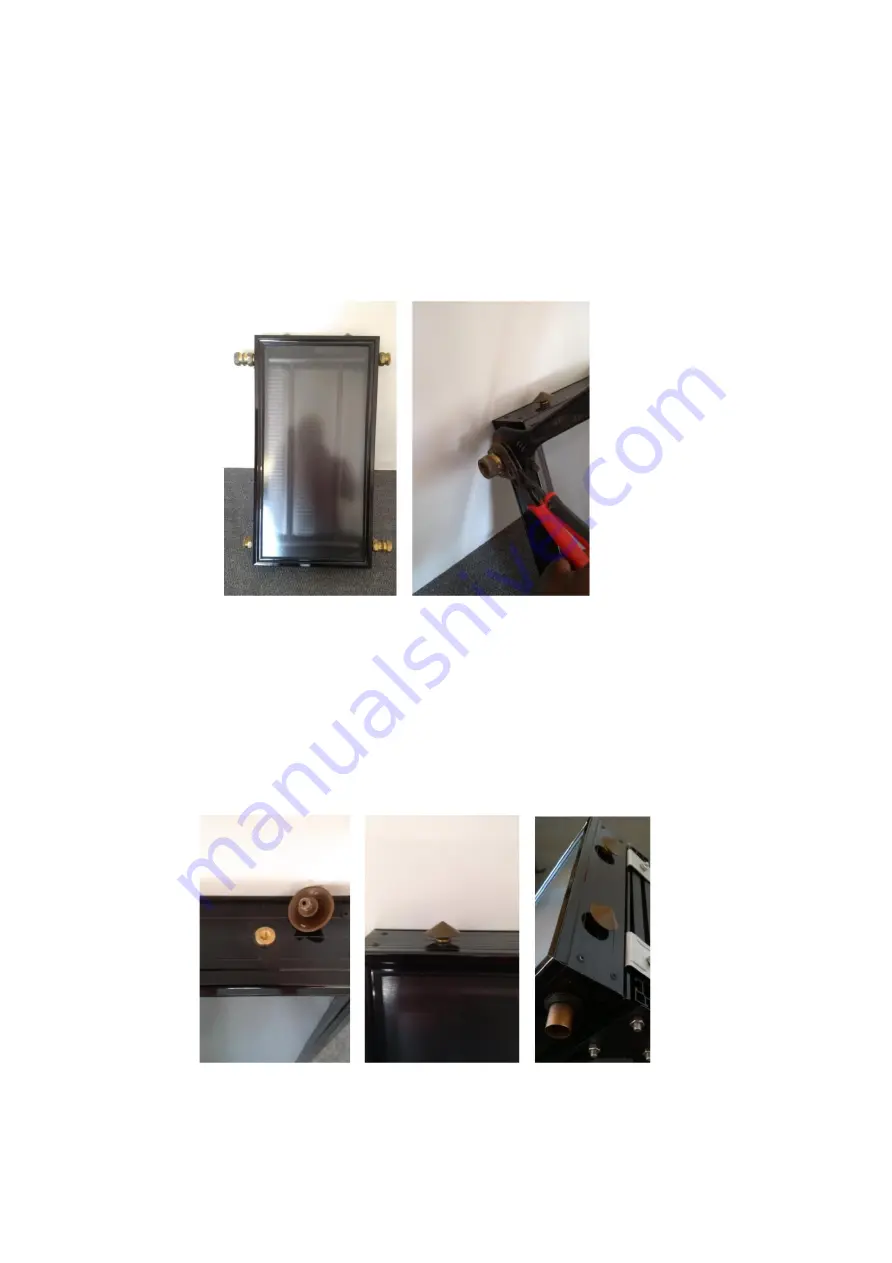
When tightening the compression fittings two shifting spanners or a shifting spanner and water pump pliers must be used to avoid
damaging the collector pipe work.
3.2. Breather holes and vent caps
Located at the top and bottom of the collector are four breather holes (two either side), (8mm brass rivnuts), these “breather holes” allow
air flow through the collector and limit condensation from occurring within the collector. These holes must never be covered or used for the
purpose of mounting, supplied with every collector (clear plastic bag in box) are two Vent caps, these caps are to be screwed into the two
breather holes located at the top of the collector, these vent caps prohibit the ingress of water and debris whilst allowing moist air to escape.