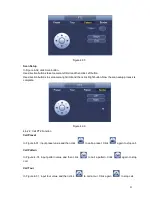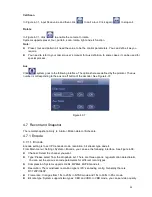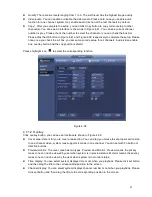
Figure 4-26
78
Tips
On the navigation bar, click
/
to enable/disable tour.
Click Save button to save current setup.
4.6
PTZ
Note:
Before you control the PTZ, please make sure the PTZ decoder and the NVR network
connection is OK and the corresponding settings are right.
4.6.1
PTZ Settings
Cable Connection
Please follow the procedures below to go on cable connection
Connect the dome RS485 port to NVR RS485 port.
Connect dome video output cable to NVR video input port.
Connect power adapter to the dome.
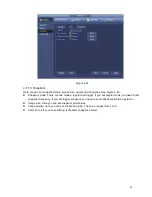
In the main menu, from Setting->System->PTZ, you can see an interface is shown as in Figure 4-26.
Here you can set the following items:
Channel: Select the current camera channel.
PTZ type: There are two types: local/remote. Please select local mode if you are connect RS485
cable to connect to the Speed dome (PTZ). Please select remote mode if you are connecting to the
network PTZ camera.
Protocol: Select corresponding PTZ protocol(such as PELCOD)
Address: Default address is 1.
Baud rate: Select corresponding baud rate. Default value is 9600.
Data bit: Select corresponding data bits. Default value is 8.
Stop bit: Select corresponding stop bits. Default value is 1.
Parity: There are three options: odd/even/none. Default setup is none.
Summary of Contents for NVR-3202K
Page 1: ...i NVR 3202K User manual ...
Page 20: ...9 ...
Page 29: ...18 Figure 3 1 ...
Page 83: ...113 Figure 4 71 Figure 4 72 ...
Page 84: ...114 Figure 4 73 Figure 4 74 ...
Page 90: ...120 Figure 4 79 Figure 4 80 ...
Page 91: ...121 Figure 4 81 Figure 4 82 ...
Page 92: ...122 Figure 4 83 Figure 4 84 ...
Page 94: ...124 Figure 4 86 Figure 4 87 ...
Page 132: ...162 Figure 4 132 Figure 4 133 4 14 3 1 Add Modify Group ...
Page 172: ...202 The motion detect interface is shown as in Figure 5 52 Figure 5 52 Figure 5 53 ...
Page 173: ...203 Figure 5 54 Figure 5 55 Figure 5 56 ...
Page 177: ...207 Figure 5 60 Figure 5 61 ...


