81
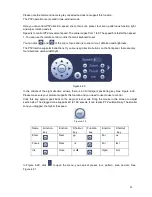
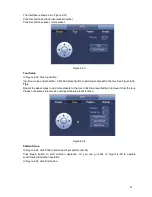
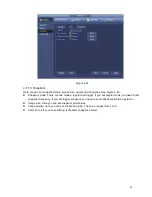
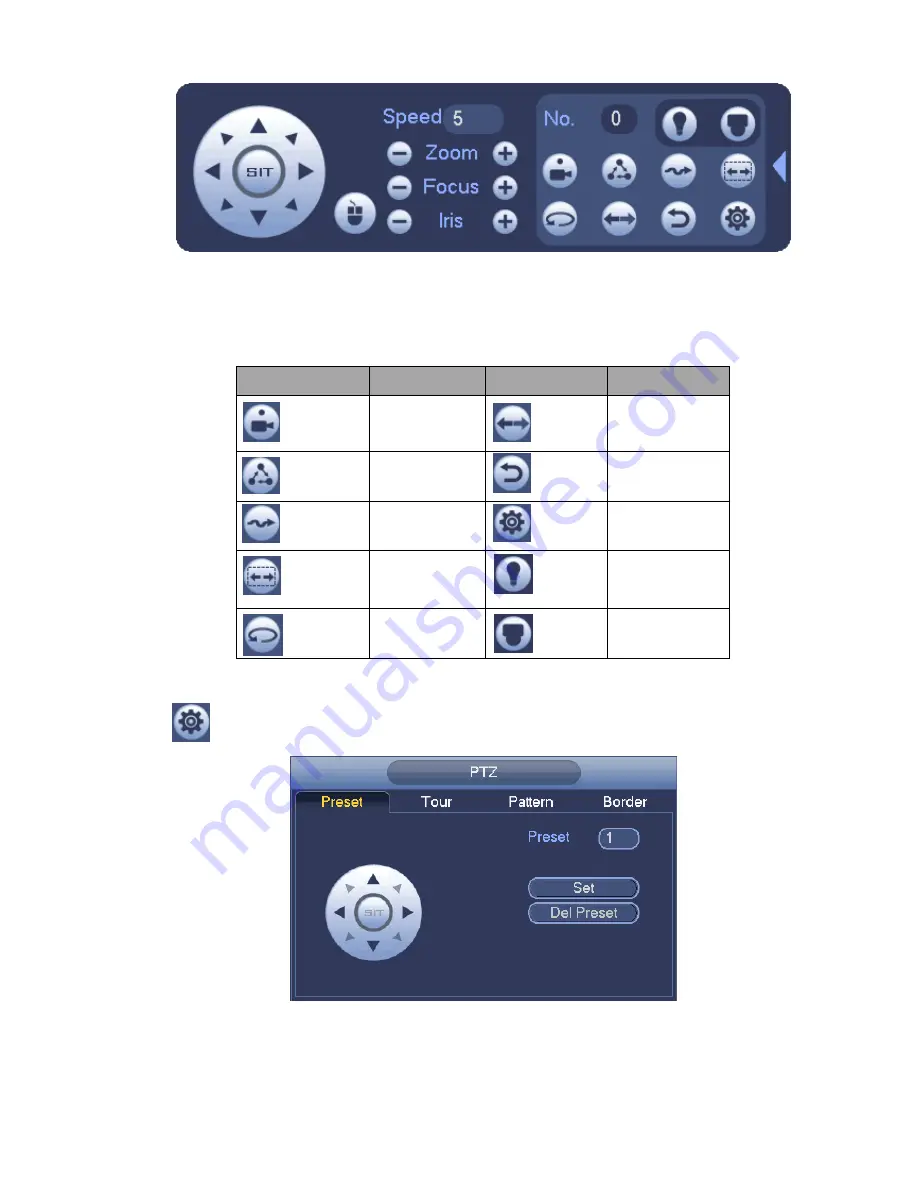
Figure 4-31
Please refer to the following sheet for detailed information.
Please note the above interface may vary due to different protocols. The button is grey and can not
be selected once the current function is null.
Right click mouse or click the ESC button at the front panel to go back to the Figure 4-29.
Icon
Function
Icon
Function
Preset
Flip
Tour
Reset
Pattern
Aux
Scan
Aux
on-off
button
Rotate
Go to menu
4.6.2.1 PTZ Function Setup
Click
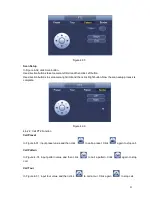
, you can go to the following interface to set preset, tour, pattern, and scan. See Figure 4-32.
Figure 4-32
Preset Setup
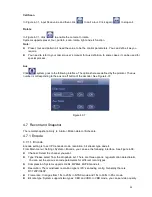
In Figure 4-32, click preset button and use eight direction arrows to adjust camera to the proper position.
Summary of Contents for NVR-3202K
Page 1: ...i NVR 3202K User manual ...
Page 20: ...9 ...
Page 29: ...18 Figure 3 1 ...
Page 83: ...113 Figure 4 71 Figure 4 72 ...
Page 84: ...114 Figure 4 73 Figure 4 74 ...
Page 90: ...120 Figure 4 79 Figure 4 80 ...
Page 91: ...121 Figure 4 81 Figure 4 82 ...
Page 92: ...122 Figure 4 83 Figure 4 84 ...
Page 94: ...124 Figure 4 86 Figure 4 87 ...
Page 132: ...162 Figure 4 132 Figure 4 133 4 14 3 1 Add Modify Group ...
Page 172: ...202 The motion detect interface is shown as in Figure 5 52 Figure 5 52 Figure 5 53 ...
Page 173: ...203 Figure 5 54 Figure 5 55 Figure 5 56 ...
Page 177: ...207 Figure 5 60 Figure 5 61 ...


