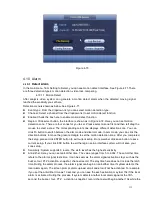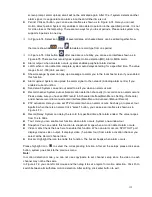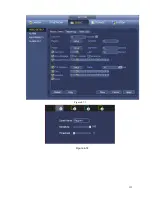
100
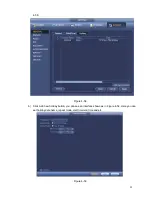
c) Click Add button to complete holiday setup. Now you can enable holiday setup and then click
Apply button.
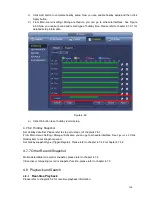
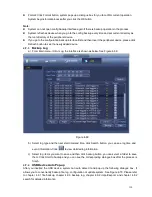
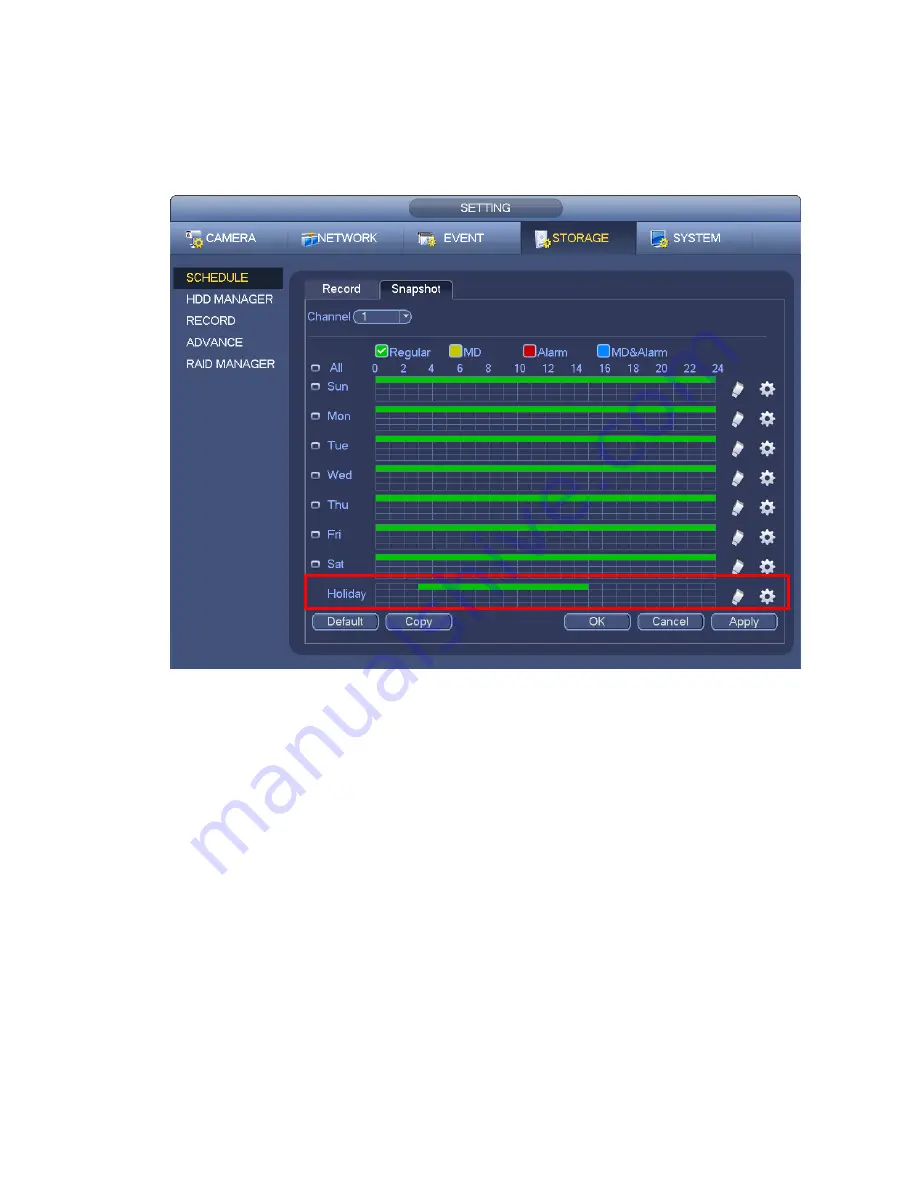
d) From Main menu->setting->Storage->schedule, you can go to schedule interface. See Figure
4-60. Now you can set period and record type of holiday time. Please refer to chapter 4.7.2.1 for
detailed setup information.
Figure 4-60
e) Click OK button to set holiday record setup.
4.7.6.2 Holiday Snapshot
Set Holiday date first. Please refer to step a) to step c) of chapter 4.7.6.1.
From Main menu->Setting->Storage->Schedule, you can go to schedule interface. See
Figure 4-60
. Click
Holiday item to set snapshot period.
Set holiday snapshot type (Trigger/Regular). Please refer to chapter 4.7.2.2 or chapter 4.7.3.2.
4.7.7 Other Record/Snapshot
Motion detect&Alarm record or snapshot, please refer to chapter 4.7.4.
Video loss or tampering record or snapshot function, please refer to chapter 4.7.3.
4.8
Playback and Search
4.8.1
Real-time Playback
Please refer to chapter 4.5.2 for real-time playback information.
Summary of Contents for NVR-3202K
Page 1: ...i NVR 3202K User manual ...
Page 20: ...9 ...
Page 29: ...18 Figure 3 1 ...
Page 83: ...113 Figure 4 71 Figure 4 72 ...
Page 84: ...114 Figure 4 73 Figure 4 74 ...
Page 90: ...120 Figure 4 79 Figure 4 80 ...
Page 91: ...121 Figure 4 81 Figure 4 82 ...
Page 92: ...122 Figure 4 83 Figure 4 84 ...
Page 94: ...124 Figure 4 86 Figure 4 87 ...
Page 132: ...162 Figure 4 132 Figure 4 133 4 14 3 1 Add Modify Group ...
Page 172: ...202 The motion detect interface is shown as in Figure 5 52 Figure 5 52 Figure 5 53 ...
Page 173: ...203 Figure 5 54 Figure 5 55 Figure 5 56 ...
Page 177: ...207 Figure 5 60 Figure 5 61 ...

