Installation of XL-RAID-SATA2-USB
9
2.3 Precautions before application
1. Although XL-RAID-SATA2-USB allows users to use hard disks of different capacities, but if you want
to get best application performance and best product compatibility, we suggest you to use brand new
hard disks of same specifications, model number and brand.
2. If you want to install XL-RAID-SATA2-USB in two used hard disks, before installation, please first
backup data in
these hard disks to other hard disk to avoid data loss in the setting process later on.
3. Please ensure that the two hard disks do not contain bad track as a precaution if one of them fails, it
may cause a system crush or a risk to lose all data.
4. The factory default value of this product is RAID 1, we suggest users to first consider the application
before using it. If your requirement is data security, please set it as RAID 1 mode; and if your
consideration is to expand storage capacity, please set it as RAID 0 mode. Should you need
resetting later on, it would destroy the data in the disks.
5. RAID 0 has no data backup function, but it is capable of combining all the hard disks to form a large-
capacity hard disk with faster transmission performance. But whenever one of the hard disks fails, it
would destroy the data in all the hard disks.
6. Users are able to set RAID level and XL-RAID-SATA2-USB basic functions through the LCD monitor
and the right
keys at the front of the product.
Chapter 3 Installation of XL-RAID-SATA2-USB
3.1 Installation of hard disk
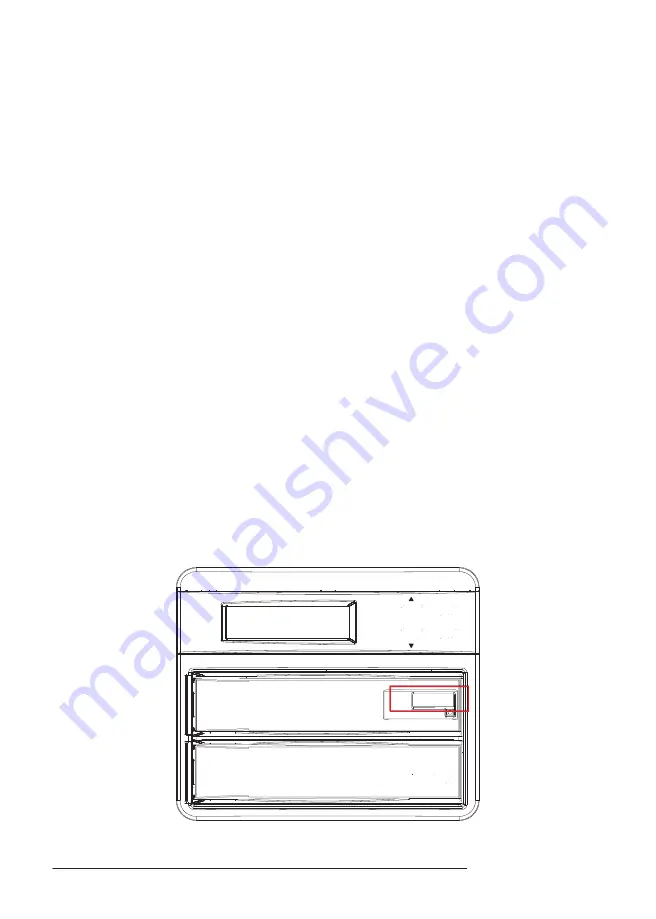
1. Press the hard disk tray button
※
Press the hard disk tray button and pull out the hard disk tray
ESC PWR
ENTER ALARM


