


CUSTOMER SERVICE 1-888-707-1880 Dyaco Canada Inc.©2014
31
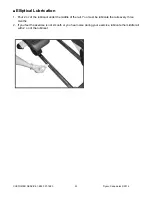
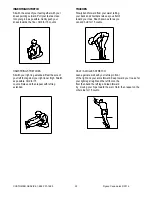
STRETCHING
Stretching should be included in both your warm up and cool down, and should be performed after 3-5
minutes of low intensity aerobic activity or callisthenic type exercise. Movements should be performed
slowly and smoothly, with no bouncing or jerking. Move into the stretch until slight tension, not pain, is
felt in the muscle and hold for 20-30 seconds. Breathing should be slow, rhythmical and under control,
making sure never to hold your breath.
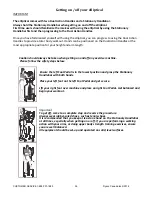
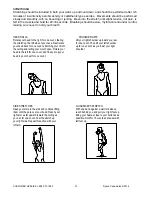
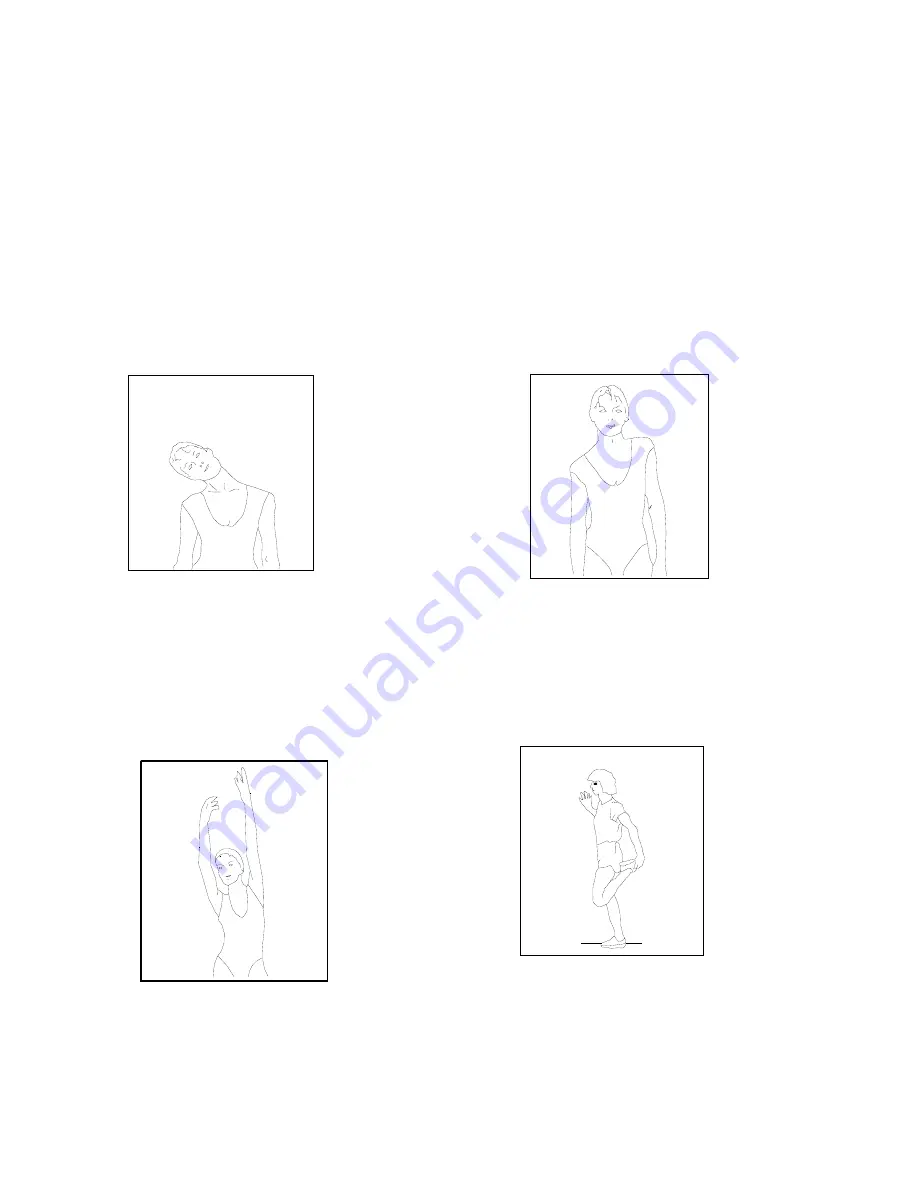
HEAD ROLLS
SHOULDER LIFTS
Rotate your head to the right for one count, feeling
Lift your right shoulder up toward your ear
the stretch up the left side of your neck. Next rotate
for one count. Then lift your left shoulder
your head back for one count, stretching your chin to
up for one count as you lower your right
the ceiling and letting your mouth open. Rotate your
shoulder.
head to the left for one count, and finally, drop your
head to your chest for one count.
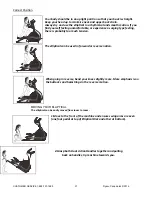
SIDE STRETCHES QUADRICEPS STRETCH
Open your arms to the side and continue lifting
With one hand against a wall for balance,
them until they are over your head. Reach your
reach behind you and pull your right foot up.
right arm as far upward toward the ceiling as
Bring your heel as close to your buttocks as
you can for one count. Feel the stretch up
possible. Hold for 15 counts and repeat with
your right side. Repeat this action with your
left foot up.
left arm.


