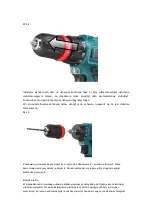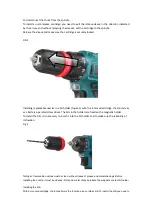
rotate from the hand of the coupling of the cartridge counterclockwise, so as to open the clamping fingers,
and adjusting the coupling distance between the cam according to the shank diameter of a drill or bits.
Insert the drill to the end of the cartridge. Turn the Clutch Clockwise and make sure the drill is securely
installed in the cartridge.
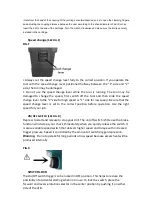
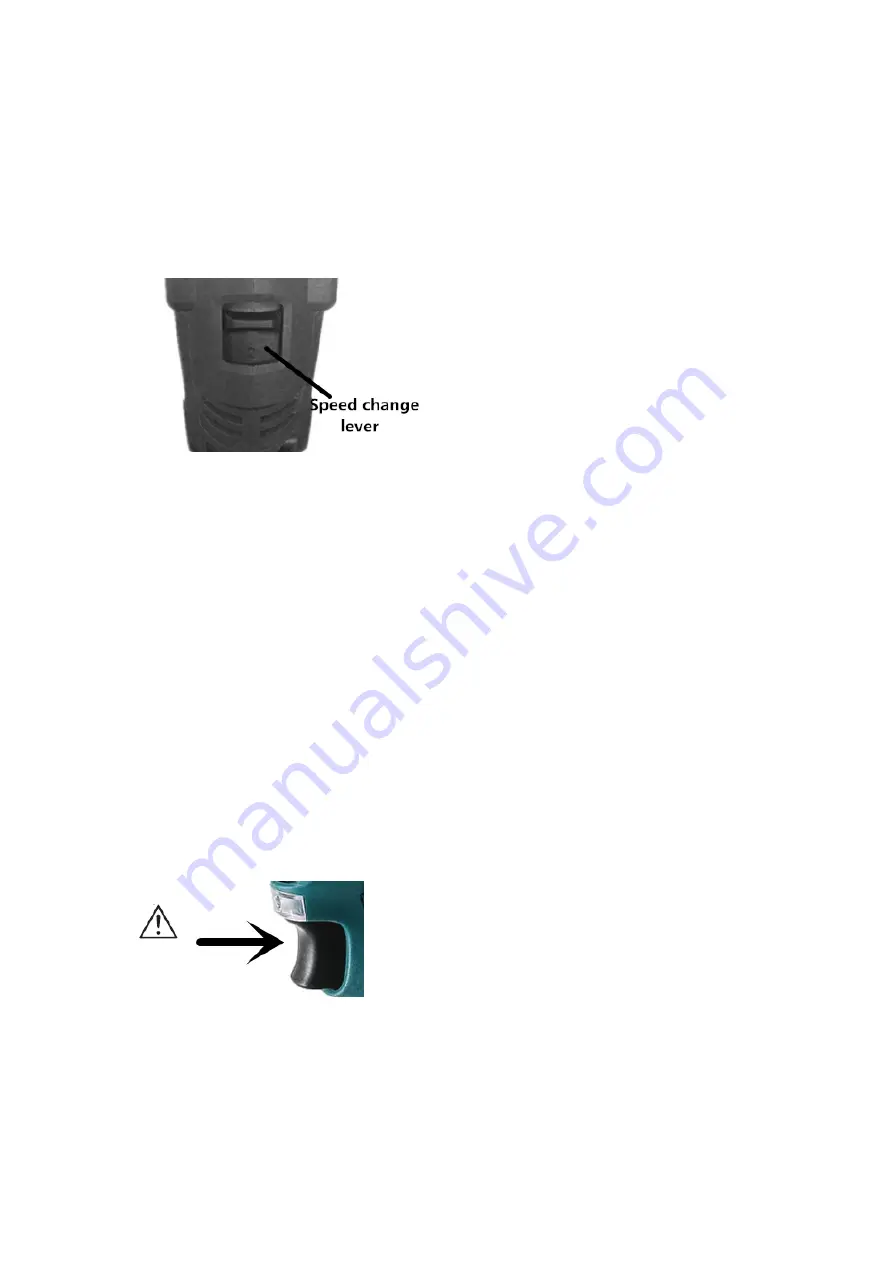
Speed change
[SEE FIG.F]
FIG.F
• Always set the speed change lever fully to the correct position. If you operate the
tool with the speed change lever positioned halfway between the "1" side and "2"
side, the tool may be damaged.
• Do not use the speed change lever while the tool is running. The tool may be
damaged.To change the speed, first switch off the tool and then slide the speed
change lever to the "2" side for high speed or "1" side for low speed. Be sure that the
speed change lever is set to the correct position before operation. Use the right
speed for your job.
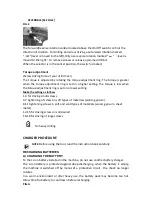
ON/OFF SWITCH [SEE FIG.D]
Depress to start and release to stop your drill. The on/off switch is fitted with a brake
function which stops your chuck immediately when you quickly release the switch. It
is also a variable speed switch that delivers higher speed and torque with increased
trigger pressure. Speed is controlled by the amount of switch trigger depression.
Warning
:
Do not operate for long periods at low speed because excess heat will be
produced internally
FIG.D
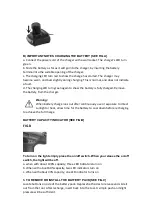
SWITCH LOCK
The On/Off switch trigger can be locked in OFF position. This helps to reduce the
possibility of accidental starting when not in use. To lock the switch, place the
forward and reverse rotation selector in the center position by pushing it on either
side of the drill.

