background image

ELECTRIC SAFETY

a) 

The power cord plug shall always suit the socket. Never adjust the socket. Do not use 

plug hubs. Non-adjusted plugs and appropriate sockets reduce the risk of electric shock injury.

b)

Prevent body contact with conductive surfaces to avoid a risk of electric shock injury.

c)

Do not expose the tool to rain or wet locations. Presence of water in electric tool highly increases the risk 

of electric shock injury.

d)

Do not force the cord. Keep the cord away from heat sources, oil, sharp edges or movable parts. Damaged 

cord increases a risk of electric shock injury.

e)

When manipulating in exterior areas consider an extension cord intended for outdoor use specifically. 

Using an exterior extension cord decreases a risk of electric shock injury.

f)

It is strictly recommended to use a ground fault circuit interrupter (GFCI) when manipulating the tool in a 

wet area. Using of GFCI decreases a risk of electric shock injury.

g)

A double insulated tool is equipped with a polarized plug (one prong is wider than the other). If the 

connector does not fully suit the socket, turn the plug. Do not change the plug by any means. Double insulation 

eliminates the need for grounding of power cord and power supply system.
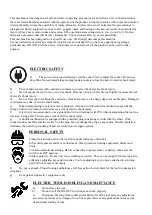
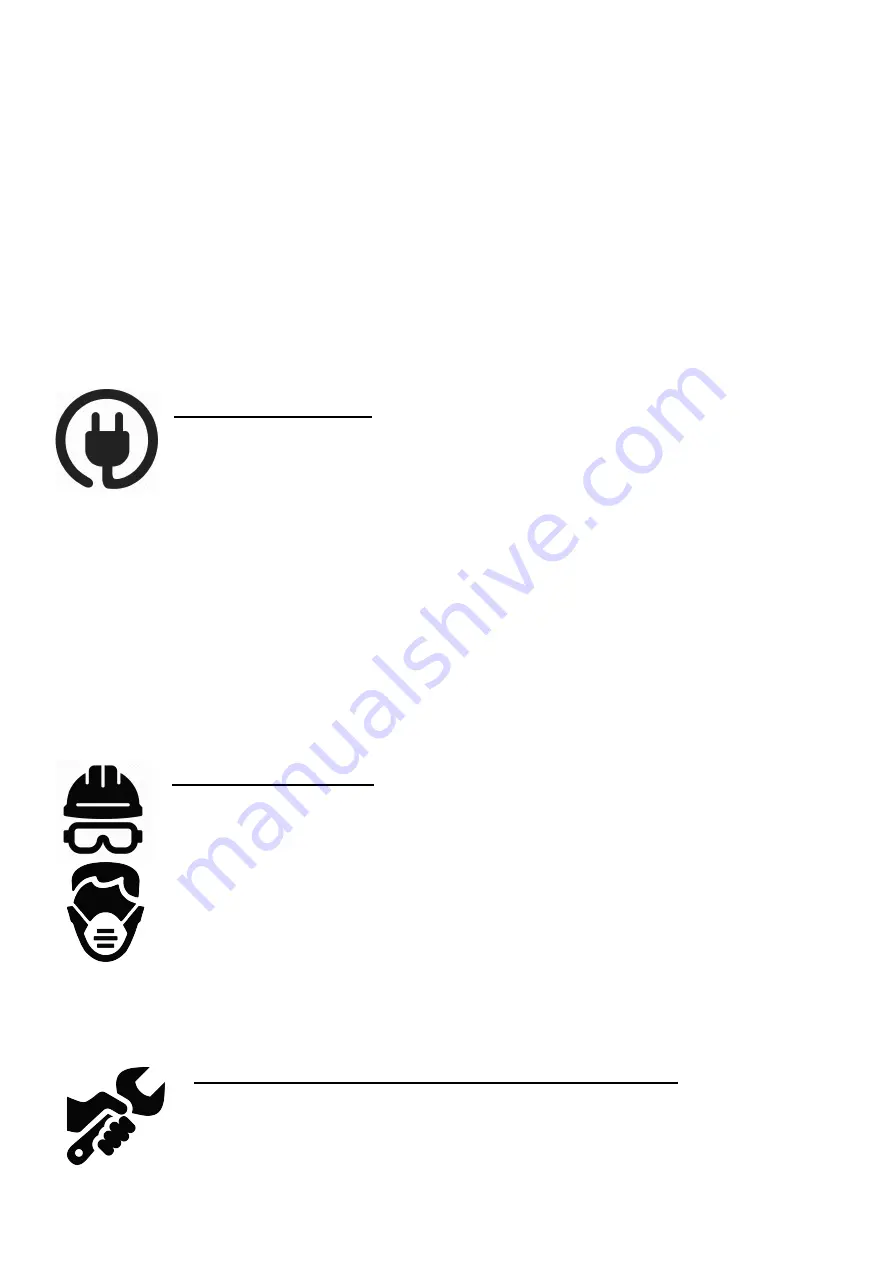
PERSONAL SAFETY

a)Stay alert and do not use the tool when under influence of alcohol.

b)Use safety glasses and face or dust mask. Wear protective hearing equipment, helmet and 

boots.

c)Avoid unintentional starting. Before connecting to power source or battery, make sure the 

switch is at OFF position.

d)Dress properly. Do not wear loose clothing or jewelry. They can be caught with moving parts.

e)Remove adjusting keys and wrenches. Tool or adjusting key you leave attached to a turning 

part of the tool may cause injury.

f)

Do not overreach. Proper footing and balance at all times allow better control of the tool in unexpected 

situations.

g)

Use approved protective equipment only.

ELECTRIC TOOL HANDLING AND MAINTANCE

a)

Do not force the tool.

b)

Do not use if the ON/OFF switch does not work properly.

c)

Disconnect the plug from socket and/or battery from the tool prior any adjustment, 

accessory replacement or storage of tool. These preventive safety precautions reduce a risk 

of accidental starting of tool.

This machine can be dangerous if safe and correct operating procedures are not followed. As with all machines, 

there are certain hazards associated with the operation of the product. Using the machine with respect and caution 

will significantly reduce the possibility of injury. However, injuries can occur if normal safety precautions are 

disregarded. Safety equipment such as covers, goggles, mask and hearing protection can reduce the potential for 

injury. Always use common sense and caution. If the operation seems dangerous to you, do not try it. Find an 

alternative procedure that will be safer. Remember: Your personal safety is your responsibility.

This machine has been designed for a specific use only. We strongly discourage this machine

has been altered or used for any work for which it was not intended. If you have any questions regarding a 

particular use, DO NOT USE the device, first contact your dealer to see if the product can be used for that 

purpose.

Summary of Contents for XT125H

Page 1: ...m r otvoru bubnu Pr m r kol Nap t V kon motoru Ot ky motoru Hmotnost HCM450 125L 57cm 20cm x 4 38cm 230V 50Hz 550W 2800 ot min 51 kg Model XT140H Objem m cha ky Pr m r otvoru bubnu Pr m r kol Nap t V...

Page 2: ...n ho spu t n Ujist te se zda je sp na p i zapojov n vidlice do z suvky vypnut P en en n ad s prstem na sp na i nebo zapojov n vidlice n ad se zapnut m sp na em m e b t p inou nehod d P ed zapnut m n a...

Page 3: ...sunut m p ep na e do horn polohy 3 Pokud se hodnota ukazatele tlaku bl nebo je rovna maximu kontroln sp na za zen automaticky vypne Pokud nen za zen v provozu elektromagnetick ventil odstran vzduch z...

Page 4: ...ch nebo k jin m el m ne ke kter m je ur en nebo pou v n m nevhodn ch nebo nekvalitn ch maziv apod kody vznikl p soben m vn j ch mechanick ch teplotn ch i chemick ch vliv vady byli zp sobeny nevhodn m...

Page 5: ...obami upevn te buben 7 s p ipojen m r mem bubnu 20 na podstavec 15 Pou vejte doporu en p slu enstv Pou it p slu enstv a dopl k kter nejsou doporu en v robcem m e zp sobit nebezpe nebo riziko zran n os...

Page 6: ...7l vody 3 lopaty cementu 15 lopat horniny p sku VAROV N Nepokou ejte se pohybovat m cha kou kdy je pln a nebo v provozu M e doj t ke zran n osob 4 P izp sobte hel bubnu pro m ch n materi lu pomoc ovl...

Page 7: ...vu Udr ujte buben v dostate n m hlu Nevyl vejte obsah bubnu na vegetaci Provozujte m cha ku pouze na rovn m povrchu Nepohybujte m cha kou b hem provozu m e se p evr tit nebo m e doj t k po kozen Nepra...

Page 8: ......

Page 9: ......

Page 10: ...N EN 61439 1 ed 2 Rozv d e n zk ho nap t st 1 V eobecn ustanoven 2012 05 01 SN EN IEC 61439 1 ed 3 Rozv d e n zk ho nap t st 1 Obecn ustanoven 2021 10 01 SN EN 60204 1 ed 3 Bezpe nost strojn ch za zen...

Page 11: ...Emission standard for industrial environments 2019 11 01 EN 61000 6 4 ed 2 Electromagnetic compatibility EMC Part 6 4 Generic standards Emission standrd for industrial environments 2007 09 01 EN 55011...

Page 12: ...oru bubna Priemer koles Nap tie V kon motora Ot ky motora Hmotnos HCM450 125L 57cm 20cm x 4 38cm 230V 50Hz 550W 2800 ot min 51 kg Model XT140H Objem mie a ky Priemer otvoru bubna Priemer koles Nap tie...

Page 13: ...lavy alebo ochrana sluchu pou van v s lade s podmien kami pr ce zni uj nebezpe enstvo poranenia os b c Vyvarujte sa ne myseln ho spustenia Uistite sa i je sp na pri zap jan vidlice do z suvky vypnut P...

Page 14: ...e s r o v s lade s t mto z konom poskytuje na Vami zak pen v robok zodpovednos za chyby po dobu 24 mesiacov u pr vnick ch os b 12 mesiacov Reklam cie bud pos den na m reklama n m oddelen m pozri ni ie...

Page 15: ...poz cii OFF pred pripojen m nap jacieho k bla V pr pade v padku pr du prepnite vyp na do polohy OFF 17 Nikdy nest pajte na mie a ku M e d js k v nemu zraneniu keby sa mie a ka naklonila alebo do lo k...

Page 16: ...podlo ka a matica 12 Pripojte nastavite n rameno 25 na ulo enie 24 13 Pripojte ovl dacie koleso 29 a priskrutkujte skrutkou 27 M10x60 14 Prilepte tesnenie 11 na hornej bubon 9 uistite sa e otvory v o...

Page 17: ...cm 4 Pravidelne skontrolujte v etky matice skrutky na tesnos Z ruka sa poskytuje po dobu dvoch rokov a vz ahuje sa iba na materi lov popr v robn z vady kody ktor vznikli v d sledku neodborn ho zaobch...

Page 18: ...ru b bna rednica ko a Napi cie Moc silnika Pr dko silnika Waga HCM450 125L 57cm 20cm x 4 38cm 230V 50Hz 550W 2800 rpm 51 kg Model XT140H Obj to rednica otworu b bna rednica ko a Napi cie Moc silnika P...

Page 19: ...chrony s uchu kasku i obuwia ochronnego c Nale y unika niezamierzonego uruchomienia Przed pod czeniem do r d a zasilania lub akumulatora nale y upewni si e prze cznik znajduje si w pozycji OFF d Nale...

Page 20: ...a Zmontuj stojak 1 Umie ram 21 we wsporniku 16 tak aby otwory pasowa y do siebie jak pokazano na poni szym rysunku strona jest pokazana z boku aby u atwi monta Zobacz tak e zdj cie na stronie tytu owe...

Page 21: ...o przed u acza i uziemi 3 Nape nij b ben materia em Typowe maksymalne ilo ci to ok 7 l wody 3 opaty cementu 15 opaty ska y piasku OSTRZE ENIE Nie pr buj przemieszcza mieszad a gdy jest ono pe ne i lub...

Page 22: ...iameter Wheel diameter Voltage Engine power Speed Weight HCM450 125L 57cm 20cm x 4 38cm 230V 50Hz 550W 2800 rpm 51 kg Model XT140H Mixer volume Drum hole diameter Wheel diameter Voltage Engine power S...

Page 23: ...tch is at OFF position d Dress properly Do not wear loose clothing or jewelry They can be caught with moving parts e Remove adjusting keys and wrenches Tool or adjusting key you leave attached to a tu...

Page 24: ...ten with a wrench 5 Place the stand straight as shown on the next page 6 Fit the wheel 17 and place the washer 18 7 Insert slide out the pins into the wheel holder 16 of the axle holes each outside th...

Page 25: ...power cord 8 Rotate the drum as far as possible to allow all liquids to drain from the drum Maintenance 1 Immediately after use wash all dirt from the inside and outside of the construction mixer Mak...

Reviews: