Reassemble Drivetrain and Rear Brake
s
tep 6
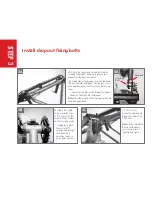
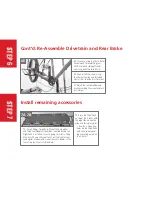
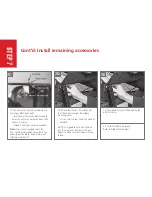
6A: Install the rear brake caliper on the Leap frame.
Check that the rear brake caliper is properly spaced for
the rear rotor being used (minimum rotor size is 180mm).
For some disk brakes, the shape/size of the caliper
body causes intereference with the leap frame when
using a 160mm rotor. Take note when installing. You
must switch to 180mm rotor and post mount adapter
if your caliper touches the frame. Do not risk lowering
the braking capacity by adding spacers to make the
160mm rotor work. Also, with cargo bikes, your braking
needs increase significantly and thus it is highly
recommended that you use 180mm rotors minimum.
6A
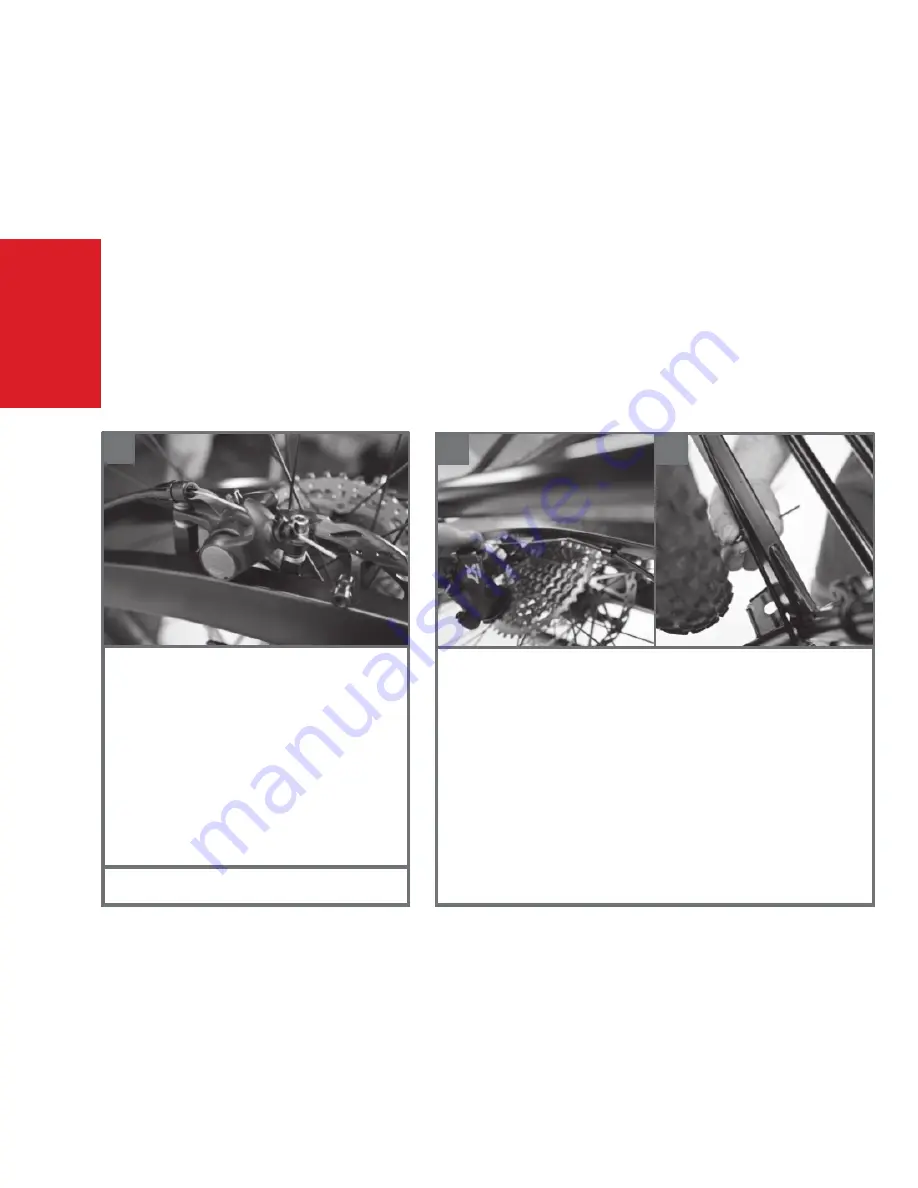
6C: Install longer rear derailleur and brake cable and housing (if rear brake is
mechanical). If rear brake is hydraulic, refer to manufacturer instructions for
running a longer hose to the brake.
Notes:
•
The housing can run continuously from the rearmost housing stop on the
bike frame to the derailleur or brake, or the full length from the lever if no
stops are present on the frame.
•
The derailleur housing should be run under the forward bar of the Leap
frame to avoid interference with the chain. There is a welded-on cable guide
for the derailleur cable ahead of the dropout.
•
There are three bolt-on cable guides for the rear brake cable or hose
included. Use as many as you need to secure the rear brake cable while also
providing for a smooth cable path into the rear caliper.
6C
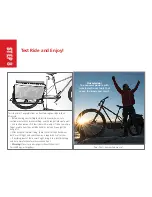
6B: Install the derailleur on the Leap frame.
6C


