background image

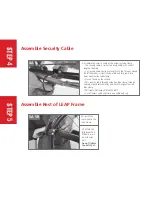
Assemble Security Cable

s

tep 4

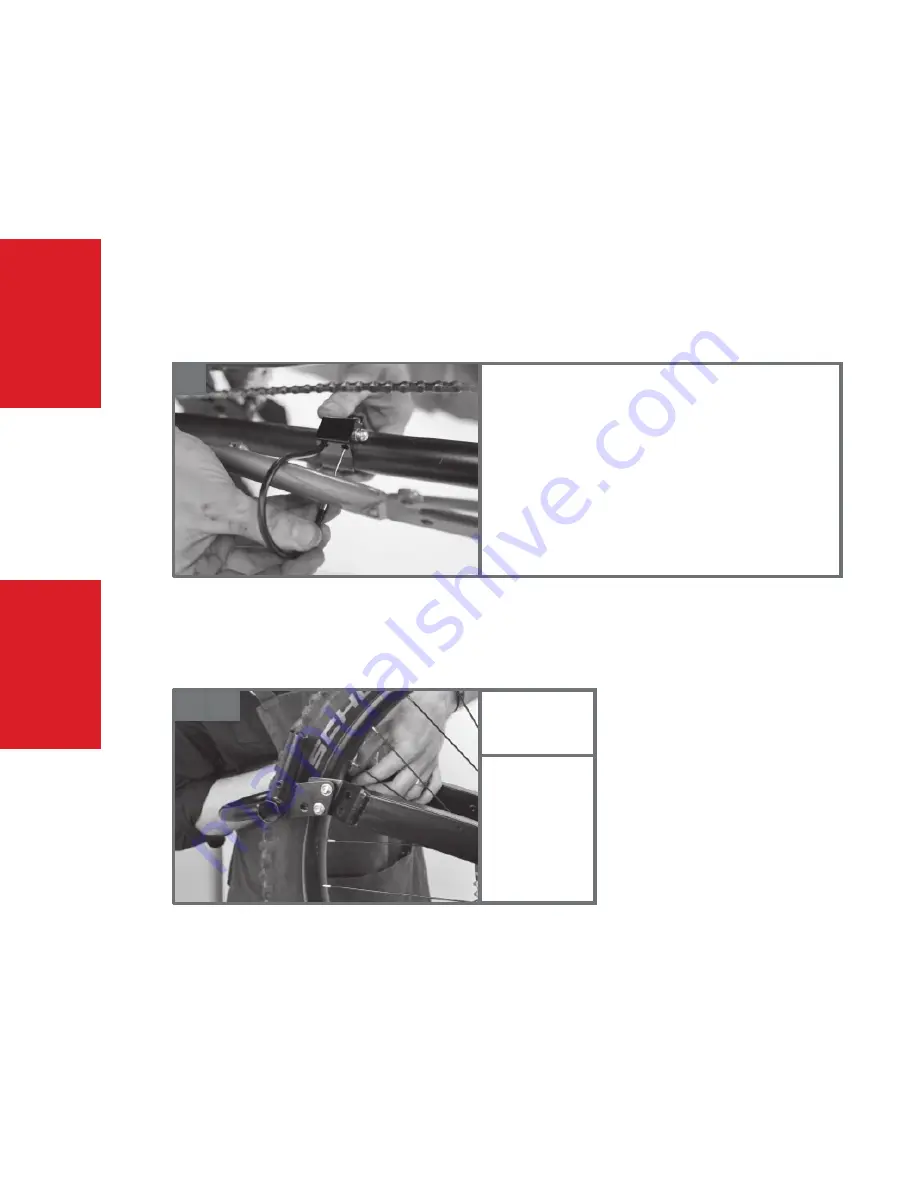
4: Assemble the security cable on the extension tube clamp.

• 

The security cable is similar to a brake cable, with a short 

length of housing.

• 

Cut security cable housing to length such that it loops around 

the left chainstay as tightly as possible and fully seats into 

stops on extension tube clamp. 

• 

Place a ferrule on the cut end.

• 

Pass security cable through extension tube clamp, through 

housing, around left chainstay, and back through extension 

tube clamp.  

• 

Pull tight and clamp with the M5 bolt. 

• 

Cut off excess cable and crimp on a cable end cap.

4A

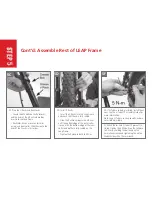
Assemble Rest of LEAP Frame

5A: Install the 

rear wheel in the 

Leap Frame. 

5A

s

tep 5

5B

5B: Attach the 

tailpiece with 4 

M6 bolts, wash-

ers, and nyloc 

nuts. 

Do not tighten 

the bolts yet.

Summary of Contents for LEAP

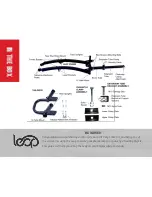
Page 1: ...LEAP A SSEMBLY MAN UAL Rev 1A ...

Page 2: ...ons on purchasing an Xtracycle Leap DIY Cargo Bike Kit and being one of the visionaries using the Leap to create your dream cargo or passenger hauling bicycle This guide well help you set up the Leap on your bicycle safely and easily ...

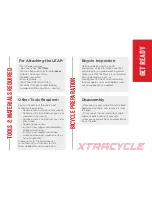
Page 3: ...r derailleur cable and housing Install a new longer rear brake cable and housing mechanical or hose hydraulic Please refer to the component s manufacturer instructions for the tools needed for each operation BICYCLE PREPARATION Bicycle Inspection Before undertaking the LEAP conversion check to make sure that your bicycle is in good working order Make sure that the frame is sound and has no damage ...

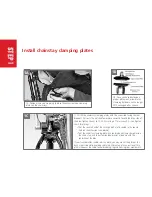
Page 4: ...side of the bike Tighten the nut to 15 20 N m using a 17mm wrench As you tighten check two things That the square head of the carriage bolt is fully seated in the square hole on the extension tube bracket That the chainstay clamping plates are centered and clamp straight across the chain stays and the extension tube bracket is lined up with the centerline of the bike If your front derailleur cable...

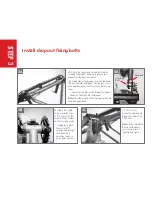
Page 5: ...e dropout spacer on the inside of the frame Note There are two mounting positions for the dropout fixing bolts on the Leap frame The forward position will give the finished bike a longer overall wheelbase for more stability greater clearance between the rider and passengers cargo on bikes with short chainstays and less potential for interference between the bike frame and Leap frame The rearward p...

Page 6: ...n the dropout fixing bolt heads can fully seat into the dropout Note This step may be easiest to accomplish with the bike upside down 3A 3A 3B Adjust the length of the extension tube until it aligns with the extension tube bracket on the clamping plates Temporarily place the shorter M10 carriage bolt through the bracket and extension tube as a pin to hold in place 3B 3C Use a 17mm wrench to tighte...

Page 7: ...thin the cocoon New cells are called imaginal cells start popping up and they are so completely different from the original ooze cells that they are thought to be a virus or some other form of enemy so the ooze cells begin attacking the imaginal cells However even though the imaginal cells are being killed off for not fitting in they still keep showing up more and more of them Eventually the imagi...

Page 8: ...nd fully seats into stops on extension tube clamp Place a ferrule on the cut end Pass security cable through extension tube clamp through housing around left chainstay and back through extension tube clamp Pull tight and clamp with the M5 bolt Cut off excess cable and crimp on a cable end cap 4A Assemble Rest of LEAP Frame 5A Install the rear wheel in the Leap Frame 5A step 5 5B 5B Attach the tail...

Page 9: ...d Slide the RackLocks down the V Racks until the bottom edge of the outer collar is even with the bottom edge of the inner collar and both are fully seated on the Leap Frame Tighten the RackLock bolts to 4 N m 5D 5F With V Racks and U Tubes if present in stalled tighten the 4 M5 bolts on the tailpiece to 5 N m by holding the bolt head with a 4mm allen wrench and tightening the nut on the backside ...

Page 10: ...180mm rotors minimum 6A 6C Install longer rear derailleur and brake cable and housing if rear brake is mechanical If rear brake is hydraulic refer to manufacturer instructions for running a longer hose to the brake Notes The housing can run continuously from the rearmost housing stop on the bike frame to the derailleur or brake or the full length from the lever if no stops are present on the frame...

Page 11: ...structions Install remaining accessories step 7 7A 7A CarryAll Bags CargoBays WheelSkirts Hoopties and Yepp Seat Adapters should be installed before the FlightDeck is installed If you re going to install a Yepp Maxi EasyFit you will want to cut out the front or rear rectangular window and mount the seat adapter at the same time that you install the deck 7B 7B Place the FlightDeck on top of the V r...

Page 12: ...of the block and a washer will interfere with that fit 7C Cont d Install remaining accessories step 7 7D Thread the shorter 15mm bolts into the V Rack bosses under the middle mounting holes Use a small washer under the head of each bolt NOTE it is a good idea to start the bolt into the aluminum rack boss with your fingers to make sure that it doesn t cross thread 7D 7E 7E Once all bolts are instal...

Page 13: ...et used to how the new bike handles but you ll soon get the hang of it After a week of normal riding check that all of the attachment bolts are still tight and check them on a regular basis after that If anything doesn t feel or work right bring it to a local bike shop and have a professional mechanic check it out Warning Never carry passengers without WheelSkirts CarryAll Bags or CargoBays Yep Th...

Reviews: