


4
INSTALLATION
FOOT SWITCH
DESIGNED FOR DREDGING PIPES .75 - 1.5” PIPES
GREAT FOR BATHROOMS AND KITCHEN PIPES
DOUBLE INSULATED SOCKETS
SLIDING CLIP GRASPING BELT
AUTOMATIC FORWARD / BACKWARD AND MANUAL OPERATION
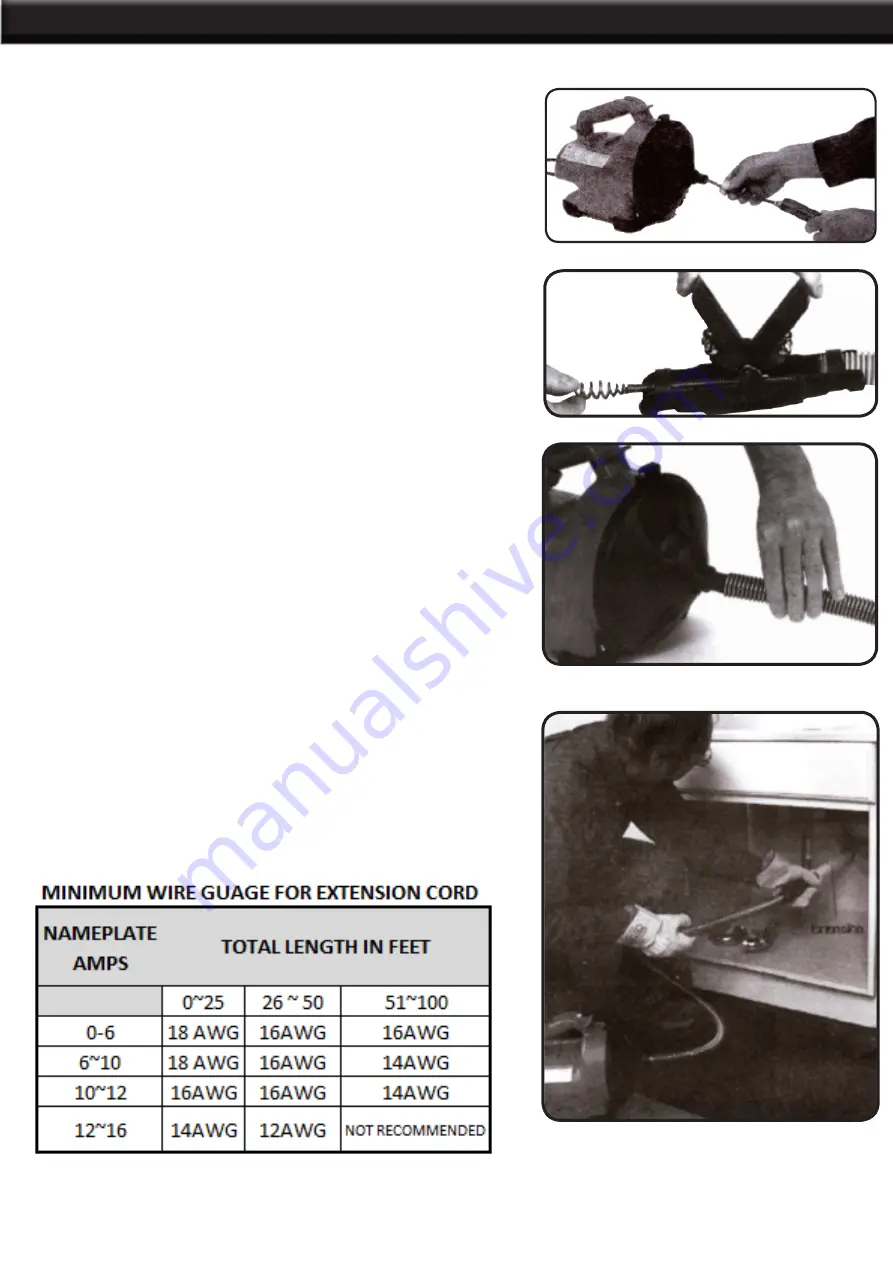
AUTOMATIC CABLE ENTRY INSTALLATION
1.
Put the cable head in and pass through the guide pipe.
2.
Lift the automatic entry/withdrawal control rod so that the
spherical spiral head of the cable can pass through.
3.
Put down the automatic feeding / withdrawing control rod and
put the cable conduit on the machine conduit.
PRE-OPERATION INSPECTION
1.
Confirm that the plug is pulled out of the unit and make sure
the cable is not damaged.
2.
Refer to the manual to lubricate the automatic header and
cable and check the safety label.
3.
Check and make sure there is sufficient light and no combustible
liquids gas or dust in the vicinity of the machine.
4.
Make sure the power switch on the machine is at OFF.
5.
Before plugging into the socket, confirm the dredger is close
enough to reach the area you will be draining. If the distance
cannot be achieved within 15cm, add the sleeve shown in Fig. D
FIG. D
FIG. C
FIG. B
FIG. A
NOTE: USE A STANDARD POWER CORD.
When using this
machine outdoors, use an extended cable marked “W-A” or “W”.
These cables are suitable for outdoor use and can reduce the
occurrence of electrical shock and the insulating layer of wire
must be of sufficient thickness.
Summary of Contents for 45075
Page 7: ...PARTS LIST 6 ...


