5
OPERATION
1.
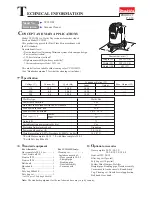
Pull out the cables and place them at least 30cm in the pipe so that
the head will not come out when the machine starts.
2.
Make sure the switch/pedal on the machine can be controlled at the
same time and do not stand on the pedal switch.
3.
Open the switch on the machine and do not step on the foot switch
at this time. Do not trigger the reverse mode as this could cause
damage to the cable.
4.
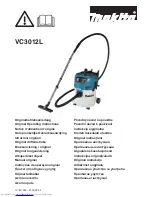
Make sure the cables in the dredged pipe are at least 30cm long. The moving cable rod is at most 15cm
away from the pipe opening. Step on the foot switch and start the machine, press the automatic cable rod.
It will automatically move forward in the pipeline. This operation must be completed by one person.
REPLACING THE CABLES
1.
Remove the conduit from the machine and lift the automatic entry rod so that the cables can exit from the
and extend the remaining cables into the machine with only one head outside.
2.
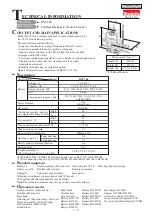
Release the three screws on the drum and remove the cover of the drum and remove the whole drum from
the machine.
3.
Turn the drum over and load the cable manually.
4.
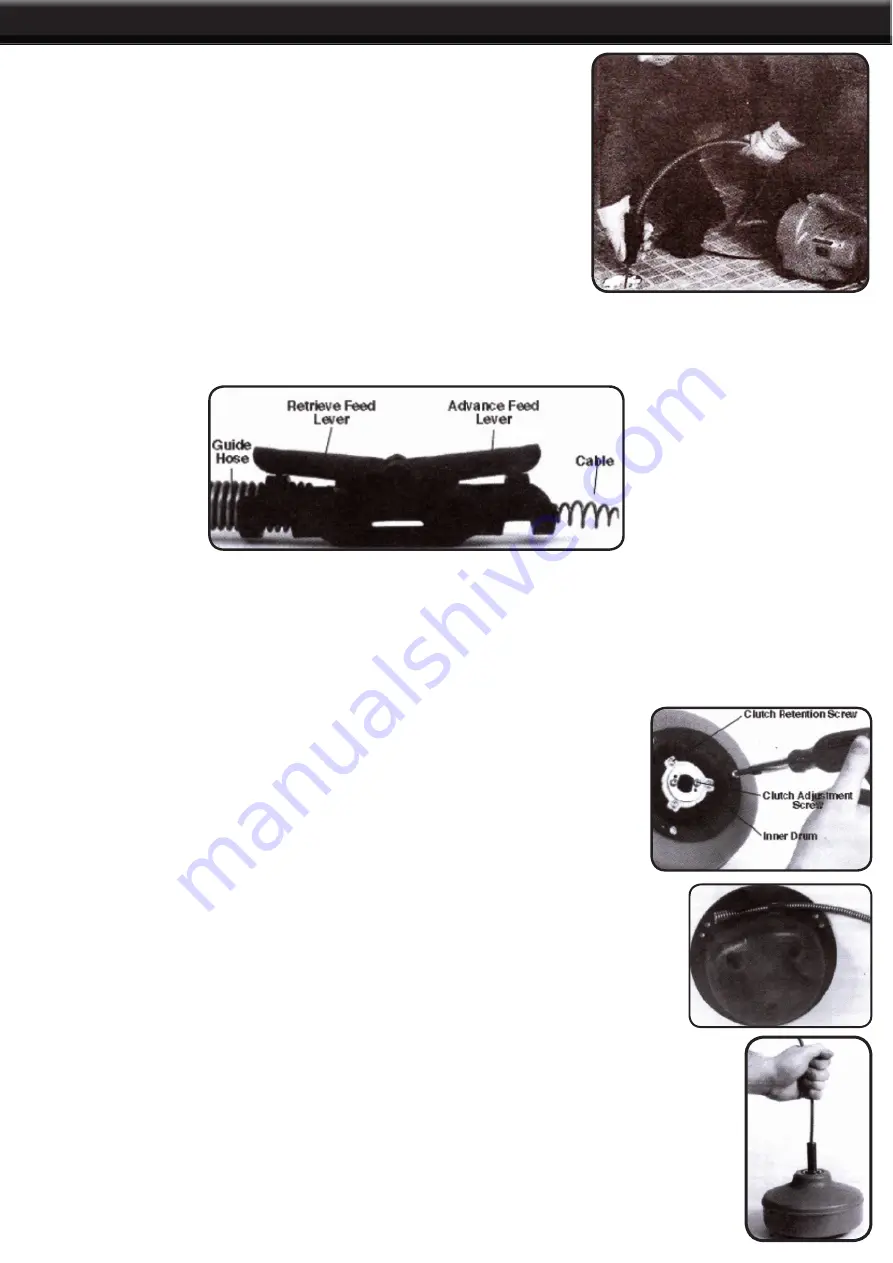
Take out the inner drum and insert the cable head into the inner
drum.
5.
Turn the drum toward the ground and pull out all the cables from the
spherical rotating head.
6.
Starting from the tail end of the new cable (it is fixed on the inner drum)
7.
Install the inner drum and the steel cable together into the outer drum. Align the
screw holes and replace them with new screws.
8.
Turn the drum over and load the cable manually.
9.
Replace with a new drum cover to align the screw eye, tighten.
10.
Install the catheter.
Summary of Contents for 45075
Page 7: ...PARTS LIST 6 ...