OPERATION
8
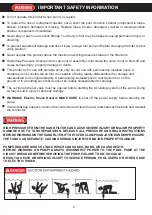
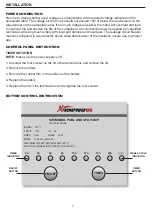
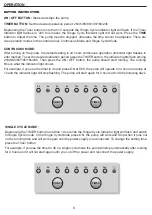
BUTTON INSTRUCTION
ON / OFF BUTTON:
Starts and stops the pump
TIMER BUTTON:
Set the desired operation period: 2h/4h/6h/8h/10h/16h/24h
Depressing the Timer button more than 10 seconds the Single Cycle indicator light will flash. If the Timer
Indicator light flashes in ‘24h’ this means the Single Cycle Indicator light did not work. Press the
TIME
button to adjust the time. The pump must be stopped, otherwise the time cannot be adjusted. There are
two operation modes in the control panel: Continuous Mode and Single Cycle Mode
CONTINUOUS MODE:
After turning on the pump, the default setting is 24 hours continuous operation (Indicator light flashes in
24hr marker) To set the desired operation period press the TIMER button, the indicator lights flash among
2h/4h/6h/8h/10h/16h/24h. Then press the ON / OFF button, the pump should start running. The running
time is what the indicator light shows.
TIMES
ON/OFF
2h
4h
6h
8h
10h
12h
16h
24h
TIMES
ON/OFF
2h
4h
6h
8h
10h
12h
16h
24h
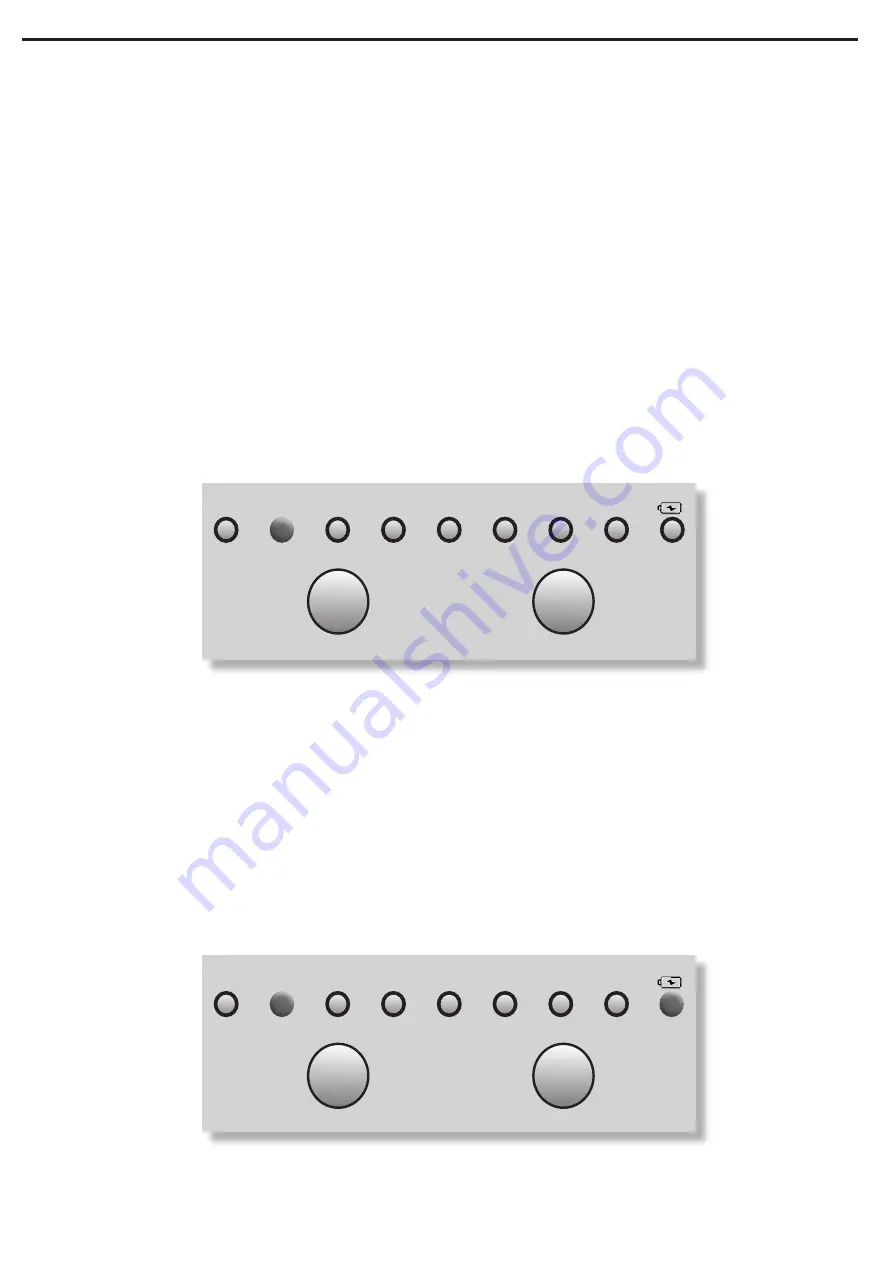
SINGLE CYCLE MODE:
Depressing the TIMER button more than 10 seconds the Single Cycle Indicator light will flash and switch
to Single Cycle mode. In the Single Cycle Mode press ON, the pump will work and Stop when it runs out
on the running time and will work again until the power supply is reconnected. To change the setting time,
press the Timer button.
For example, if you see the timer to 4h and press ON at 8:00, the pump will operate for 4 hours and stop at
12 and the indicator light will stop flashing. The pump will start again for 4 hours at 8:00 the following days.
For example, if you see the timer to 4h n a single cycle mode the pump will stop automatically after running
for 4 hours and it will not start again until you cut off the power and reconnect the power supply.