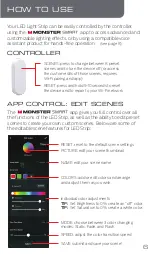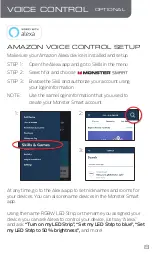
INSTALLATION
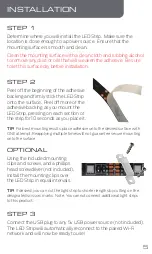
STEP 1
Clean the mounting surface with a clean cloth and rubbing alcohol
to remove any dust or oils that will weaken the adhesive. Be sure
to let this surface dry before installation.
STEP 2
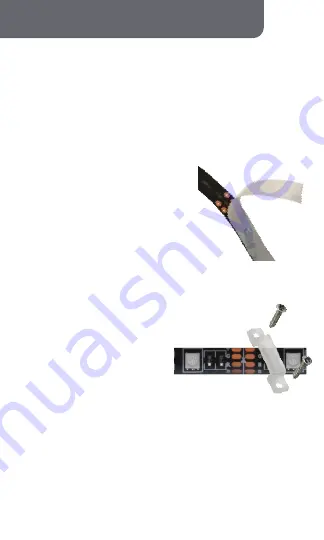
Peel off the beginning of the adhesive
backing and firmly stick the LED Strip
onto the surface. Peel off more of the
adhesive backing as you mount the
LED Strip, pressing on each section of
the strip for 10 seconds as you place it.
OPTIONAL
Using the included mounting
clips and screws, and a phillips
head screwdriver (not included),
install the mounting clips over
the LED Strip in equal intervals.
STEP 3
Connect the USB plug to any 5v USB power source (not included).
The LED Strip will automatically reconnect to the paired Wi-Fi
network and will now be ready to use!
TIP:
For best mounting results, place adhesive onto the desired surface with
ONE attempt. Reapplying multiple times will not guarantee secure mounting
onto the surface.
TIP:
If desired, you can cut the light strip to shorter lengths by cutting on the
designated scissors marks. Note: You cannot connect additional light strips
to this product.
Determine where you will install the LED Strip. Make sure the
location is close enough to a power source. Ensure that the
mounting surface is smooth and clean.
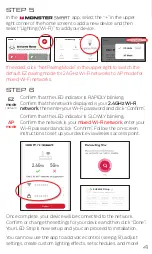
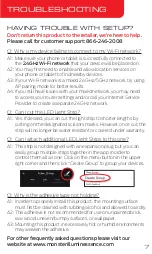
Once complete, your device will be connected to the network.
Confirm or change the settings for your device and then click “Done”.
Your LED Strip is now setup and you can proceed to installation.
Confirm that the LED indicator is RAPIDLY blinking.
Confirm that the network displayed is your
2.4GHz Wi-Fi
network
, then enter your Wi-Fi password and click “Confirm”.
5
4


