

SPECIFICATIONS / TROUBLESHOOTING
5
ASSEMBLY
INSTALLATION
6
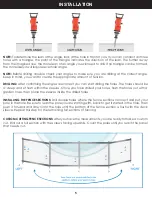
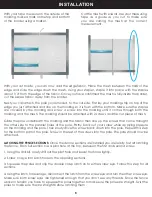
NOTE:
To determine the lean of the angle, look at the hole in front of you. If you can connect all three
holes with a triangle, the point of the triangle indicates the direction of the lean. The further away
from the imagined line, the more lean of an angle you will need to drill. If no triangle can be formed,
the more likely it will require level hole angle.
NOTE:
Before drilling, double check your angles to make sure you are drilling at the correct angle.
Keep in mind, you want to create the appropriate amount of tension.
DRILLING:
After confirming the angles are correct you can start drilling the holes. The holes should be
4” deep and sit flush within the sleeves. Once you have drilled your holes, flush the holes out with a
garden hose, then place the sleeves inside the drilled holes.
INSTALLING THE FENCE SECTIONS:
Drill double holes where the fence sections connect and put your
pole in the hole. Be sure to lean the pole you are starting with, back to get it started in the hole. Then
push it forward and down into the hole until the bottom of the fence section is flush with the deck
sleeve. Repeat this step for the remaining full sections of fencing.
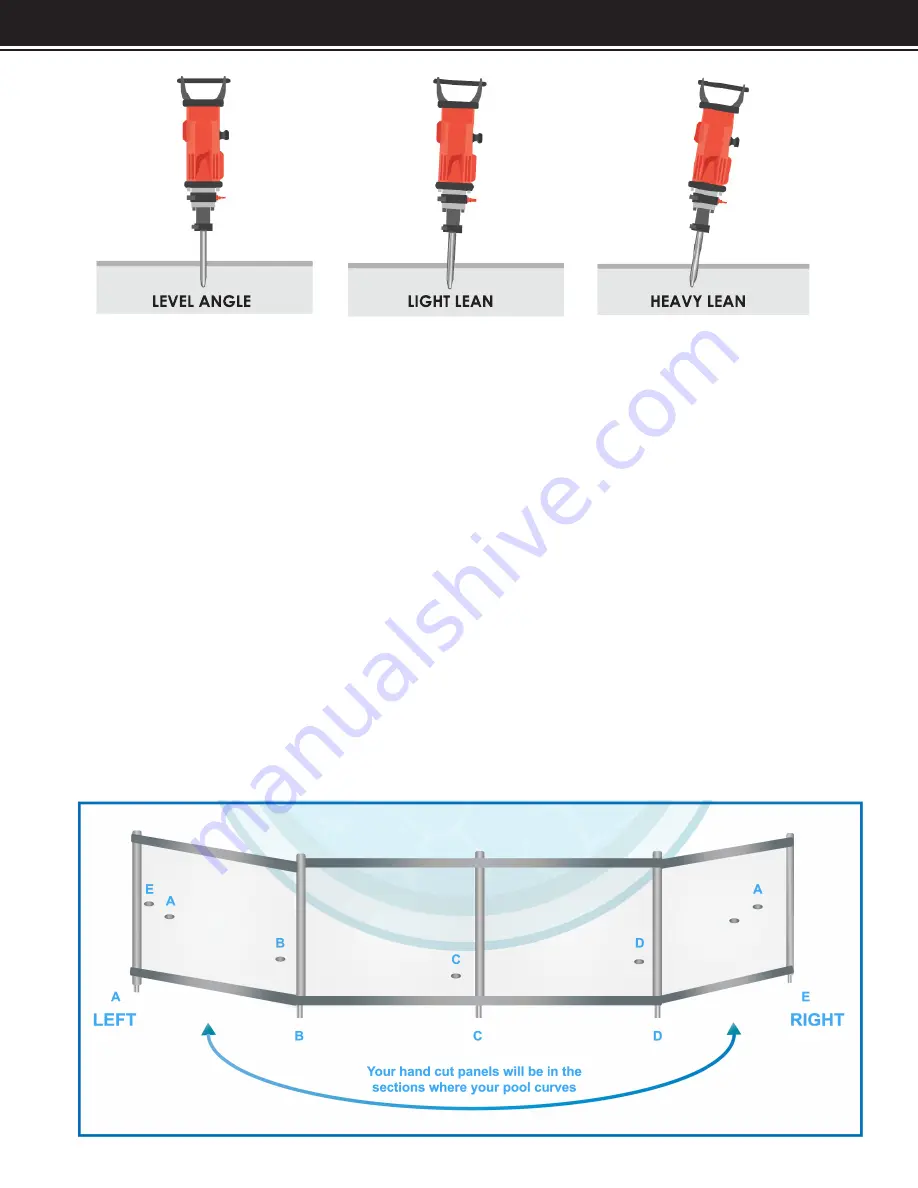
CUSTOM CUTTING FENCE SECTIONS:
After you have the measurments, you are ready to make a custom
cut. Roll out a full section with the screws facing upwards. Count the poles until you reach the panel
that needs cut.


