MAINTENANCE
WARRANTY
YOUR WARRANTY FORM SHOULD BE RETAINED BY YOU AT ALL TIMES. IN ORDER TO MAKE A
CLAIM UNDER THIS WARRANTY YOU MUST RETURN THE PRODUCT TO YOUR NEAREST BUNNINGS
WAREHOUSE WITH YOUR BUNNINGS REGISTER RECEIPT. PRIOR TO RETURNING YOUR PRODUCT FOR
WARRANTY. PLEASE TELEPHONE OUR CUSTOMER SERVICE HELPLINE:
Australia 1800 069 486
New Zealand 0508 069 486
TO ENSURE A SPEEDY RESPONSE PLEASE HAVE THE MODEL NUMBER AND DATE OF PURCHASE
AVAILABLE. A CUSTOMER SERVICE REPRESENTATIVE WILL TAKE YOUR CALL AND ANSWER ANY
QUESTIONS YOU MAY HAVE RELATING TO THE WARRANTY POLICY OR PROCEDURE.
The benefits provided under this warranty are in addition to other rights and remedies which are available to you at
law.
Our goods come with guarantees that cannot be excluded at law. You are entitled to a replacement or refund for a
major failure and for compensation for any other reasonably foreseeable loss or damage. You are also entitled to
have the goods repaired or replaced if the goods fail to be of acceptable quality and the failure does not amount to
a major failure.
Generally you will be responsible for all costs associated with a claim under this warranty, however, where you have
suffered any additional direct loss as a result of a defective product you may be able to claim such expenses by
contacting our customer service helpline above.
1 YEAR REPLACEMENT WARRANTY
Your product is guaranteed for a period of 12 months from the original date of purchase and is intended for DIY (Do It
Yourself) use only. If a product is defective it will be replaced in accordance with the terms of this warranty. Warranty
excludes consumable parts, for example: Blades.
WARNING
The following actions will result in the warranty being void.
• Professional, Industrial or high frequency use.
• If the tool has been operated on a supply voltage other than that specified on the tool.
• If the tool shows signs of damage or defects caused by or resulting from abuse, accidents or alterations.
• Failure to perform maintenance as set out within the instruction manual.
• If the tool is disassembled or tampered with in any way.
XU1
Australia/New Zealand (Head Office)
Ozito Industries Pty. Ltd
. 25 Fox Drive, Dandenong South, Victoria, Australia 3175
5
WARNING!
Ensure the tool has completely
stopped and battery is disconnected before
performing any of the following operations.
CARING FOR THE
ENVIRONMENT
Power tools that are no longer usable should
not be disposed of with household waste but
in an environmentally friendly way.
Please recycle where facilities exist. Check
with your local council authority for recycling
advice.
Recycling packaging reduces the need for
landfill and raw materials.
Reuse of recycled material decreases
pollution in the environment. Please recycle
packaging where facilities
exist. Check with your local council authority
for recycling advice.
Note:
If the motor starts to slow down, reduce the
cutting load.
•
If then grass trimmer is not cutting correctly, the blade
will need to be replaced, refer to the assembly section
of this manual.
•
After finishing the cutting operation, keep the head
close to ground level, release the trigger switch and
allow the motor to come to a complete standstill. Place
the grass trimmer on the ground, and remove the
battery.
WARNING!
Bystanders must keep a
minimum safe distance of 10m away from the
grass trimmer while it is operating.
Replacing the Spindle Plate
1. Unscrew the countersunk head screw in the centre
of the spindle plate, rotate anti-clockwise to remove.
Once removed put aside for re-assembly.
2. Lift off the spindle plate.
3. Mount and fasten the new spindle plate.
•
Keep ventilation slots of the trimmer clean at all times.
Periodically clean out the grass from the spindle plate
and the rim of the safety guard to ensure efficient
operation at all times.
•
After each use, blow air through the tool housing to
ensure it is free from all dust, dirt, etc. Build up of
dust, dirt particles may cause the tool to overheat and
shorten the life of the tool.
•
If the housing of the grass trimmer requires cleaning,
do not use solvents but a moist soft cloth or soft brush
only.
•
Never let any liquid get inside the tool, never immerse
any part of the tool into liquid.
•
No lubrication is necessary as the tool has sealed
bearings.
•
When not in use, remove the battery and the grass
trimmer should be stored in a dry, frost free location
not within the reach of children.
Note: Ozito Industries will not be responsible
for any damage or injuries caused by
the repair of the grass trimmer by an
unauthorised person or by mishandling of
the grass trimmer. This tool is designed for
DIY use - use in commercial or industrial
environments will void the warranty.
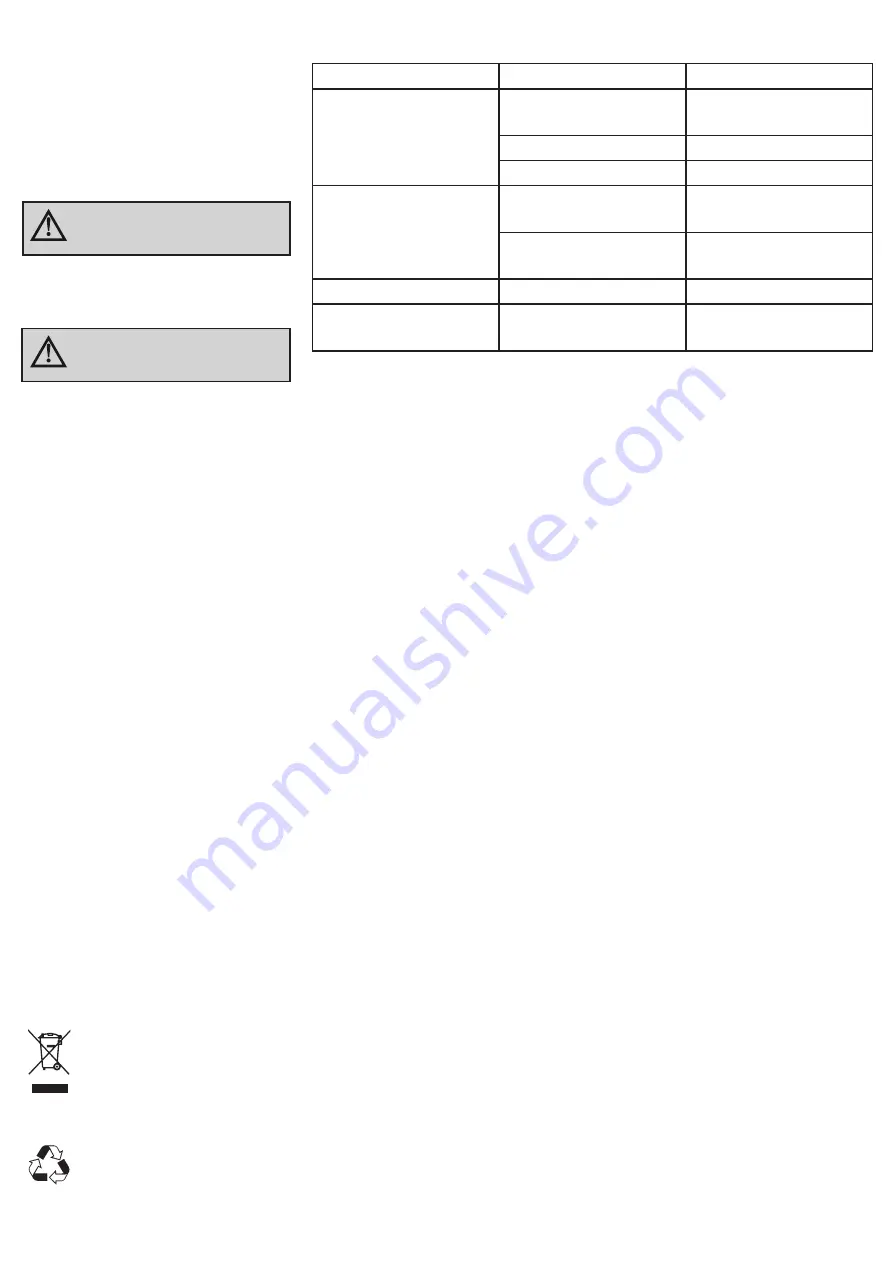
Problem
Cause
Remedy
Trimmer is not starting
Possible clogging
Clean the cutter head of
any grass
Battery is low in charge
Charge battery
Battery not inserted fully
Insert battery pack fully
Trimmer is not operating
at full capacity
Possible clogging
Clean the cutter head of
any grass
Cutting tall grass at
ground level
Make several passes from
top down
Motor stop while operating Battery has no power
Charge battery
Grass wraps around the
shaft and the spindle plate
Cutting tall grass at
ground level
Make several passes from
top down
TROUBLESHOOTING


