13
4.2.1.3 Network
4.2.1.3.1
Network
Go
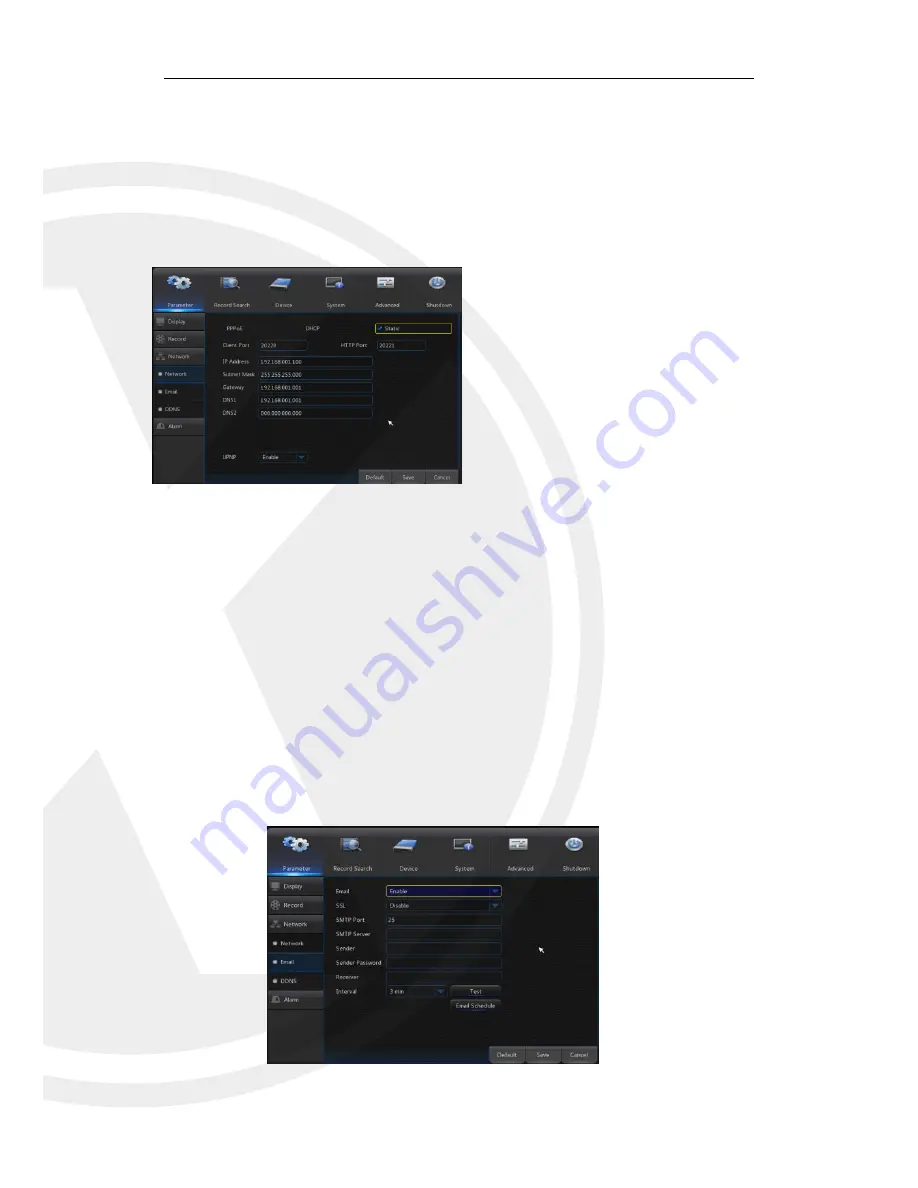
to “Main Menu” → “Parameter” → “Network”
Select your choice of network connection (PPPOE, DHCP, and Static) and set Port,
then you may remotely control the monitoring, recording, playback or backup of the X2RXN
through network.
4.2.1.3.2
Go
to “Main Menu” → “Parameter” → “Network” → “Email” to enter into the menu interface.
Receive or Send the X2RxN alarm Email and set parameters like Email address, SSL,
Email Enable, Interval and Email Schedule. The related parameter setting should be
consistent with the X2RxN local setting.
The X2RxN units support P2P, so there is no
need for port forwarding on your router.
DHCP as an example. In this mode, the router
automatically assigns an IP address for the
X2RxN. After restarting the X2RxN or DHCP
server, the IP address obtained by the X2RxN
may be different. As a result, the user should
check the IP address and port number for each
X2RxN. The operation procedure is as follows:
1. Select DHCP, click Save and refresh the
X2RxN. Input Client Port for XIQCMS and
HTTP Port for Web Browser access (the two
values must not be the same).
2. Set obtained IP address of the X2RxN and the
mapping port. Refer to section 4.2.4.2.
3. Remotely visit X2RxN by IP address
:
http://Public network IP (e.g. 87.95.2.15): Web
port number
(
such as 00080
)
See networking
guide for more help remote viewing your X2RxN.
http:// Intranet IP (e.g. 192.168.x.x): Web port
number
(
such as 00080
)(
Only available in the
same LAN
)


