107
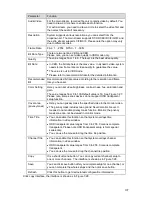
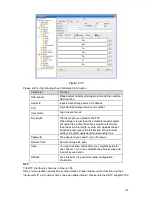
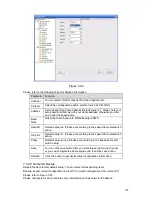
Parameter
Function
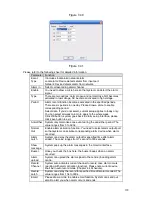
Audio/Video
For the main stream, recorded file only contains video by default. You
need to draw a circle here to enable audio function.
For extra stream, you need to draw a circle to select the video first and
then select the audio if necessary.
Resolution
System supports various resolutions, you can select from the
dropdown list. The main stream supports D1/HD1/BCIF/CIF/QCIF and
the extra stream supports CIF/QCIF. Please note the option may vary
due to different series.
Frame Rate
PAL
:
1
~
25f/s
;
NTSC
:
1
~
30f/s.
Bit Rate Type
There are two options: VBR and CBR.
Please note, you can set video quality in VBR mode only.
Quality
The value ranges from 1 to 6. The level 6 is the best video quality.
Bit Rate
In CBR, the bit rate here is the max value. In dynamic video, system
needs to low frame rate or video quality to guarantee the value.
The value is null in VBR mode.
Please refer to recommend bit rate for the detailed information.
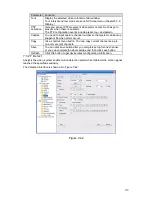
Recommended
Bit
Recommended bit rate value according to the resolution and frame
rate you have set.
Color Setting
Here you can set video brightness, contrast ness, hue, saturation and
gain.
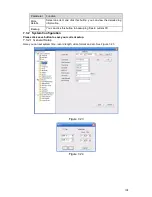
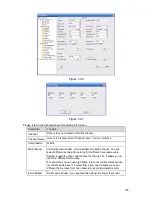
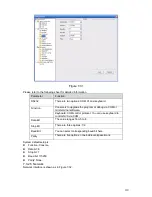
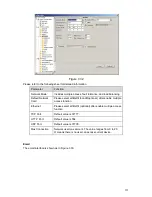
The value ranges from 0 to 100.Default value is 50. See Figure 7-27.
Please note, some series devices do not support OSD transparent
setup function.
Cover area
(privacy mask)
Here you can privacy mask the specified video in the monitor video.
The privacy mask includes two options: Never/monitor. Never: It
means do not enable privacy mask function. Monitor: the privacy
mask zone can not be viewed in monitor mode.
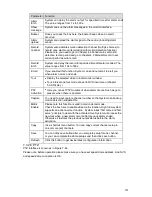
Time Title
You can enable this function so that system overlays time
information in video window.
OSD transparent value ranges from 0 to 255. 0 means complete
transparent. Please note OSD transparent setup is form special
series only.
You can use the mouse to drag the time tile position.
Channel Title
You can enable this function so that system overlays channel
information in video window.
OSD transparent value ranges from 0 to 255. 0 means complete
transparent.
You can use the mouse to drag the channel tile position.
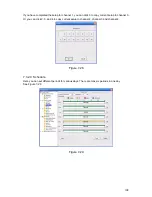
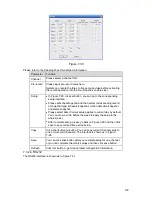
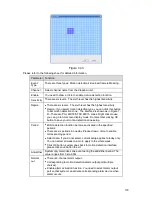
Copy
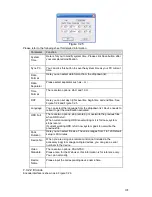
It is a shortcut menu button. You can copy current channel setup to
one or more channels. The interface is shown as in
X455H455H455H
Figure 7-28
X
.
Save
You can click save button after you complete setup for one channel, or
you can complete the whole setups and then click save button.
Refresh
Click this button to get device latest configuration information.
Click copy interface, the interface is shown as in
X456H456H456H
Figure 7-28
X
.
Summary of Contents for XP116VS
Page 1: ...1 4 8 16 Channel Real time D1 NVS User s Manual Version 1 0 0 XP116VS ...
Page 44: ...44 Figure 4 21 Figure 4 22 Figure 4 23 Figure 4 24 4 5 3 Video Loss ...
Page 47: ...47 Figure 4 27 Figure 4 28 Figure 4 29 Figure 4 30 4 7 Backup ...
Page 92: ...92 Figure 6 11 ...
Page 148: ...148 Samsung HA101UJ CE 1T SATA ...


