Chapter 3 – Installation
3-11
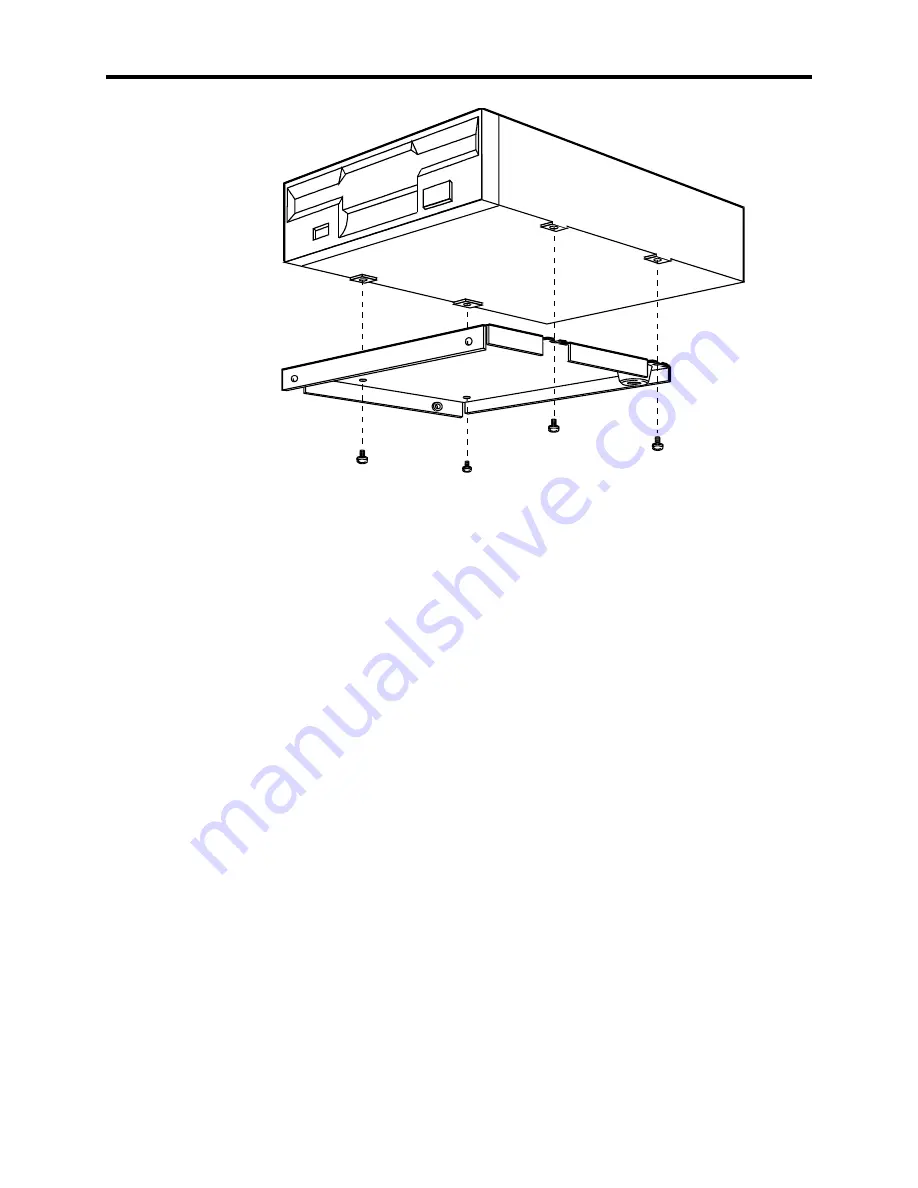
Figure Chapter 3 -7. Mounting a 5.25" Device to the 5.25" Drive Mounting Plate
8.
Place the assembled drive and mounting plate into the computer so that the drive fits
through the opening on the rear of the case, and the screw holes on the drive mount-
ing plate align with the holes for the three screws removed in Step 4. Re-install the
screws.
9.
Install any card and internal cabling required by the new drive. The computer mod-
ule’s power supply provides extra power connectors which you may use, if needed.
10.
Replace the top cover and re-install the screws that secure the top cover to the case.
11.
Re-install the computer module under the monitor module, if necessary.
12.
Install any driver software required by the new drive.
Installing External Hardware Options
This section explains how to install external hardware options available with the 9457.
Installing the Remote Mount Kit
The 9457-RMK remote mount kit provides the parts necessary to mount the computer
module up to six feet away from the monitor module. This kit contains the following
parts:
•
Two remote mounting brackets
•
10 bracket mounting screws
•
72-inch (1.83 m) video cable


