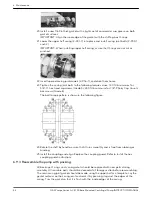
23.Rotate the shaft by hand to assure that it turns smoothly and is free from rubbing or
binding.
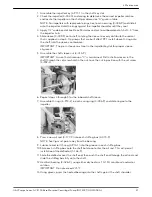
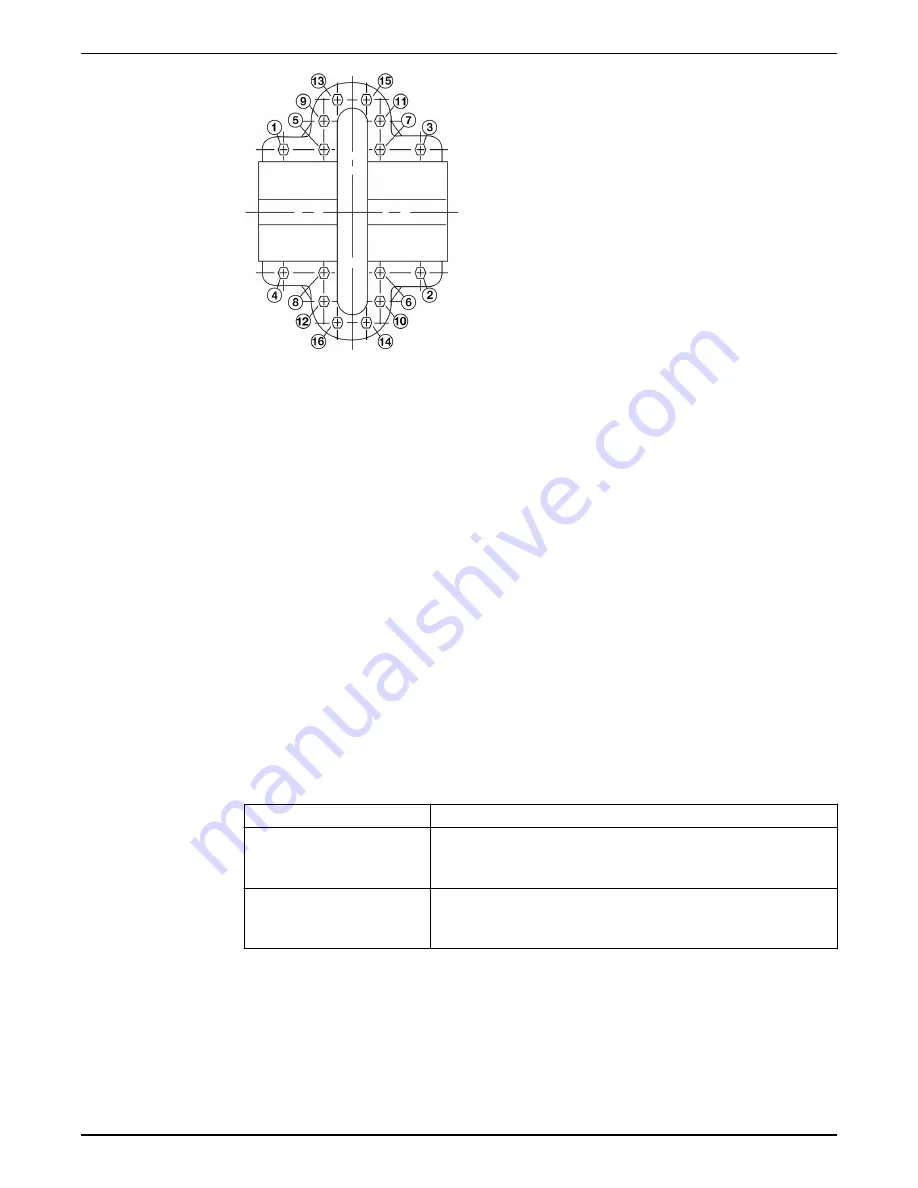
24.Install the coupling and align. Replace the coupling guard. Refer to Install the hex
coupling guard instructions.
25.Install 12 full rings of packing (6 per stuffing box) so that the ends butt, leaving no gap
between the packing and the stuffing box.
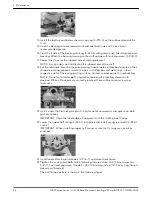
26.Assemble the glands, washers, and bolts square with the stuffing box and pull tight.
Then loosen the gland bolts to permit the packing to expand. Then retighten finger
tight. Final adjustment of the gland bolts must be done with the pump running. Allow
30 minutes between adjustments. A good adjustment should allow approximately one
drip per second.
6.9.4 Install the hex coupling guard
1. Check coupler alignment before proceeding. Correct if necessary.
2. Slide the inner guard into the outer guard.
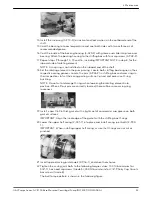
3. Spread the guards and place them over the coupling.
Do not spread the inner and outer guards more than necessary for guard installation,
as it can alter their fit and appearance.
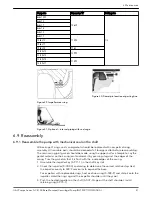
4. Straddle the support bracket with the guards and install a capscrew through the hole
in the support bracket and guard located closest to the pump.
Do not tighten the capscrew.
5. Install the outer guard capscrews according to the directions in this table.
If...
Then...
The pump has a motor saddle
support bracket
Ensure that the outer guard straddles the support arm and install the two
remaining capscrews.
Do not tighten the capscrews.
The pump does not have a motor
saddle support bracket
Insert the spacer washer between the holes located closest to the motor in
the outer guard and install the two remaining capscrews.
Do not tighten the capscrews.
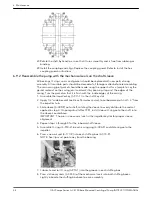
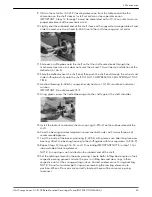
6. Position the outer guard so that there is less than 1/4 in. (0.64 cm) of exposed shaft.
7. Hold the guard in this position and tighten the three capscrews.
8. Open the isolation valves and inspect the pump for leaks.
9. Return the pump to service if it is not leaking.
6 Maintenance
G&L Pumps Series A-C 8100 Base Mounted Centrifugal Pump INSTRUCTION MANUAL
49

