Page 87 of 108 Article no.: 1080619046 2020_07_27 Subject to technical change! Errors excepted.
-
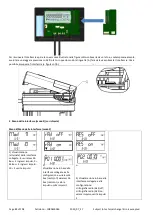
Unit of energy and installation point (outlet flow / inlet flow) can be set on location, only once, before start of
operation by pushing the button or alternatively using a suitable configuration software.
8.2
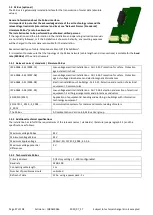
Pictograms installation point
On the right in the meter display in all information loops you will find one of the following two pictograms. The pictogram
indicates in which pipe the meter is to be mounted.
Installation in outlet flow
Installation in inlet flow
8.2
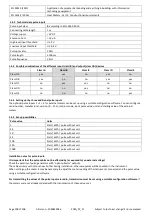
Pictograms type of meter (on type identification label)
Heat meter
Cooling meter
4
Mounting the Flow Sensor
8.2
Mounting of PolluStat
-
Flush the pipes professionally, taking care not to damage any system components. Then close all the
shut-off valves.
-
Open the nearest draining valve for pressure release.
-
Drain the closed-off pipe section.
-
Loosen the coupling rings and remove the old heat meter.
-
Remove all old gaskets and clean the sealing surfaces. Insert new gaskets.
-
Position the flow sensor correctly, taking into account the direction of flow (arrow on the side of the flow
sensor)! -
Tighten the coupling rings.
-
Rotate the calculator to the best position for read-out, or detach it and mount it nearby.
Note concerning
PolluStat
: For the mounting in a heating system with a small quantity of air in the medium we recommend
to overturn the meter through 90°.
5
Detachable Calculator
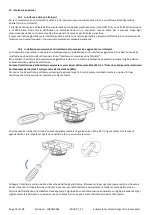
We also provide meters with detachable calculators, in order to simplify mounting in
narrow installation spaces. To release the calculator pull it carefully up off the flow
sensor.
For mounting the calculator on the wall, a wall support is latched onto the adapter of the
flow sensor (between calculator and flow sensor). Remove the calculator. Hold the
adapter of the flow sensor and rotate the wall mounting support anticlockwise until you
can release it. Then attach the wall support at the desired place
with the flat surface
towards the wall.
Attention!
When installing, ensure correct positioning regarding the flow by paying attention to the directional arrows on the
connection piece and on the bottom of the plastic adapter. Also, make sure that the blind hole in the plastic adapter is


