4-7
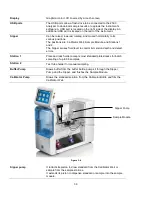
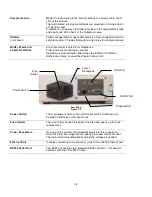
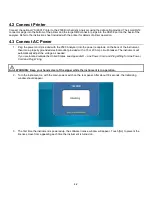
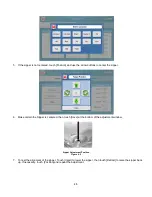
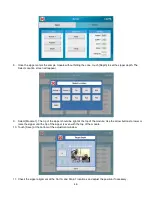
12. Once you have aligned the sipper properly and set the depth, sipper alignment for the Module is complete.
13. Check the sipper alignment for any rack or plate you intend to use at Station 1 (see
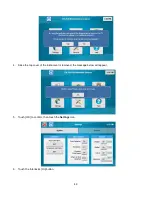
14. Touch [X] at the top left of the screen to return to the main display.
After you have aligned the sipper with the module, return to the Settings screen and touch the Interlocks button
and change it back to [On] to enable the safety interlocks.
Prepare and Install Buffer Solution
4.5
Caution: To prevent possible damage due to an electrostatic discharge, do NOT touch the metal
tips of the connectors located at the ends of the bottle leads. Handle only the insulated section of
the connectors.
4.5.1 Prepare Buffer
1. Place about 500 mL of reagent water (distilled or deionized) into a 1000 mL flask or other clean container.
2. Add two packages of YSI 2357 powder buffer concentrate and stir.
3. Add more reagent water until the total volume of solution is between 900 and 1000 mL.
4. Stir as necessary until the buffer chemicals have completely dissolved.
4.5.2 Install Buffer Solution
5. Unscrew and remove the lid from the buffer bottle.
IMPORTANT:
When adding fresh buffer to the Buffer Supply Bottle, make every effort to avoid contamination of the
lid and level sensor assembly.
6. Pour the prepared buffer into the buffer bottle.
7. Install the bottle in the rack.
8. Replace the bottle lid.
Install Calibrator Solution
4.6
Caution: To prevent possible damage due to an electrostatic discharge, do NOT touch the metal
tips of the connectors located at the ends of the bottle leads. Handle only the insulated section of
the connectors.
Summary of Contents for YSI 2500
Page 1: ...USER MANUAL 525021 YSI 2500 Biochemistry Analyzer OPERATIONS AND MAINTENANCE MANUAL...
Page 34: ...5 11 8 The Stat sample results are displayed on the Run Stat tab Stat sample results...
Page 88: ...13 1 13 Notices Declaration of Conformity 13 1...
Page 96: ...17 1 17 Appendix D Line Power Cord and Plug Wiring United Kingdom United States Europe...

