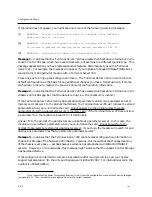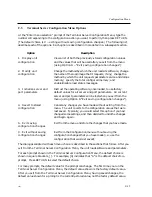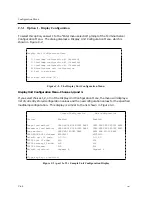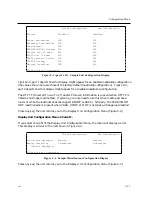
Configuration Menu
C.2
How to Bring Up the Configuration Menu
To access the Configuration menu, follow these steps:
1. Using a straightened paper clip, press the RESET switch once to enter reset mode. (Figure
3-2 shows the location of the switch.) All lights on the front panel should illuminate.
2. Press the RESET switch again, and hold the switch in. With the switch held in, observe the
port lights. The port lights should first go off then light in sequence from 1 to 8. Then port
lights 1 through 4 will go off in sequence. Then all lights will go on and then off again.
When this sequence has completed, release the RESET switch. Next, the unit performs the
standard self-test diagnostics. (The self test requires about 20 seconds to complete.)
3. When the RUN light flashes rapidly (indicating that the self test has completed), autobaud
any serial port by pressing RETURN a few times at a terminal connected to the port. Once
the serial port has selected a port speed, it generates the following message:
Terminal Server, Type 76, Rev x
Ethernet address 08-00-87-00-46-DD, port 1
Configuration in progress. Please wait.
4. Type the password "ACCESS" (note that there is no prompt) and press RETURN. The
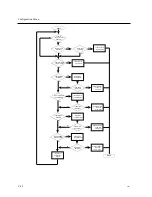
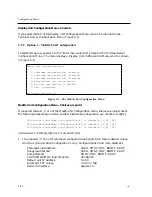
menu shown in Figure C-1 appears:
Welcome to the Configuration Menu.
Terminal Server Configuration Menu
1. Display unit configuration
2. Modify unit configuration
3. Initialize server and port parameters
4. Revert to stored configuration
S. Exit saving configuration changes
X. Exit without saving configuration changes
Enter menu selection [X]:
Figure C-1. Example Terminal Server Configuration Menu
0021
C-63


