
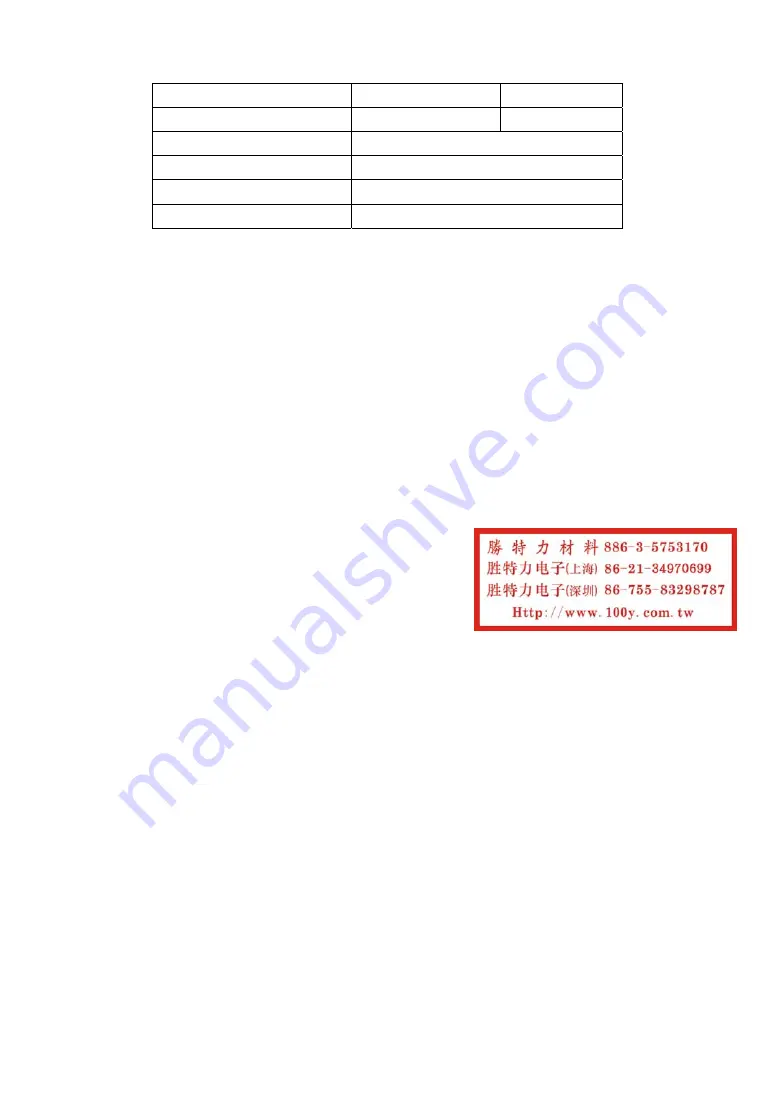
Specification
- 2 -
Usage
Suitable for
desoldering of
SMD
components
such as SOIC,
CHIP,
QFP,
PLCC, BGA
etc.
On the
852D front
panel, you will find an air control knob (sets air flow speed), temperature control knob, a numerical value
LED display and a “REAL TEMP” button. To set the temperature, press and hold the red button while
adjusting the temperature control know until the desired temperature is displayed – then release. The LED
display will now show actual temperature of output air. When the indicator light flickers on, the heating
element is being warming up, going off denotes that the preset temperature has been reached.
Power Voltage
100-120 Vac
220-240 Vac
Power Consumption (Max)
550W
550W
Pump Diaphragm
Pump
Capacity
23L / Min (Max.)
Hot Air Temperature
100
℃
-480
℃
Dimensions 187(W)*135(H)*245(D)
mm
Operation Setup
1.
Select the Nozzle that matches the size of the IC.
Attach the nozzle when both the element and
the nozzle are cool and the unit is turned off and unplugged.
2. Loosen the screw on the nozzle. Attach nozzle.
IMPORTANT: Do not force the nozzle or pull on the edge of the nozzle with a pliers. Also, do not tighten
the set-screw too tightly.
Operating instructions
QFP De-soldering
1.
Plug the power cord into the power supply.
After connection, the automatic blowing function will start sending air through the pipe, but the Heating
Element remains cool.
2.
Turn the power switch on.
The power switch may be turned on at any time while the automatic blowing function is operating. Once
the power switch is turned on, the heating element will begin to warm up.
3.
Adjust the air flow and temperature control knobs.
After adjusting the air flow and temperature control knob, wait for the
temperature to stabilize for a short period of time.
4.
Melt the solder.
Hold the iron so that the nozzle is located directly over, but not touching the IC and allow the hot air to
melt the solder. Be careful not to touch the leads of the IC with the nozzle.
5.
Remove the IC.
Once the solder has melted, remove the IC by lifting the plier.
6.
Turn the power switch off.
After the power switch is turned off, an automatic blowing function begins sending cool air through the
WW
W.100
Y.COM.TW
WW
W.100
Y.COM.TW
WW
W.100
Y.COM.TW
WW
W.100
Y.COM.TW
WW
W.100
Y.COM.TW
WW
W.100
Y.COM.TW
WW
W.100
Y.COM.TW
WW
W.100
Y.COM.TW
WW
W.100
Y.COM.TW
WW
W.100
Y.COM.TW
WW
W.100
Y.COM.TW
WW
W.100
Y.COM.TW
WW
W.100
Y.COM.TW
WW
W.100
Y.COM.TW
WW
W.100
Y.COM.TW
WW
W.100
Y.COM.TW
WW
W.100
Y.COM.TW
WW
W.100
Y.COM.TW
WW
W.100
Y.COM.TW
WW
W.100
Y.COM.TW
WW
W.100
Y.COM.TW
WW
W.100
Y.COM.TW
WW
W.100
Y.COM.TW
WW
W.100
Y.COM.TW
WW
W.100
Y.COM.TW
WW
W.100
Y.COM.TW
WW
W.100
Y.COM.TW
WW
W.100
Y.COM.TW
WW
W.100
Y.COM.TW
WW
W.100
Y.COM.TW
WW
W.100
Y.COM.TW
WW
W.100
Y.COM.TW
WW
W.100
Y.COM.TW
WW
W.100
Y.COM.TW
WW
W.100
Y.COM.TW
WW
W.100
Y.COM.TW
WW
W.100
Y.COM.TW
WW
W.100
Y.COM.TW
WW
W.100
Y.COM.TW
WW
W.100
Y.COM.TW
WW
W.100
Y.COM.TW
WW
W.100
Y.COM.TW
WW
W.100
Y.COM.TW
WW
W.100
Y.COM.TW
WW
W.100
Y.COM.TW
WW
W.100
Y.COM.TW
WW
W.100
Y.COM.TW
WW
W.100
Y.COM.TW
WW
W.100
Y.COM.TW
WW
W.100
Y.COM.TW
WW
W.100
Y.COM.TW
WW
W.100
Y.COM.TW
WW
W.100
Y.COM.TW
WW
W.100
Y.COM.TW
WW
W.100
Y.COM.TW
WW
W.100
Y.COM.TW
WW
W.100
Y.COM.TW
WW
W.100
Y.COM.TW
WW
W.100
Y.COM.TW
WW
W.100
Y.COM.TW
WW
W.100
Y.COM.TW
WW
W.100
Y.COM.TW
WW
W.100
Y.COM.TW
WW
W.100
Y.COM.TW
WW
W.100
Y.COM.TW
WW
W.100
Y.COM.TW
WW
W.100
Y.COM.TW
WW
W.100
Y.COM.TW
WW
W.100
Y.COM.TW
WW
W.100
Y.COM.TW
WW
W.100
Y.COM.TW
WW
W.100
Y.COM.TW
WW
W.100
Y.COM.TW
WW
W.100
Y.COM.TW
WW
W.100
Y.COM.TW
WW
W.100
Y.COM.TW
WW
W.100
Y.COM.TW
WW
W.100
Y.COM.TW
WW
W.100
Y.COM.TW
WW
W.100
Y.COM.TW
WW
W.100
Y.COM.TW
WW
W.100
Y.COM.TW
WW
W.100
Y.COM.TW
WW
W.100
Y.COM.TW
WW
W.100
Y.COM.TW
WW
W.100
Y.COM.TW
WW
W.100
Y.COM.TW
WW
W.100
Y.COM.TW
WW
W.100
Y.COM.TW
WW
W.100
Y.COM.TW
WW
W.100
Y.COM.TW
WW
W.100
Y.COM.TW
WW
W.100
Y.COM.TW
WW
W.100
Y.COM.TW
WW
W.100
Y.COM.TW
WW
W.100
Y.COM.TW
WW
W.100
Y.COM.TW
WW
W.100
Y.COM.TW
WW
W.100
Y.COM.TW
WW
W.100
Y.COM.TW
WW
W.100
Y.COM.TW
WW
W.100
Y.COM.TW
WW
W.100
Y.COM.TW
WW
W.100
Y.COM.TW
WW
W.100
Y.COM.TW
WW
W.100
Y.COM.TW
WW
W.100
Y.COM.TW
WW
W.100
Y.COM.TW
WW
W.100
Y.COM.TW
WW
W.100
Y.COM.TW
WW
W.100
Y.COM.TW
WW
W.100
Y.COM.TW
WW
W.100
Y.COM.TW
WW
W.100
Y.COM.TW


