


Ver. 1.6 June
2015
da Vinci
Jr.1.0
P 4
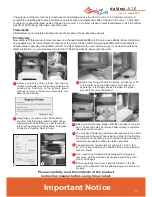
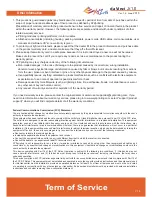
Remove the securing styrofoam next to the print bed.
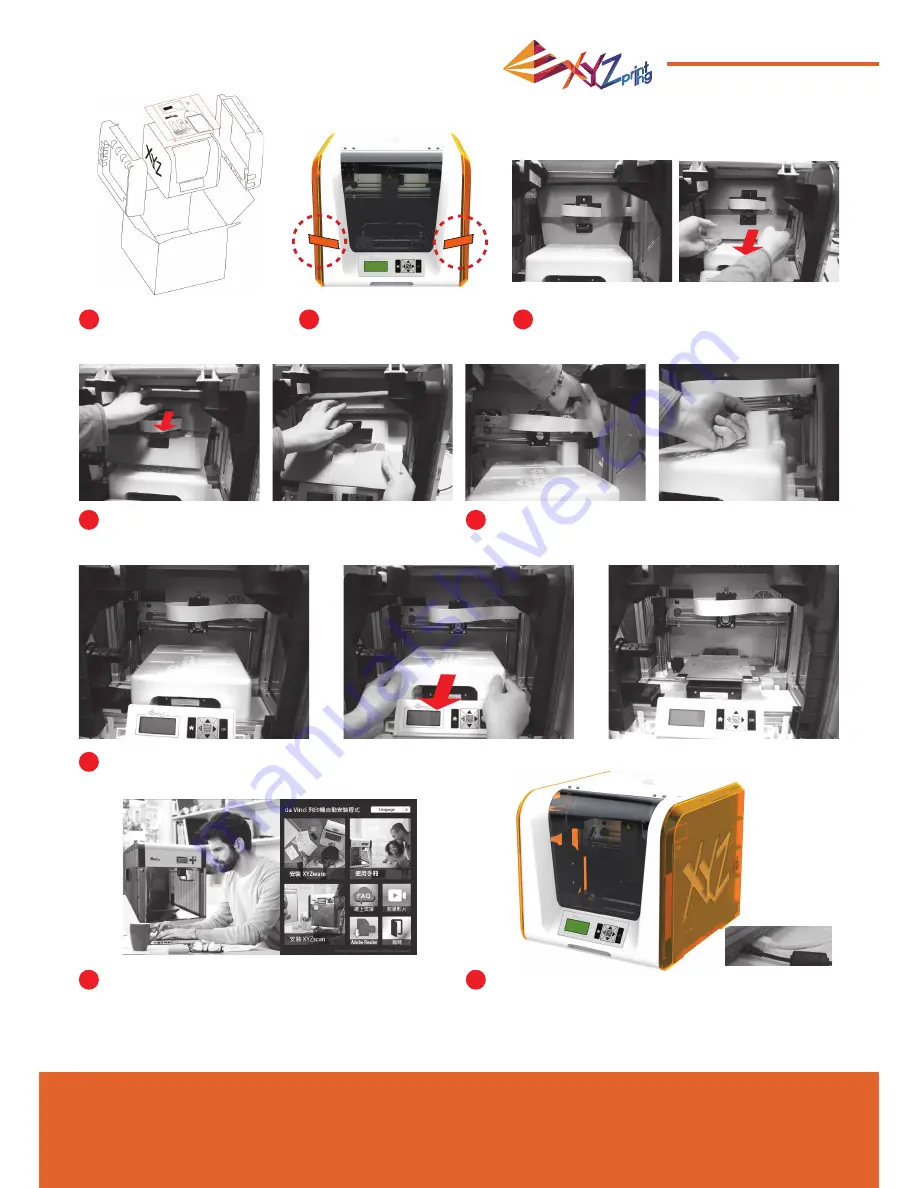
Insert the SD card that came with the printer into
your computer or download the latest XYZware from
the of
fi
cial Website and install it on the computer.
Use the USB cable to connect the printer to PC.
Connect the power cord to the printer then turn on
the power switch.
h USB
bl
h
i
Unpacking the Product
Note: please use the original power adapter and power cord along with the printer in order to
prevent product damage or safety hazards caused by differences in voltage speci
fi
cations.
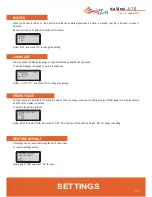
Open the box and remove
t h e a c c e s s o r i e s a n d
cushions.
Remove 2 foams at the back of the cardboard.
Remove the plastic bag
and the tapes.
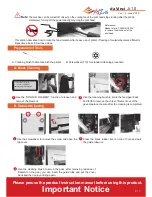
Raise the paper cardboard slightly upwards so
that the paper cardboard is detached from the
styrofoam slot at the bottom.
Raise the paper cardboard slightly upwards
so that the paper cardboard is detached from
the styrofoam slot at the bottom.
1
2
3
5
6
8
7
4


