Page 40 of 45
1. Select the menu item "Project / Scan network. . . "Or the button" Scan network. . . ".
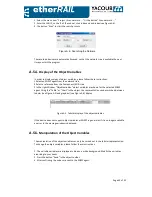
2. Enter the LAN IP, so the IP of the subnet, start index and end index (see Figure A.4).
3. The button "Scan" to start the search process.
Figure A.4.: Searching the Network
The recorded devices are automatically saved, so that the network tree is available the next
time you start the program.
A.5.4.
Display of the Object Variables
In order to display values of object variables, please follow these instructions:
1 Select an SNMP agent from the network tree,
2 Select a reference from the Component-/MIB-tree
3 In the right Window “Objektvariablen” object variables are shown for the selected SNMP
agent. Using the "Table" or "Chart" in the object, the representation can be switched between
tabular (see Figure A.5) and graphical (see Figure A.6) display.
Figure A.5. Tabular display of the object variables
If the device does not support object variables or SNMP in general or if it is no longer available,
an error in the message window is displayed.
A.5.5.
Manipulation of the Object Variables
The manipulation of the object variables can only be carried out in the tabular representation.
To change the object variables, please follow these instructions:
1. The writable variables are displayed in blue on a white background. Modify the variables
according to your needs.
2. Press the button "Send" in the object toolbar.
3. After confirming the values are sent to the SNMP agent.


