41
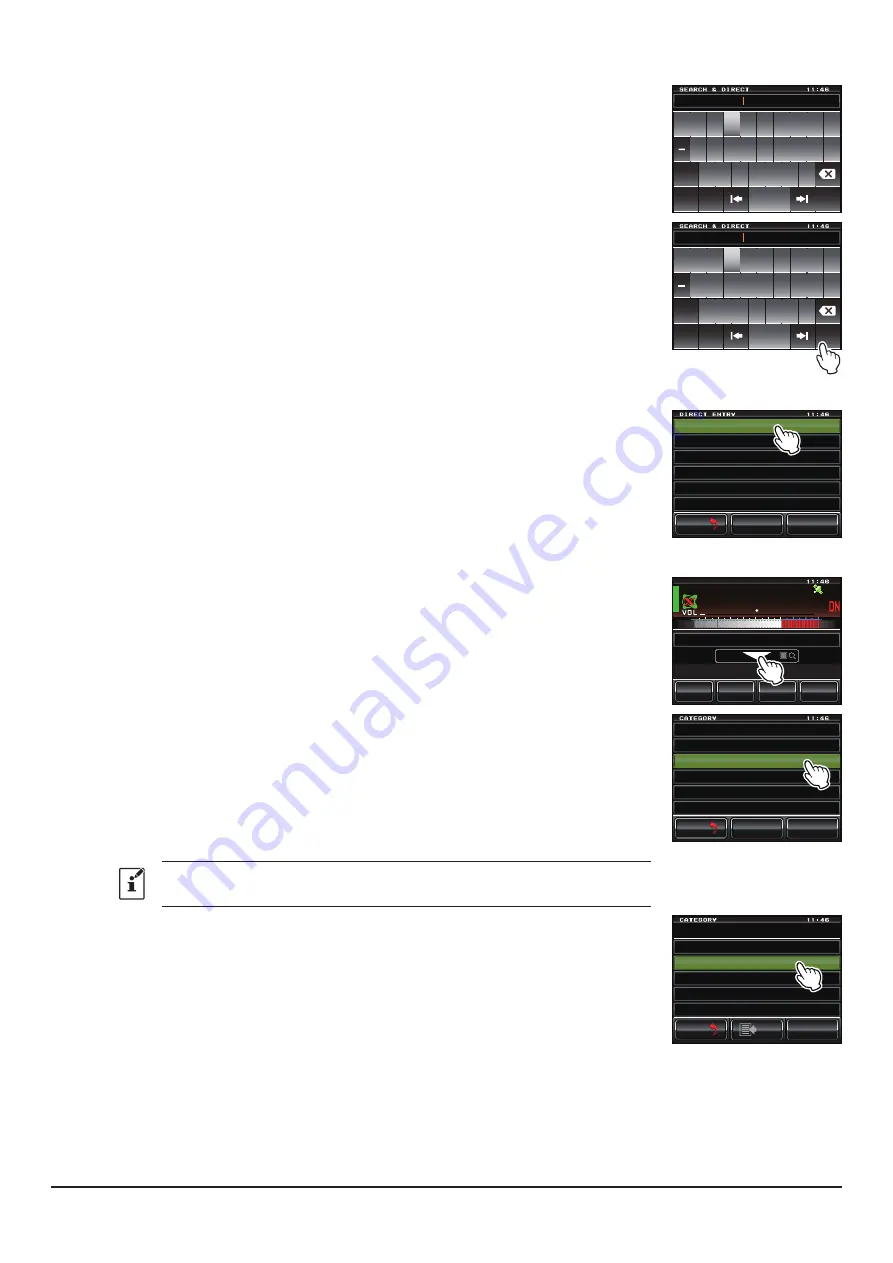
3. Enter all or part of the Room ID or the Node ID.
The list is searched for the matching foreword part of the ID.
( 1 1 6 $ #
3 9 '
4
6 ; 7 + 1 2
# 5 & ( ) * , - .
<
: % 8 $ 0
/
#$%
5RCEG
%CRU
'06
@
Ჹ Ჺ
4. Touch [
ENT
].
If connection destinations with the foreword of the ID matching the entered ID
are found, they will be listed.
• Connection destinations are displayed from the room list and then node list.
• On the connection destination room columns, the number of activities (the
number of nodes connected to each room) appears on the right side.
• If there is no connection destination matching the entered name, “No Data”
appears and then the screen returns to the character input screen.
• If the entered ID is found, the transceiver establishes connection immediately.
( 1 1 6 $ #
3 9 '
4
6 ; 7 + 1 2
# 5 & ( ) * , - .
<
: % 8 $ 0
/
#$%
5RCEG
%CRU
'06
@
Ჹ Ჺ
5. Touch the node or room you want to connect to start the connection.
• Once connection is successfully established, “
Connected
” will appear on the
LCD.
• If connection is unsuccessful, an error message appears and the screen re-
turns to the list of nodes and rooms.
( 1 1 6 $ # . .
Ჾ
Ჺ
Ჺ
Ჺ
Ჹ
( 1 1 6 $ # . .
( 1 1 6 $ # . . % . 7 $
( 1 1 6 $ # . . , 2 0
( 1 1 6 $ # . . 0 &
&Ჰ4'%6
5'#4%*
61 2
$#%-
$#%-
③
Connecting to registered nodes or rooms to the category list
1. Touch [
▼
].
Displays the category list.
Ჸ Ჸ
/ 76'
5%12'
/
8
5 3 .
; # ' 5 7 6 5 7 4 +
5*+0#)#9#-7
, 3 ; $ ( 6 +
+ & 6 4 :
2. Touch one of [
C1
] to [
C5
].
Displays the node and room lists.
• For details on registering nodes and rooms, see “
node or room in the category list
• Connection destinations are displayed from the room list and then node list.
• On the connection destination room columns, the number of activities (the
number of nodes connected to each room) appears on the right side.
Items may be listed in order according to the number of activities, or access
history from [
WIRES-X
]→[
2 SEARCH SETUP
] in the setting mode.
; # ' 5 7
%
%
%
%
%
5 ' 0 & # +
5 2 1 4 6 5 * 1 $ $ ;
1 7 6 & 1 1 4
4 # & + 1 % 3
# . .
&Ჰ4'%6
5'#4%*
61 2
$#%-
$#%-
3. Touch the node or room you want to connect to start a connection.
• Once connection is successfully established, “
Connected
” will appear on the
LCD.
• If connection is unsuccessful, an error message appears and the screen
returns to the list of nodes and rooms.
% 5 2 1 4 6 5 * 1 $ $ ;
; # ' 5 7 & 4 + 8 '
, # < 4 .
; # ' 5 7 6 5 7 4 +
; # ' 5 7 6 1 7 4 + 0 )
, 3 ; $ ( 6 +
#&&
.1 )
$#%-
$#%-


