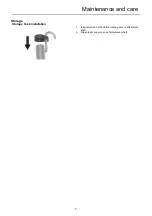
5
Before you start
Before you start
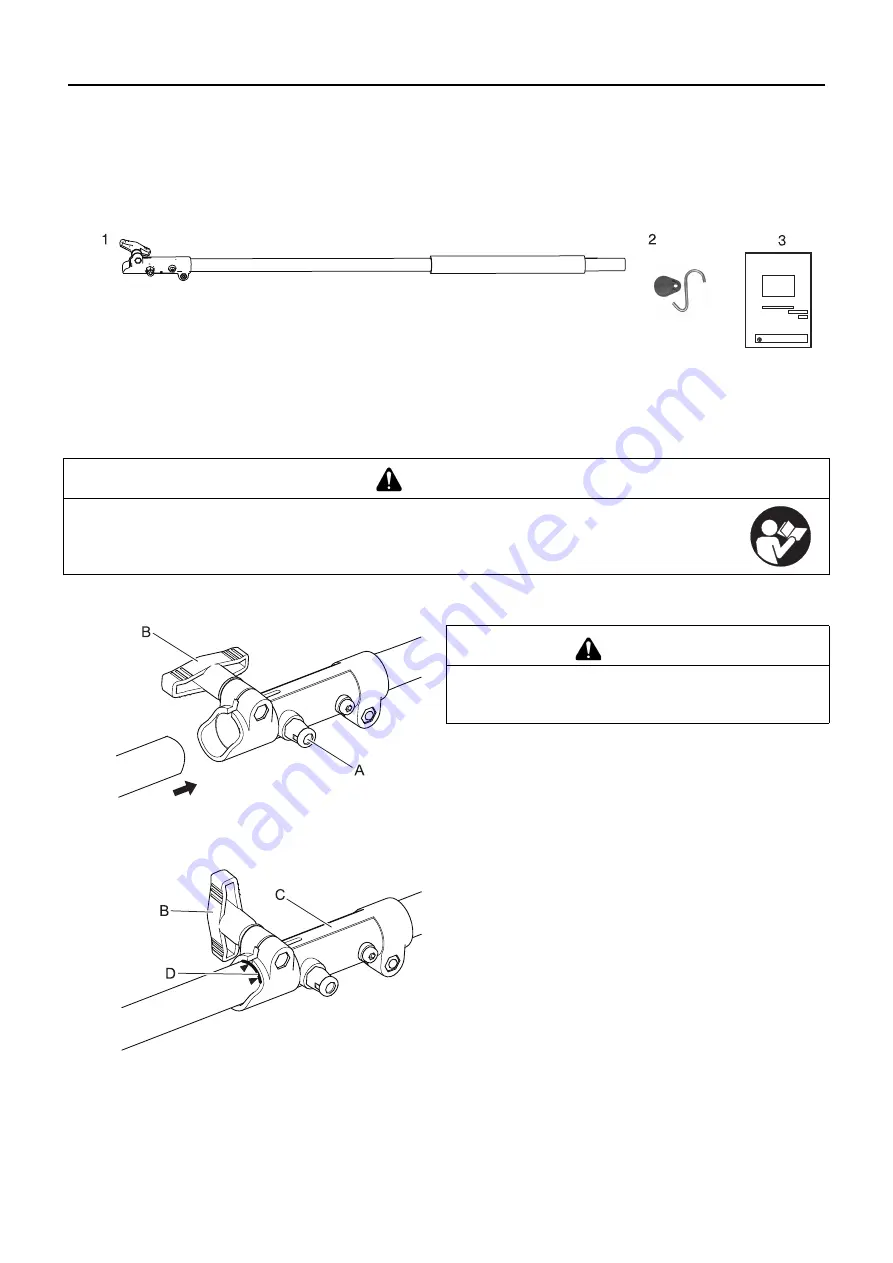
Packing list
Assembly
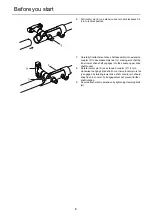
3 foot extension installation
1. Pull locator pin (A) on power source, and turn anticlockwise
1/4 turn to lockout position. Loosen clamping knob (B) and
remove attachment from power source.
2. Remove hanger assembly from 3 foot extension.
3. Carefully fit extension drive shaft assembly into power
source coupler (C) to decal assembly line (D), making sure
that the inner lower drive shaft engages into the square up-
per drive shaft socket.
4. Rotate locator pin on power source coupler (A) 1/4 turn
clockwise to engage drive shaft hole. Insure locator pin is ful-
ly engaged by twisting lower drive shaft. Locator pin should
snap flush in coupler. Full engagement will prevent further
shaft rotation.
5. Secure extension to coupler by tightening clamping knob
(B).
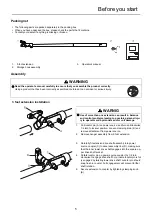
The following parts are packed separately in the packing box.
When you have unpacked the box, please check the parts that it contains.
Contact your dealer if anything is missing or broken.
1. 3-foot
extension
2. Storage
hook
assembly
3. Operator's
manual
WARNING
Read the operator's manual carefully to ensure that you assemble the product correctly.
Using a product that has been incorrectly assembled could lead to an accident or serious injury.
WARNIG
Use of more than one extension can result in balance
and control problems leading to possible personal inju-
ry to operator and bystanders and/or unit damage.
Summary of Contents for ECHO MTA-3EXT
Page 2: ......
Page 11: ...9 1Notes and rear cover MEMORANDUM ...
Page 21: ...9 1Remarques et dos de couverture NOTES ...
Page 31: ...9 1Notizen und hintere Umschlagseite NOTIZEN ...
Page 32: ...10 NOTIZEN ...
Page 33: ...11 NOTIZEN ...
Page 43: ...9 1Note e quarta di copertina MEMORANDUM ...
Page 53: ...9 1Notas y contraportada MEMORANDO ...
Page 55: ......

