Chapter 7 Installation
3.
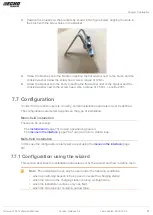
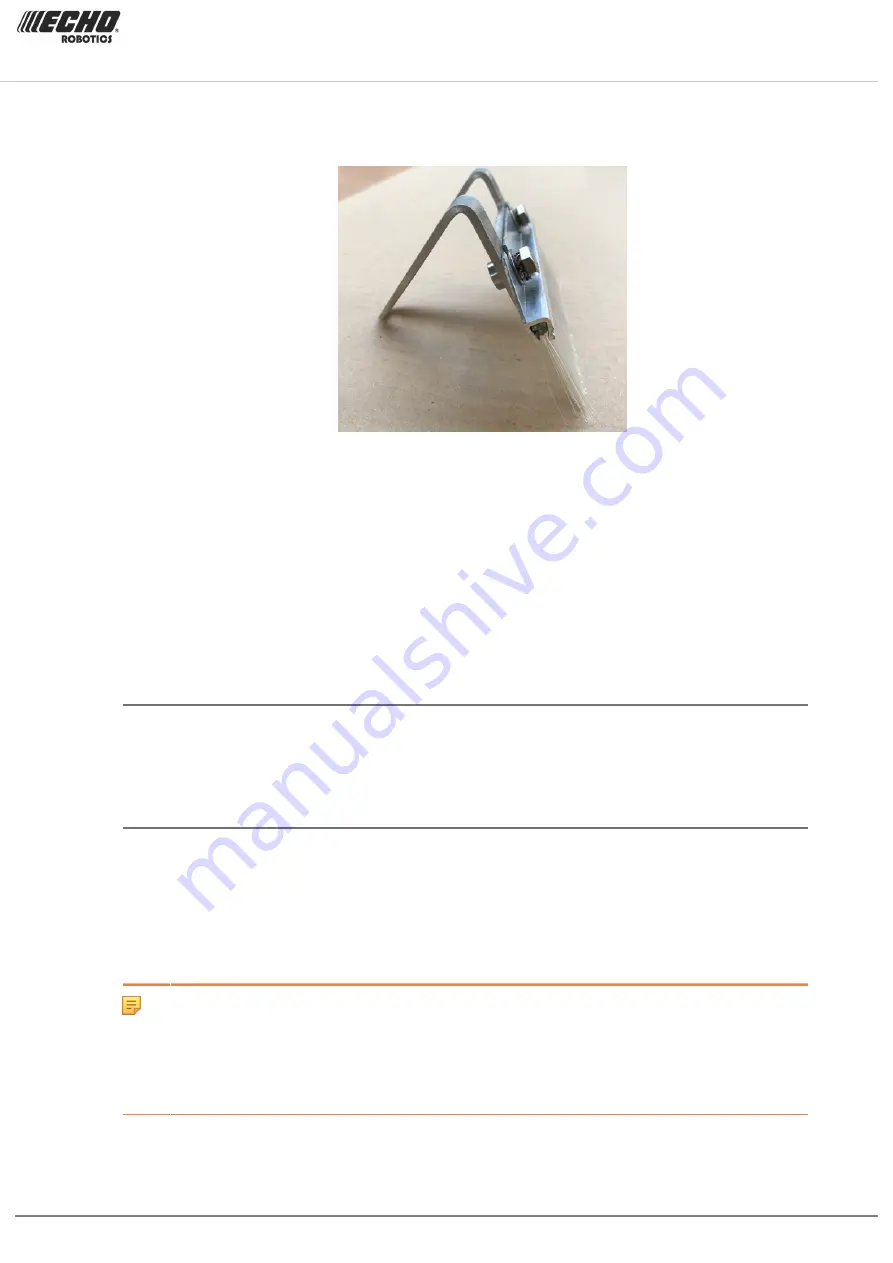
Position the brushes on the brackets as shown in the figure below, aligning the slots in
the brush with the screw holes in the bracket.
4.
Screw the brushes onto the bracket, inserting the flat washer next to the brush and the
crinkled washer below the screw head. Use a torque of 12Nm.
5.
Screw the bracket onto the body, inserting the flat washer next to the bracket and the
crinkled washer next to the screw head. Use a torque of 7.5 Nm + Loctite 2701.
7.7 Configuration
In order for the robot to operate correctly, certain installation parameters must be defined.
The configuration parameters depends on the type of installation.
Mono-field installation
These can be set using:
-
The
(page 73) if using a positioning beacon.
-
The
(page 78) if using a return to station loop.
Multi-field installation
In this case the configuration parameters are set using the
(page
78).
7.7.1 Configuration using the wizard
This section describes the installation parameters set by the wizard, and how to define them.
Note: The install wizard can only be used under the following conditions:
•
when a positioning beacon is being used to locate the charging station,
•
when the return to the charging station is along a straight wire,
•
when the installation contains only one field,
•
when the site does not contain a narrow lane.
Turfmow 1000 Technician's Manual
Version: Release 3.5
Last updated: 2018-12-20
73

