Chapter 8 Using your robot
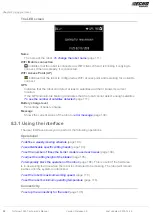
To connect the robot as a WiFi client
(page 110). This operation allows you to monitor the
state of the robot and to upload new software.
To setup the robot as a WiFi network Access Point.
(page 120)
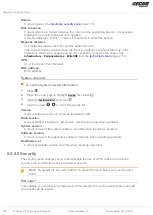
Settings
To set the time zone and the language used for the menus
(page 107).
To change the name of the robot
(page 111).
To view a number of characteristics of the robot
(page 111).
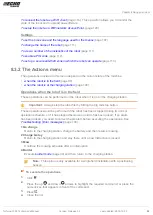
(page 112).
To set up a secure anti-theft zone in which the robot can operate
(page 113).
8.3.2 The Actions menu
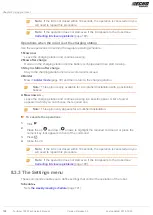
The operations provided in this menu depend on the current state of the machine.
•
when the robot is in the field
(page 99).
•
when the robot is at the charging station
(page 100).
Operations when the robot is in the field
These operations can be performed on the robot when it is not in the charging station.
Important: Always stop the robot first by hitting the big red stop button.
These operations would be performed if the robot has been stopped during its normal
operation schedule, or if it has stopped because an alarm has been raised. If an alarm
has been raised, you need to correct the problem before executing the operations. See
Troubleshooting (Error messages)
(page 130).
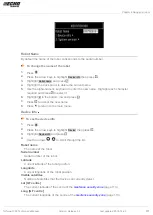
1 Go charge
Return to the charging station, charge the battery and then resume mowing.
2 Charge & stay
Return to the charging station and stay there until a new instruction is issued.
3 Mow
Continue the mowing schedule after an interruption.
4 Border
Execute
(page 30) and then return to the charging station.
Note: This option is only available for a single field installation with a positioning
beacon.
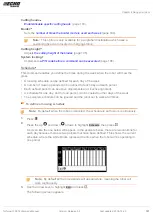
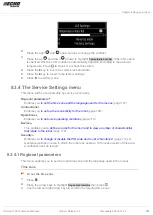
To execute the operations
1.
Click
.
2.
Press the up
and down
arrows to highlight the required command, or press the
numeric key that appears in front of the command.
3.
Press .
4.
Close the lid.
Turfmow 1000 Technician's Manual
Version: Release 3.5
Last updated: 2018-12-20
99

