260
Chapter 19—Controlling the DM1000 from a Video Editor
DM1000 Version 2—Owner’s Manual
Crossfade via ESAM Commands
This section describes how to execute a crossfade (transition) using the DM1000’s ESAM
mode.
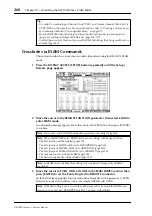
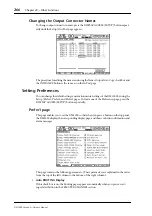
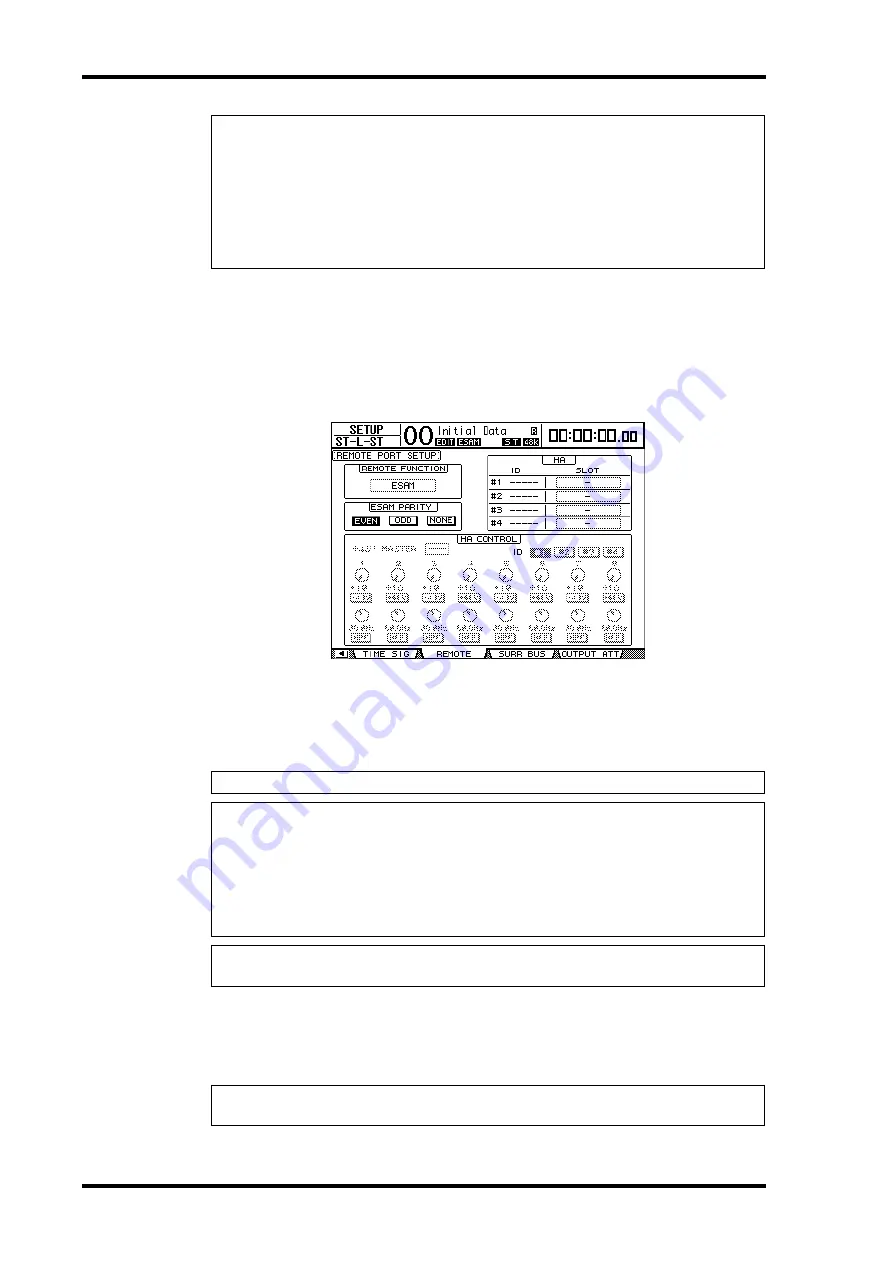
1 Press the DISPLAY ACCESS [SETUP] button repeatedly until the Setup |
Remote page appears.
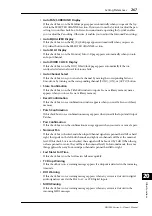
2 Move the cursor to the REMOTE FUNCTION parameter, then select ESAM to
enter ESAM mode.
A confirmation message appears. Move the cursor to the YES button, then press [ENTER]
to confirm.
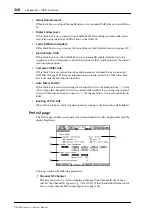
3 Move the cursor to EVEN, ODD, or NONE in the ESAM PARITY section, then
press [ENTER] to set the Parity Flag for the REMOTE connector.
Set the Parity Flag appropriate for your video editor. Normally, set this parameter to EVEN.
However, for some video editors, such as the Ampex ACE200, select ODD.
Tip:
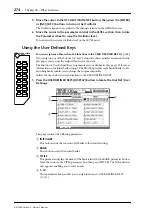
• It is useful to combine Input Channels from VTR1-3 and Output Channels (Bus Outs) to
VTR1 (REC) on the same layer. For more information, refer to “Creating a Custom Layer
by Combining Channels (User Assignable Layer)” on page 272.
• Save the DM1000 Channel settings and Input and Output patches in scene memories
(page 163) and Input/Output Patch libraries (page 176, 177).
• Use the Operation Lock function to prevent the DM1000 settings from being modified acci-
Note:
You cannot switch to ESAM mode during Automix recording or playback.
Note:
When the DM1000 enters ESAM mode, various settings will change as follows:
• The Solo function will be enabled (page 120).
• The Solo function’s MODE will be set to RECORDING (page 120).
• The Solo function’s LISTEN will be set to AFTER PAN (page 120).
• The Solo function’s SEL MODE will be set to MIX SOLO (page 120).
• The Automix function will be disabled (page 190).
• The Fader Group Master will be disabled (page 150).
Note:
In ESAM mode, the Fade Time setting for Scene Recall is temporarily disabled
Note:
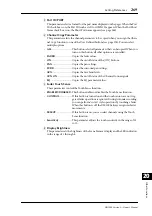
If the Parity Flag is not set correctly and the video editor transmits the ESAM com-
mands, an error message “REMOTE Parity Error” appears on the display.
Summary of Contents for 006IPTO-F0
Page 42: ...42 Chapter 3 Operating Basics DM1000 Version 2 Owner s Manual ...
Page 52: ...52 Chapter 4 Connections and Setup DM1000 Version 2 Owner s Manual ...
Page 92: ...92 Chapter 7 Bus Outs DM1000 Version 2 Owner s Manual ...
Page 108: ...108 Chapter 8 Aux Sends DM1000 Version 2 Owner s Manual ...
Page 146: ...146 Chapter 11 Surround Functions DM1000 Version 2 Owner s Manual ...
Page 214: ...214 Chapter 16 Automix DM1000 Version 2 Owner s Manual ...
Page 385: ...DM1000 Block Diagram ...

