286
Chapter 20—Other Functions
DM1000 Version 2—Owner’s Manual
10 Repeat Steps 8 and 9 for the master unit so that it will be able to transmit
and receive MIDI messages via the REMOTE connector.
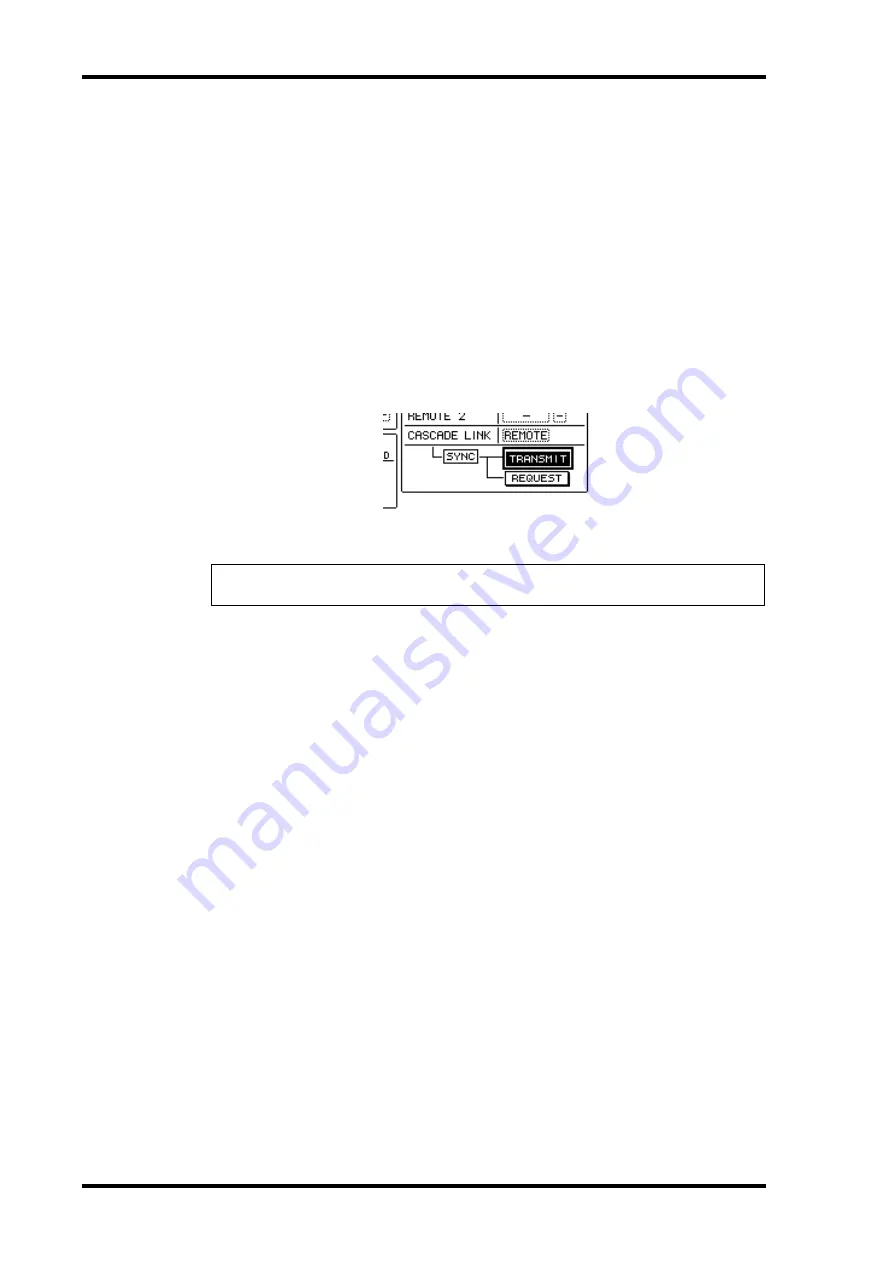
11 To match the parameters of both DM1000s, locate the Setup | MIDI/Host
page on the copy source unit.
12 Move the cursor to the TRANSMIT button for the SYNC parameter, then
press [ENTER].
Parameters for cascade link (page 282) will be copied to the other DM1000 via the
REMOTE connector. If you select the REQUEST button instead of the TRANSMIT button
for the SYNC parameter, you can reverse the copy direction.
At this point, Bus 1–8, Aux 1–4, and the Stereo Bus on both DM1000s are integrated, and
the data is output via Bus Outs 1–8, Aux Outs 1–4, and the Stereo Out on the master unit.
If you solo channels on one of the DM1000s, you can monitor the soloed signals via the
Control Monitor.
Note:
You can also link the parameters using the MIDI IN and OUT connection if you set
the CASCADE LINK parameter to “MIDI.”
Summary of Contents for 006IPTO-F0
Page 42: ...42 Chapter 3 Operating Basics DM1000 Version 2 Owner s Manual ...
Page 52: ...52 Chapter 4 Connections and Setup DM1000 Version 2 Owner s Manual ...
Page 92: ...92 Chapter 7 Bus Outs DM1000 Version 2 Owner s Manual ...
Page 108: ...108 Chapter 8 Aux Sends DM1000 Version 2 Owner s Manual ...
Page 146: ...146 Chapter 11 Surround Functions DM1000 Version 2 Owner s Manual ...
Page 214: ...214 Chapter 16 Automix DM1000 Version 2 Owner s Manual ...
Page 385: ...DM1000 Block Diagram ...

