Voice Creator—Custom Voice Edit
Reference
105
Tyros2 Owner’s Manual
5
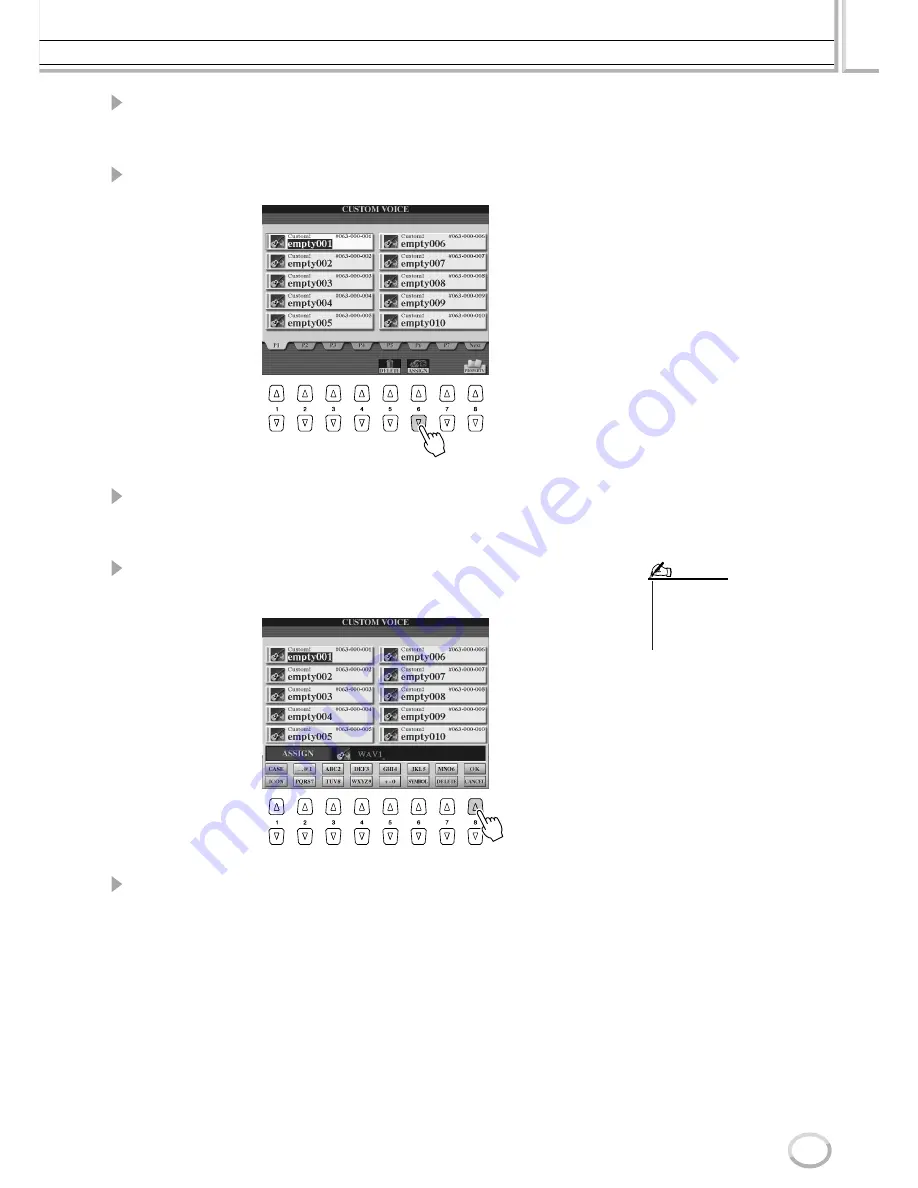
Select the destination for the voice.
The Custom voice bank appears, letting you select a specific location for the individual
voice. Use the upper LCD buttons to select the desired page, if necessary.
6
Press the [ASSIGN] LCD button (lower [6] button).
7
Enter a name for the voice, if desired.
If a Custom voice with the same name already exists in the bank, you’ll need to enter a
new name for the voice. For specific instructions on naming, see page 76.
8
Press the [OK] LCD button (upper [8] button).
To cancel, press the [CANCEL] LCD button (lower [8] button).
9
When you press the [CUSTOM VOICE] button, the newly loaded
Custom voice will be available.
• File loading may take as little as a
couple of seconds or as long as a
few minutes, depending on how
much data is contained in the
voice.
NOTE
Summary of Contents for 2
Page 1: ...Owner s Manual EN ...
Page 236: ...Tyros2 Owner s Manual ...


