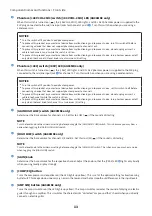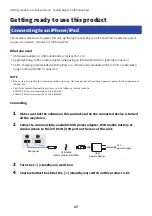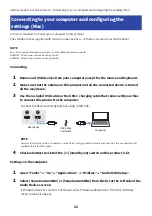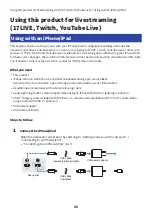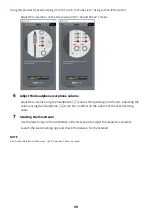
z
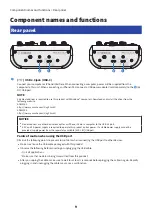
[HEADSET] mic [
M
] input jack
Connect a headset mic here. Normally, the plug is pink. The audio input from this jack is sent to channel 1.
NOTE
When you connect a mic plug into the [HEADSET] mic input jack, the audio from the device connected to channel 1 (mic/line
input jack) is muted.
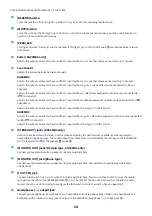
[HEADSET] headphones [
H
] output jack
Connect the headset’s headphones here. Normally, the plug is light green. The audio that is outputted is the same as
that of the headphones [
H
] output jack
y
.
NOTE
When you connect a headphone plug into the [HEADSET] headphones output jack, the audio sent to the headphone output
jack is muted.
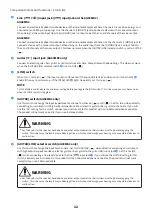
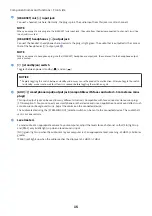
A
[
z
] (standby/on) switch
Toggles between power standby (
N
) and on (
O
).
NOTICE
(
Rapidly toggling this switch between standby and on may cause the product to malfunction. After you toggle the switch
to standby, make sure to wait for at least six seconds before toggling the switch on again.
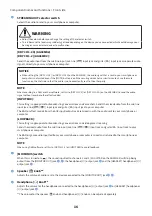
B
[AUX (
P
)] smartphone input/output jack (compatible with four-conductor 3.5 mm stereo mini-
plugs)
This input/output jack can be used in many different situations. Compatible with four-conductor stereo mini-plugs
(CTIA-compliant). You can connect your smartphone or other device and use an application to add sound effects such
as audio cues or background music. Adjust the volume on the connected device.
The audio selected using the [STREAMING OUT] selector switch can be sent to the connected device. The audio that’s
sent is a monaural mix.
C
Level meters
To send audio at an appropriate volume to your computer, adjust the levels for each channel so that [SIG] lights up
and [PEAK] only briefly lights up when a loud sound is input.
[SIG] (green) lights up when the audio sent to your computer is at an appropriate level, meaning -20 dBFS (-10 dBu) or
greater
[PEAK] (red) lights up when the audio reaches the clip level of -3 dBFS (+7 dBu)
15
Component names and functions > Front side


