Periodic maintenance and adjustment
7-19
1
2
3
4
5
6
7
8
9
10
11
12
play, turn the brake lever free play
adjusting bolt in direction (a). To
decrease the brake lever free play,
turn the adjusting bolt in direction
(b).
TIP
If the specified brake lever free play
could be obtained as described above,
skip steps 4–7.
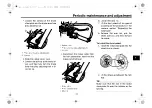
4. Fully turn the adjusting bolt at the
brake lever in direction (a) to loos-
en the brake cable.
5. Loosen the locknut at the brake
shoe plate.
6. To increase the brake lever free
play, turn the brake lever free play
adjusting nut at the brake shoe
plate in direction (a). To decrease
the brake lever free play, turn the
adjusting nut in direction (b).
7. Tighten the locknut at the brake
shoe plate.
8. Tighten the locknut at the brake le-
ver and then slide the rubber cover
back to its original position.
EAU22199
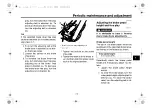
Adjusting the brake pedal
height and free play
WARNING
EWA10671
It is advisable to have a Yamaha
dealer make these adjustments.
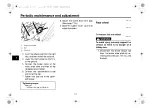
Brake pedal height
The top of the brake pedal should be
positioned at the specified distance be-
low the top of the footrest as shown.
Periodically check the brake pedal
height and, if necessary, adjust it as fol-
lows.
1. Loosen the brake pedal height
locknut.
2. To raise the brake pedal, turn the
brake pedal height adjusting bolt in
direction (a). To lower the brake
pedal, turn the adjusting bolt in di-
rection (b).
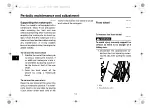
1. Brake lever free play adjusting nut
2. Locknut
1
2
(b)
(a)
Brake pedal height:
10.0 mm (0.39 in)
BP2-9-25.book 19 ページ 2020年7月28日 火曜日 午後3時50分

