16
En
DISC PLAYBACK
■
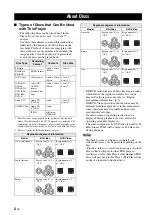
Loading the Batteries in the
Remote Control
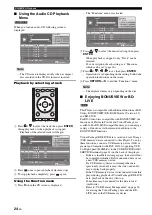
1
Press the
part and slide the battery compartment
cover off.
2
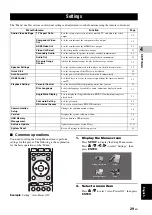
Insert the two supplied batteries (AAA, R03, UM-4),
following the indications (+/–) on the inside of the
compartment.
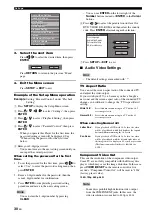
3
Slide the cover back until it snaps into place.
Notes
– Do not subject the remote control unit to shock,
water or excessive humidity.
– The remote control unit may not function if the
Player's remote sensor is in direct sunlight or any
other strong light.
– Incorrect use of batteries may cause them to leak or
burst. Read the battery warnings and use the
batteries properly.
– Do not mix old and new batteries, or mix different
brands.
– Remove the batteries if you will not use the remote
control unit for an extended period of time.
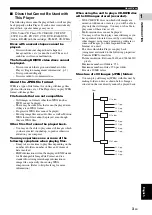
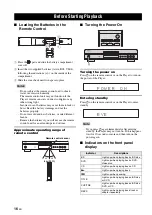
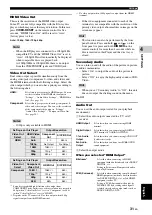
Approximate operating range of
remote control
■
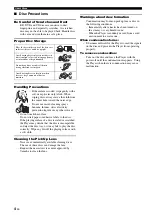
Turning the Power On
Turning the power on
Press
p
on the remote control or on the Player to turn on
the power of the Player.
Entering standby
Press
p
on the remote control or on the Player to enter
standby.
Note
– If you press
p
again immediately after entering
standby, the Player may not turn on. If this happens,
wait for 10 seconds or more and then turn on the
power again.
■
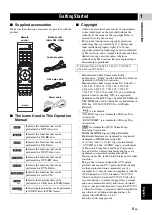
Indicators on the front panel
display
Before Starting Playback
1
3
2
QUICK
OPEN/CLOSE
DIMMER
VIDEO-RESET
SUBTITLE
AUDIO
ANGLE
CLEAR
STATUS
ENTER
ENTER
A
TOP MENU/TITLE LIST
B
C
D
POP UP MENU
EXIT
SETUP
P in P
REPEAT
OFF
RETURN
SLOW/SKIP
SEARCH
ON SCREEN
30˚
30˚
Remote control sensor
6 m (20 ft)
Indicator
Descriptions
BD
Lights up when playing back a BD disc.
DVD
Lights up when playing back a DVD-
Video disc.
CD
Lights up when playing back a CD.
Lights up when playing back.
Lights up when pausing.
TITLE
Lights up when playing back a BD disc
or DVD.
CHP/TRK
Lights up when playing back a BD disc,
DVD, or CD.
REP S
Lights up when playing back track or
chapter repeatedly.
QUICK
OPEN/CLOSE
DIMMER
VIDEO-RESET
SUBTITLE
AUDIO
ANGLE
p
P O W E R
O N
B Y E

