


E-24
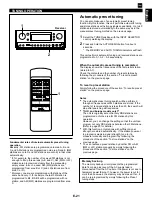
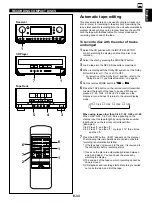
Calling a preset RDS station by
the program type (PTY SEEK)
By designating a program type, the unit automatically
searches all preset FM stations for an RDS station which
broadcasts a program of that program type.
*
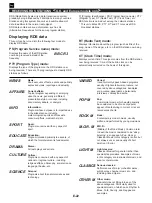
There are 15 program types to classify RDS stations. For
details, refer to page 22.
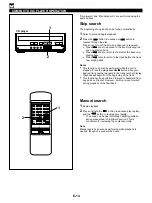
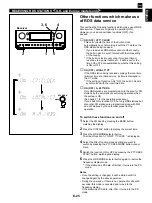
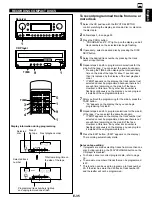
1
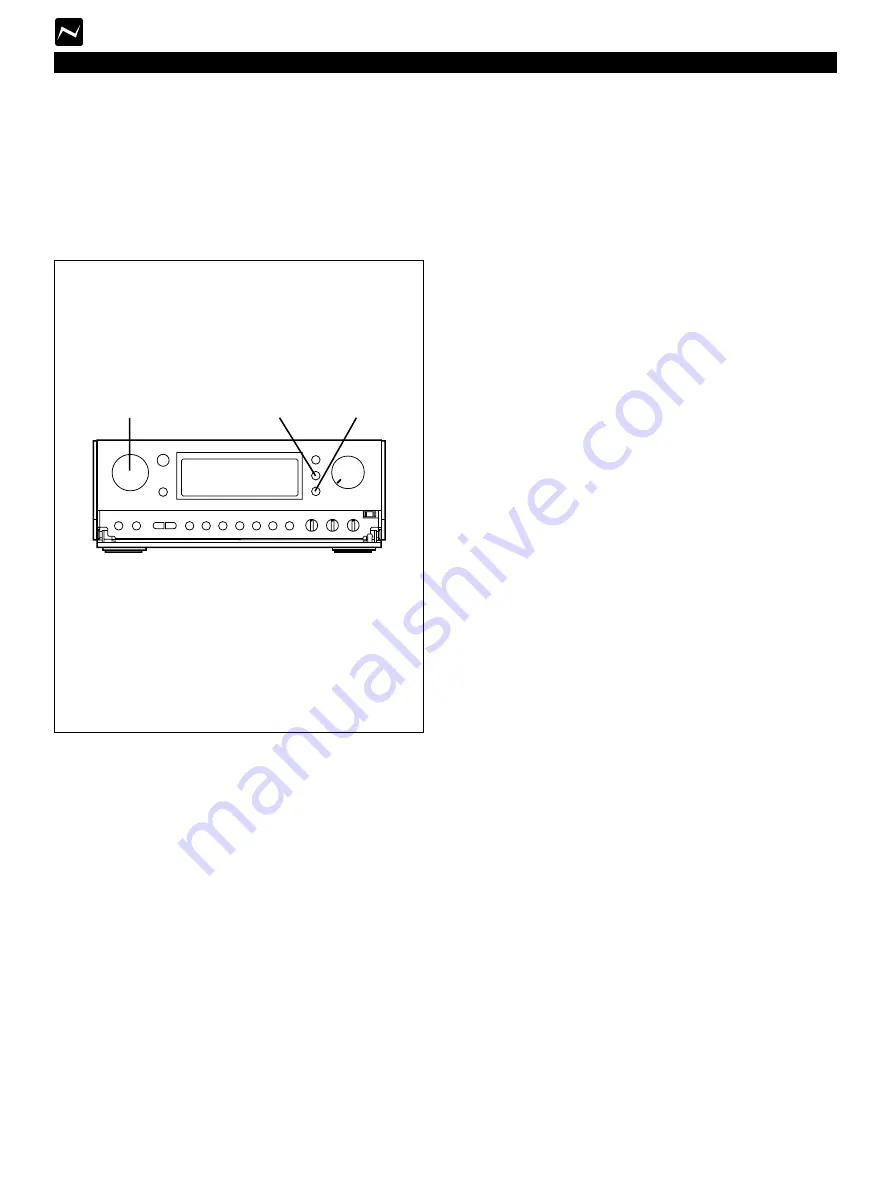
Turn the unit into the PTY SEEK mode by pressing the
PTY SEEK MODE button.
*
The name of the program type of the station now being
received or “NEWS” flashes on the display.
2
Select the desired program type with the PTY
SELECTOR.
*
If there is no operation for about 20 seconds, this mode
is canceled and turns into the frequency display. If the
station has PS data, after that, it turns into the PS
mode.
3
Press the PTY SEEK START button.
The unit begins searching all preset FM stations.
*
“PTY H” (abbrev. of PTY HOLD) lights up on the
display.
*
The preset number indicator, the name of the program
type and “AUTO TUNING” flash. The preset number
changes rapidly in sequence.
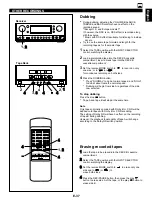
• If a station which broadcasts a program of the program
type is found, the unit stops at the station and turns into the
frequency display. If the station has PS data, after that, it
turns into the PS mode.
• If the called station is not the desired one, press the PTY
SEEK START button once more before “PTY H” goes out
from the display.
The unit begins searching for another station which
broadcasts a program of the same program type.
• If no station is found, “NO PTY” appears and then returns
to frequency display. If the station has PS data, after that,
it turns into the PS mode.
*
If the PTY SEEK START button is pressed once more
during searching, this mode is canceled and turns into
the frequency display. If the station has PS data, after
that, it turns into the PS mode.
To cancel this function
If the PTY SEEK MODE button is pressed once more, the
PTY SEEK mode is canceled and turns into the frequency
display. If the station has PS data, after that, it turns into the
PS mode.
Notes
• There may be a case that RDS data reception is not
possible due to poor reception conditions. If so, press the
AUTO/MAN’L button so that “AUTO TUNING” goes off from
the display. Though the reception mode is changed to
monaural by this operation, when you change the display to
an RDS mode, RDS data may be displayed.
• If the signal strength gets weakened by external
interference during receiving an RDS station, the RDS data
service may be cut off suddenly and turn into the frequency
display mode.
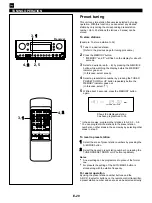
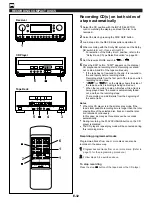
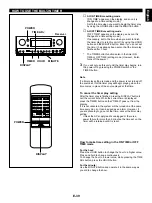
Receiver
2 1 3
RECEIVING RDS STATIONS
<
U.K. and Europe models only
>