33
RECORDING COMPACT DISCS
Notes
•
If the tape’s total possible recording time is longer than the
total playing time of the selected disc, tracks on another
disc are recorded automatically.
In this case, as many as three discs can be recorded
continuously.
•
If programs are made selecting tracks from more than one
disc, during recording, the PLAYXCHANGE button on the
CD player is disabled.
•
The CD player’s repeat play mode (except for the “A REP”
mode) will be canceled during this recording mode. If the
“A REP” repeat play mode is selected, it will not be
canceled, but it will not function until the recording is
finished.
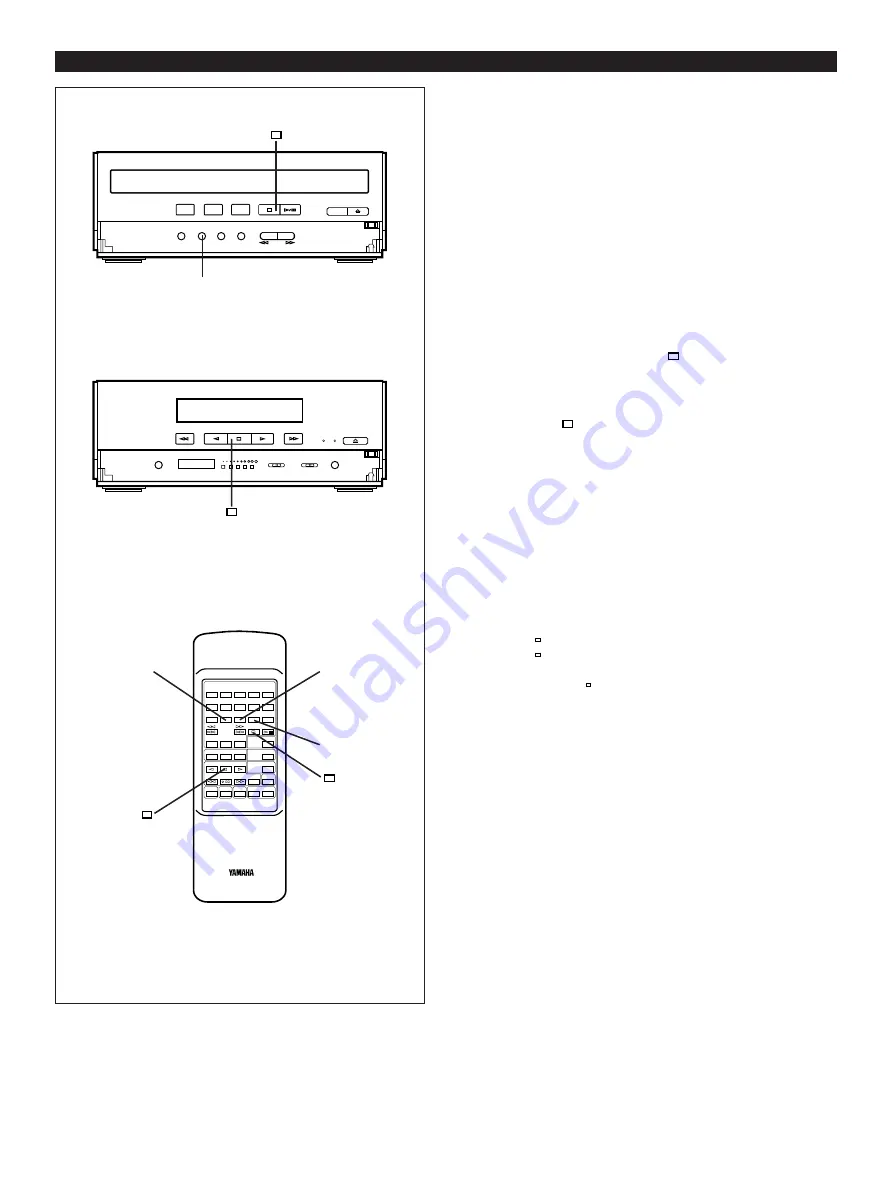
To cancel tape-editing function
Before recording, press the stop
button of the CD player
or the tape deck.
To stop recording
Press the stop
button of the tape deck.
(At this time, CD playback automatically stops.)
To make this unit program tracks on a disc
automatically so that the least amount of
unrecorded space remains on the tape
1
Follow steps 1–6 on the previous page.
2
Press the PROGRAM button.
3
Press the TAPE button.
“AP A
>
” illuminates during programming for side A, and
“AP B
>
” illuminates during programming for side B.
*
After “AP B
>
” goes out from the display, you can
check the programmed contents for side A and B
respectively.
To check, cancel or correct program data, refer to page
20.
4
Press the EDIT button. (“EDIT” appears on the display.)
The recording is automatically started.
*
The unit searches a peak level on each track to adjust
the recording level properly. The search is carried out
before recording each track. (While searching, “LEVEL”
flashes on the display, and recording is paused.)
-
+
1
2
3
4
5
1
2
3
4
5
6
7
8
6
7
8
9
0
A
B
C
D
E
TIME
PROG
TAPE
EDIT
+
I0
SEARCH
SKIP
STOP
PLAY/PAUSE
DISC SKIP
RANDOM
REPEAT
CD
TUNER
TAPE
PRESET
A/B/C/D/E
DOWN
UP
PLAY
STOP
PLAY
REC/PAUSE
SLEEP
POWER
DISPLAY
VOLUME
DECK
PHONO/AUX
TUNER DIRECT
A/B
EMPTY
CD player
4
Tape Deck
3
4
2


