10
CD-S300
CD-S30
0
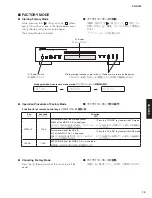
Fig. 1
■
DISASSEMBLY PROCEDURES /
分解手順
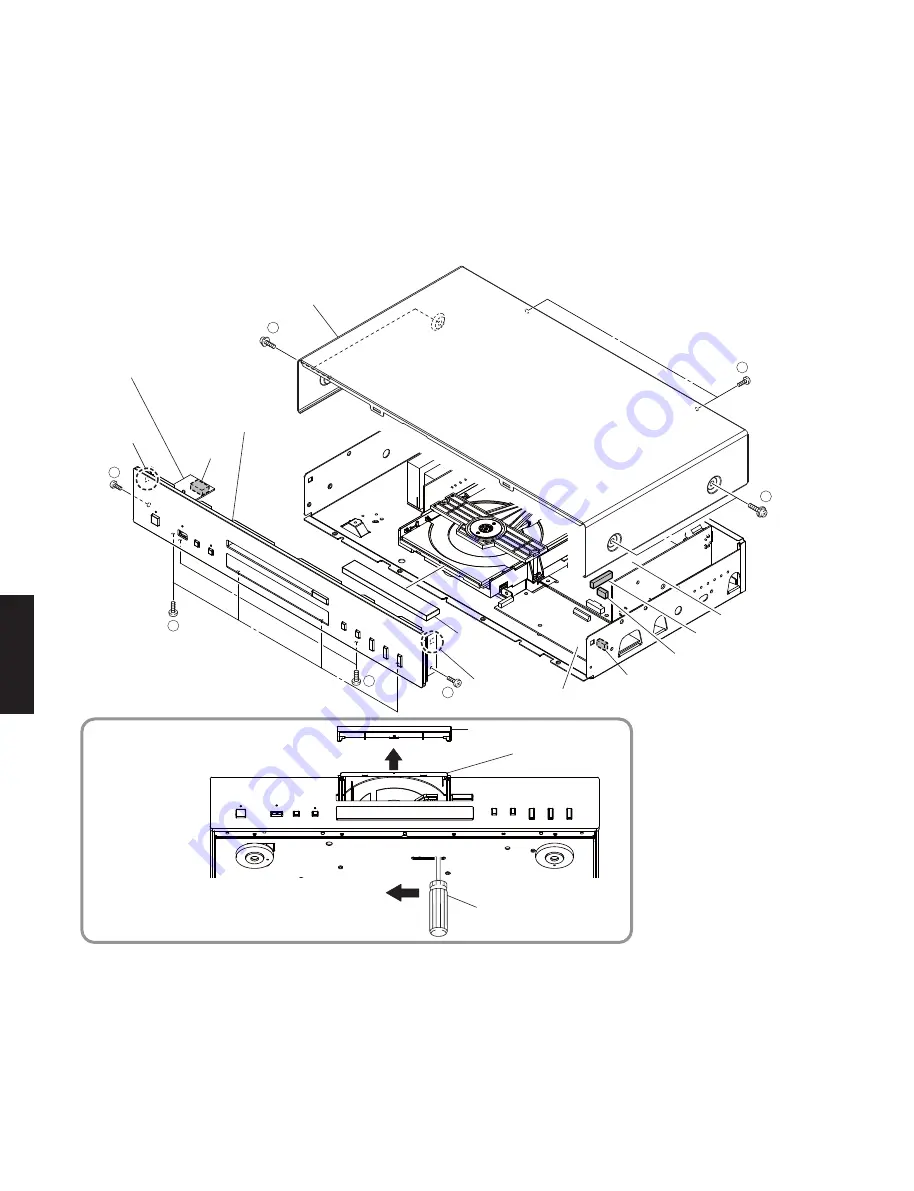
(Remove parts in the order as numbered.)
Disconnect the power cable from the AC outlet.
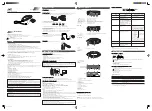
1. Removal of Top Cover
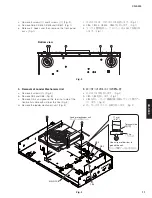
a. Remove 4 screws (
①
) and 2 screws (
②
). (Fig. 1)
b. Remove the top cover. (Fig. 1)
(番号順に部品を取り外してください。)
AC 電源コンセントから、電源コードを抜いてください。
1. トップカバーの外し方
a. ① のネジ 4 本、② のネジ 2 本を外します。(Fig. 1)
b. トップカバーを取り外します。(Fig. 1)
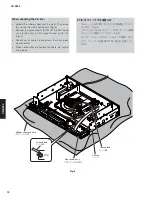
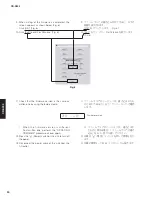
2. Removal of Front Panel Ass’y
a. Using a flatblade screwdriver, move the slider at the
bottom in the direction of the arrow shown above.
(Fig. 1)
Open the disc tray, remove the lid and close the disc
tray. (Fig. 1)
b. Remove 2 screws (
③
). (Fig. 1)
2. フロントパネル ASSY の外し方
a. マイナスドライバーで底面のスライダーを上図の矢印
の方向に動かします。(Fig. 1)
ディスクトレイを開けてリッドを取り外し、ディスク
トレイを閉じます。(Fig. 1)
b. ③ のネジ 2 本を外します。(Fig. 1)
Top cover
トップカバー
Front panel ass'y
フロントパネルASSY
Lid
リッド
Hook
フック
Hook
フック
CB803
CB807
CB6
CB304
OPERATION (6) P.C.B.
OPERATION (8) P.C.B.
MAIN P.C.B.
Flatblade screwdriver
マイナスドライバー
Lid
リッド
Disc tray
ディスクトレイ
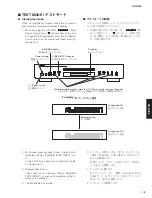
How to manually eject the disc tray /
ディスクトレイを開ける方法
1
1
2
3
4
5
3


